What’s the Best Way to Rack a Rosewill RSV 4U Server?
Mount your Rosewill 4U server case with ease using the iStarUSA TC-RAIL-26. A sturdy, reliable rail alternative for a professional homelab rack without the frustration.

Server hardware is typically mounted and operated in specially designed rack. Such hardware is designed from the start to be placed in these racks. However, when building a machine from scratch, finding a good rack mountable computer case can be a challenge. A couple of good options come surprisingly from Rosewill, NewEgg's private label.
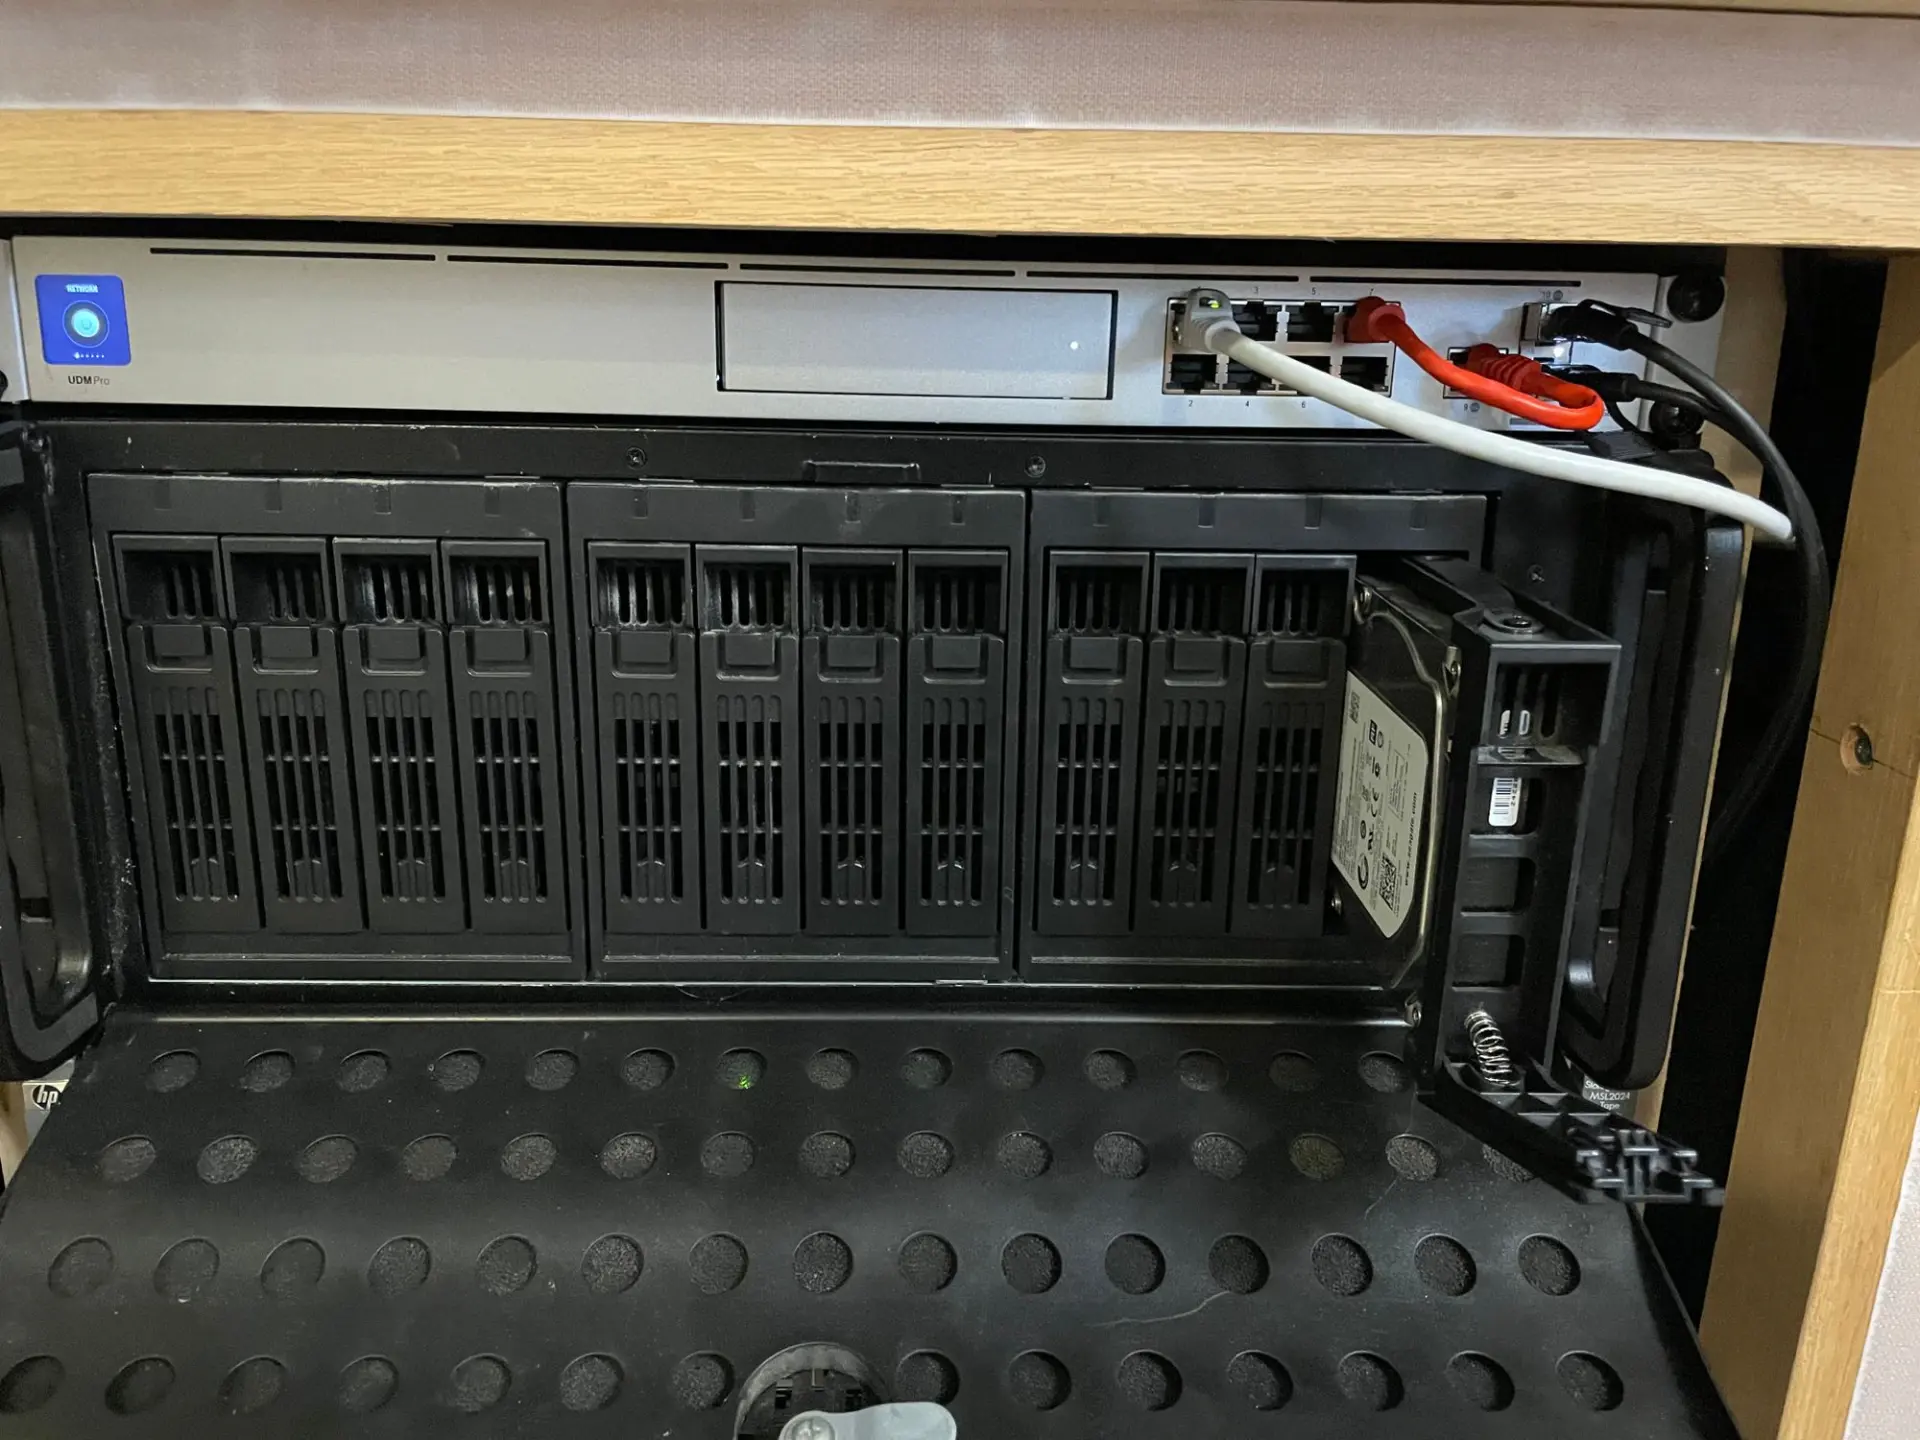
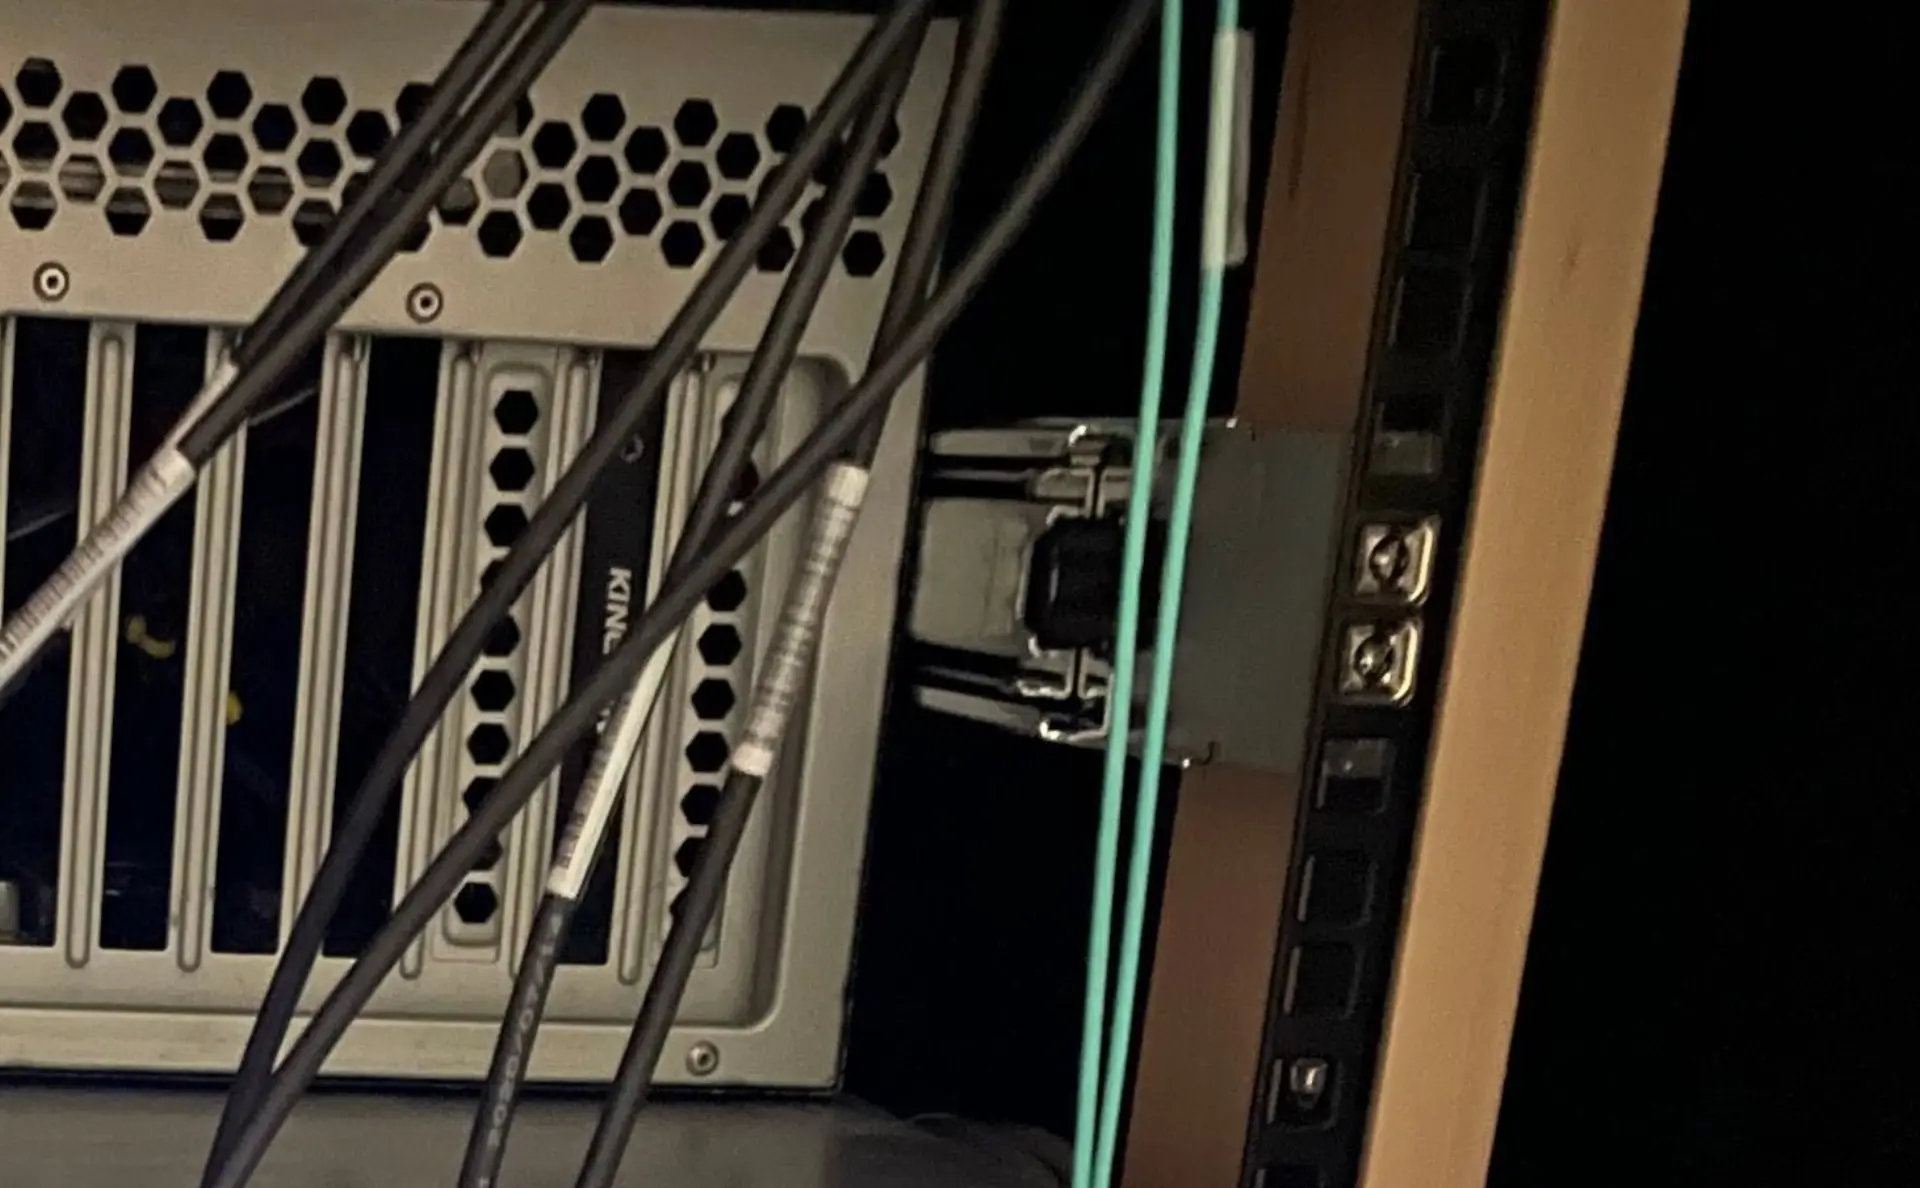
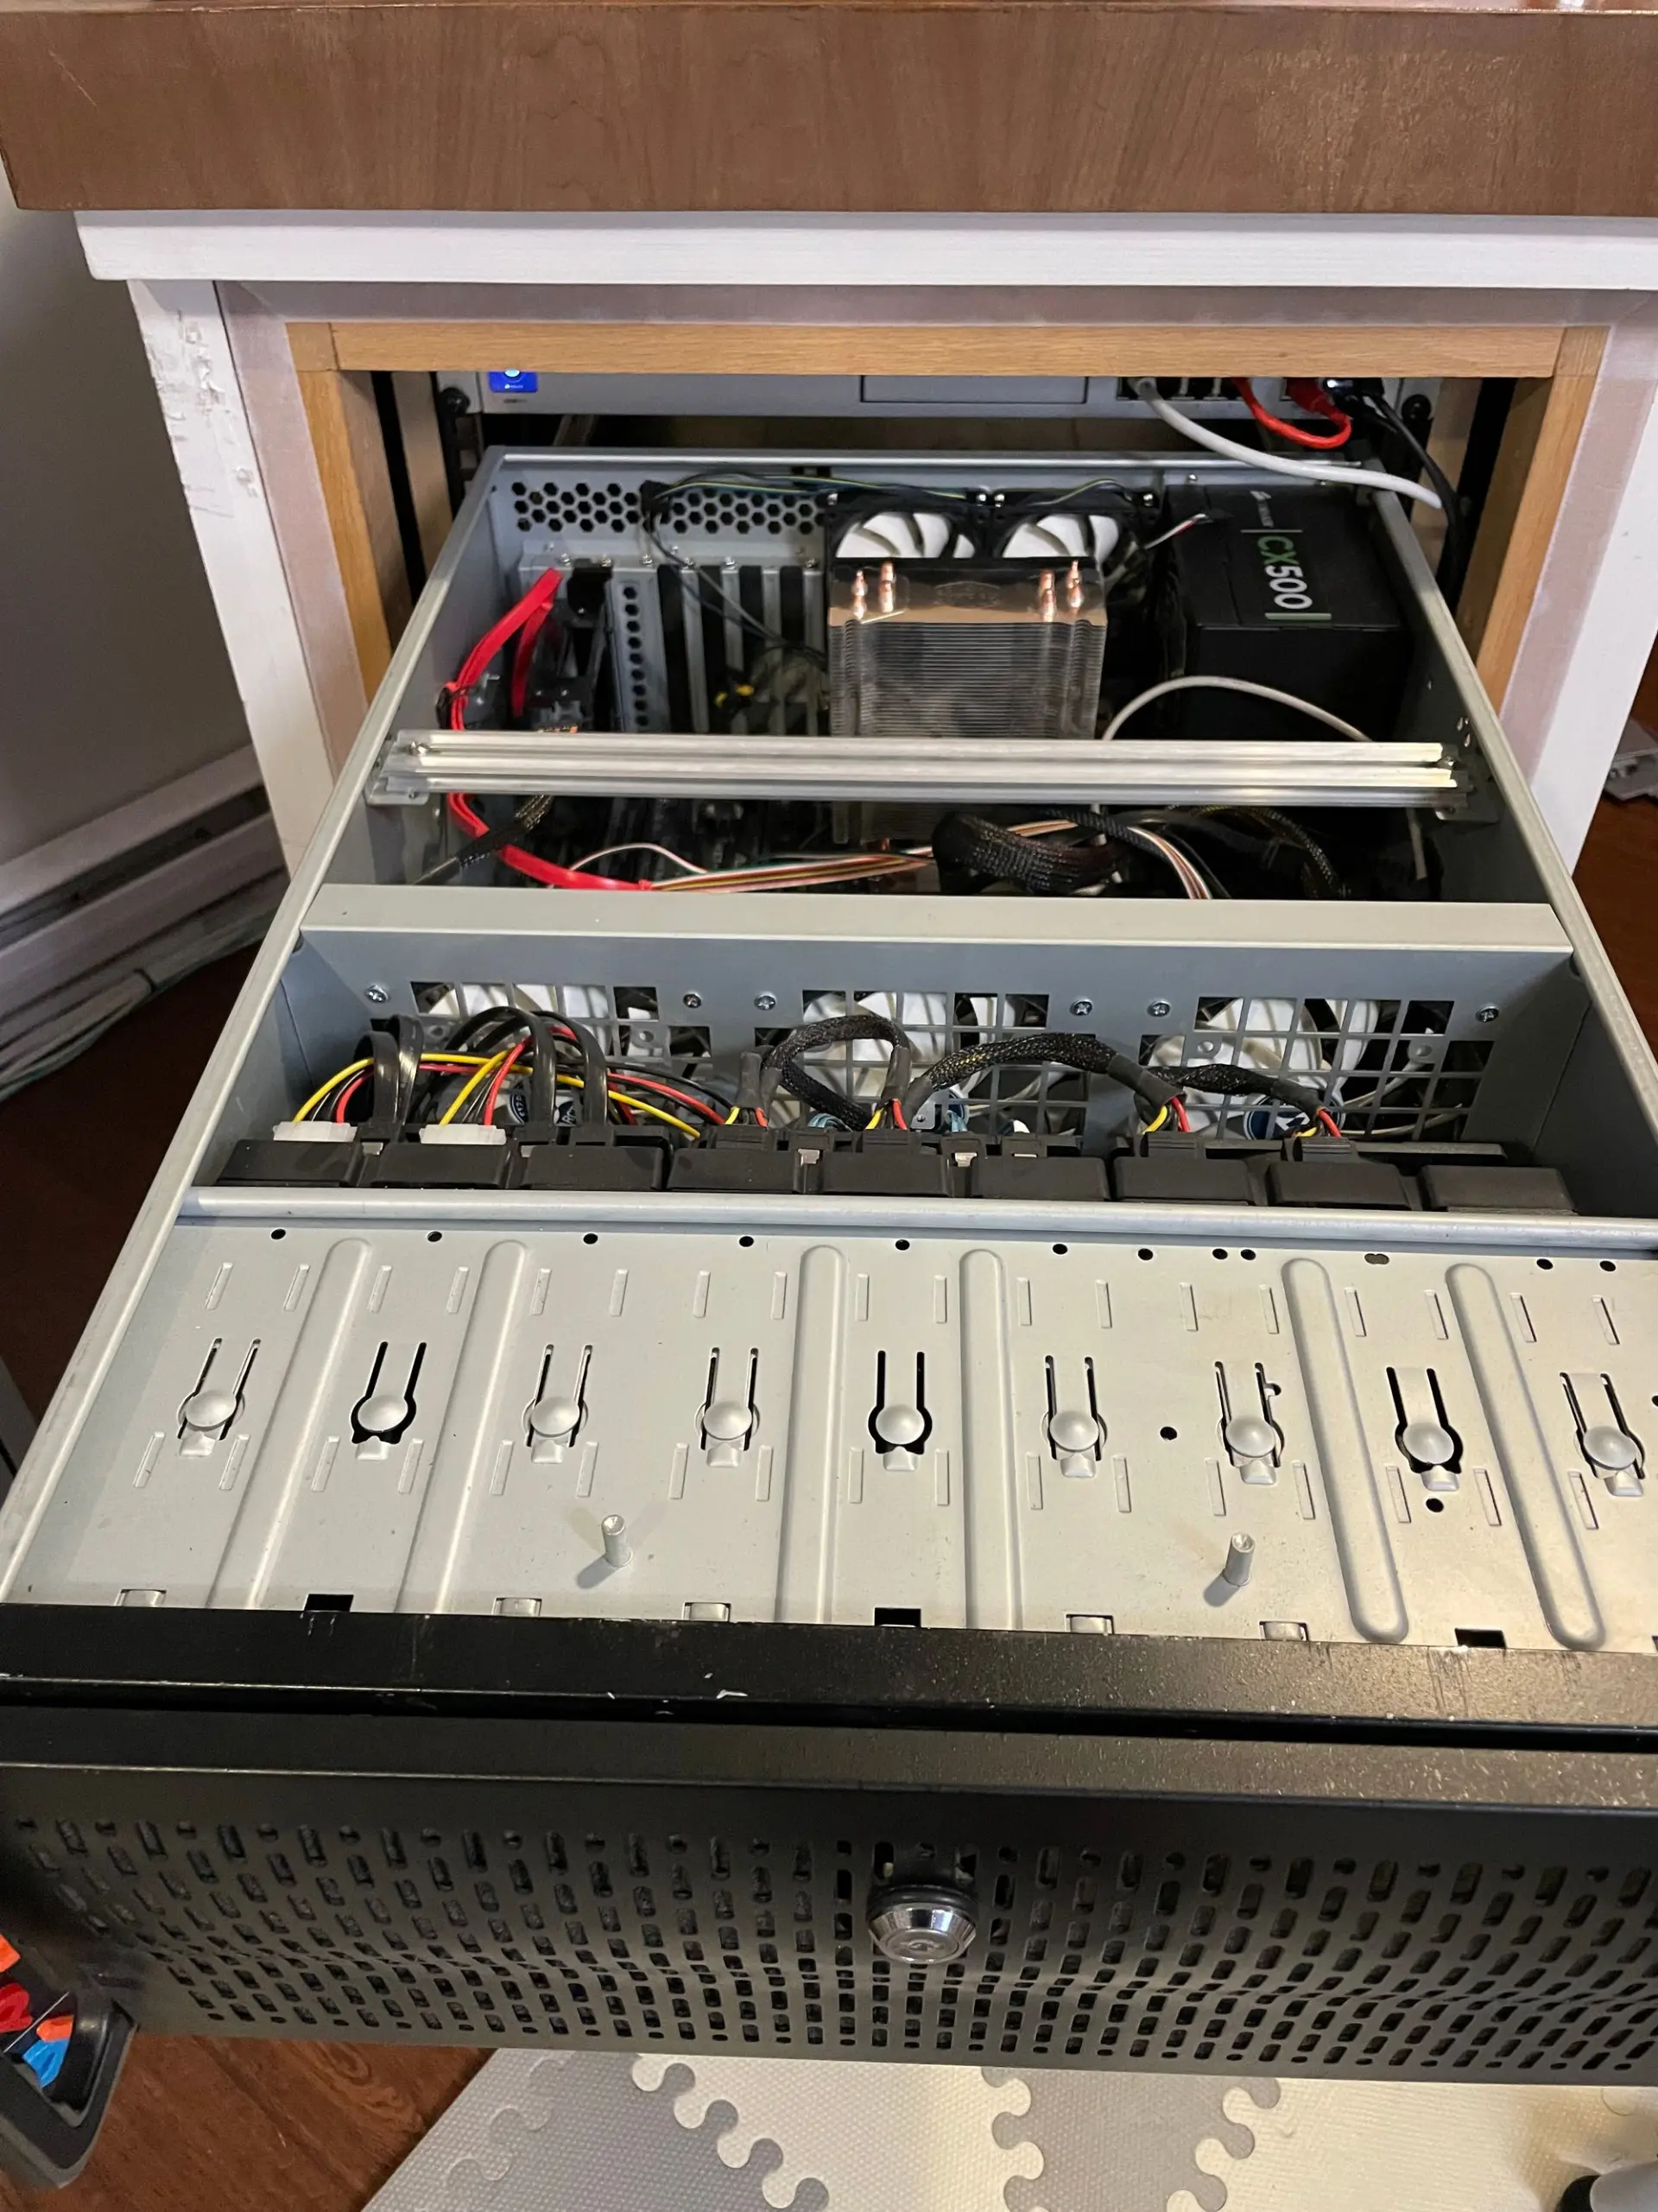
I've owned a RSV-L4500U case for several years. This case was used in several projects, including the custom disk shelf. Swappable disk bays were added, transforming it into a RSV-L4412U. However, mounting this case was always daunting, as Rosewill's reputation for mounting rails is exceptionally poor. Most reviews advise against using these rails. Shelves are an option, but they usually add some width to an already bulky 4u case. However, the discovery of this forum post offered new hope.
iStarUSA TC-RAIL-26 rails
These rails are easily found at B&H and were delivered in less than a week. Turns out that these rails are a wonderful match.
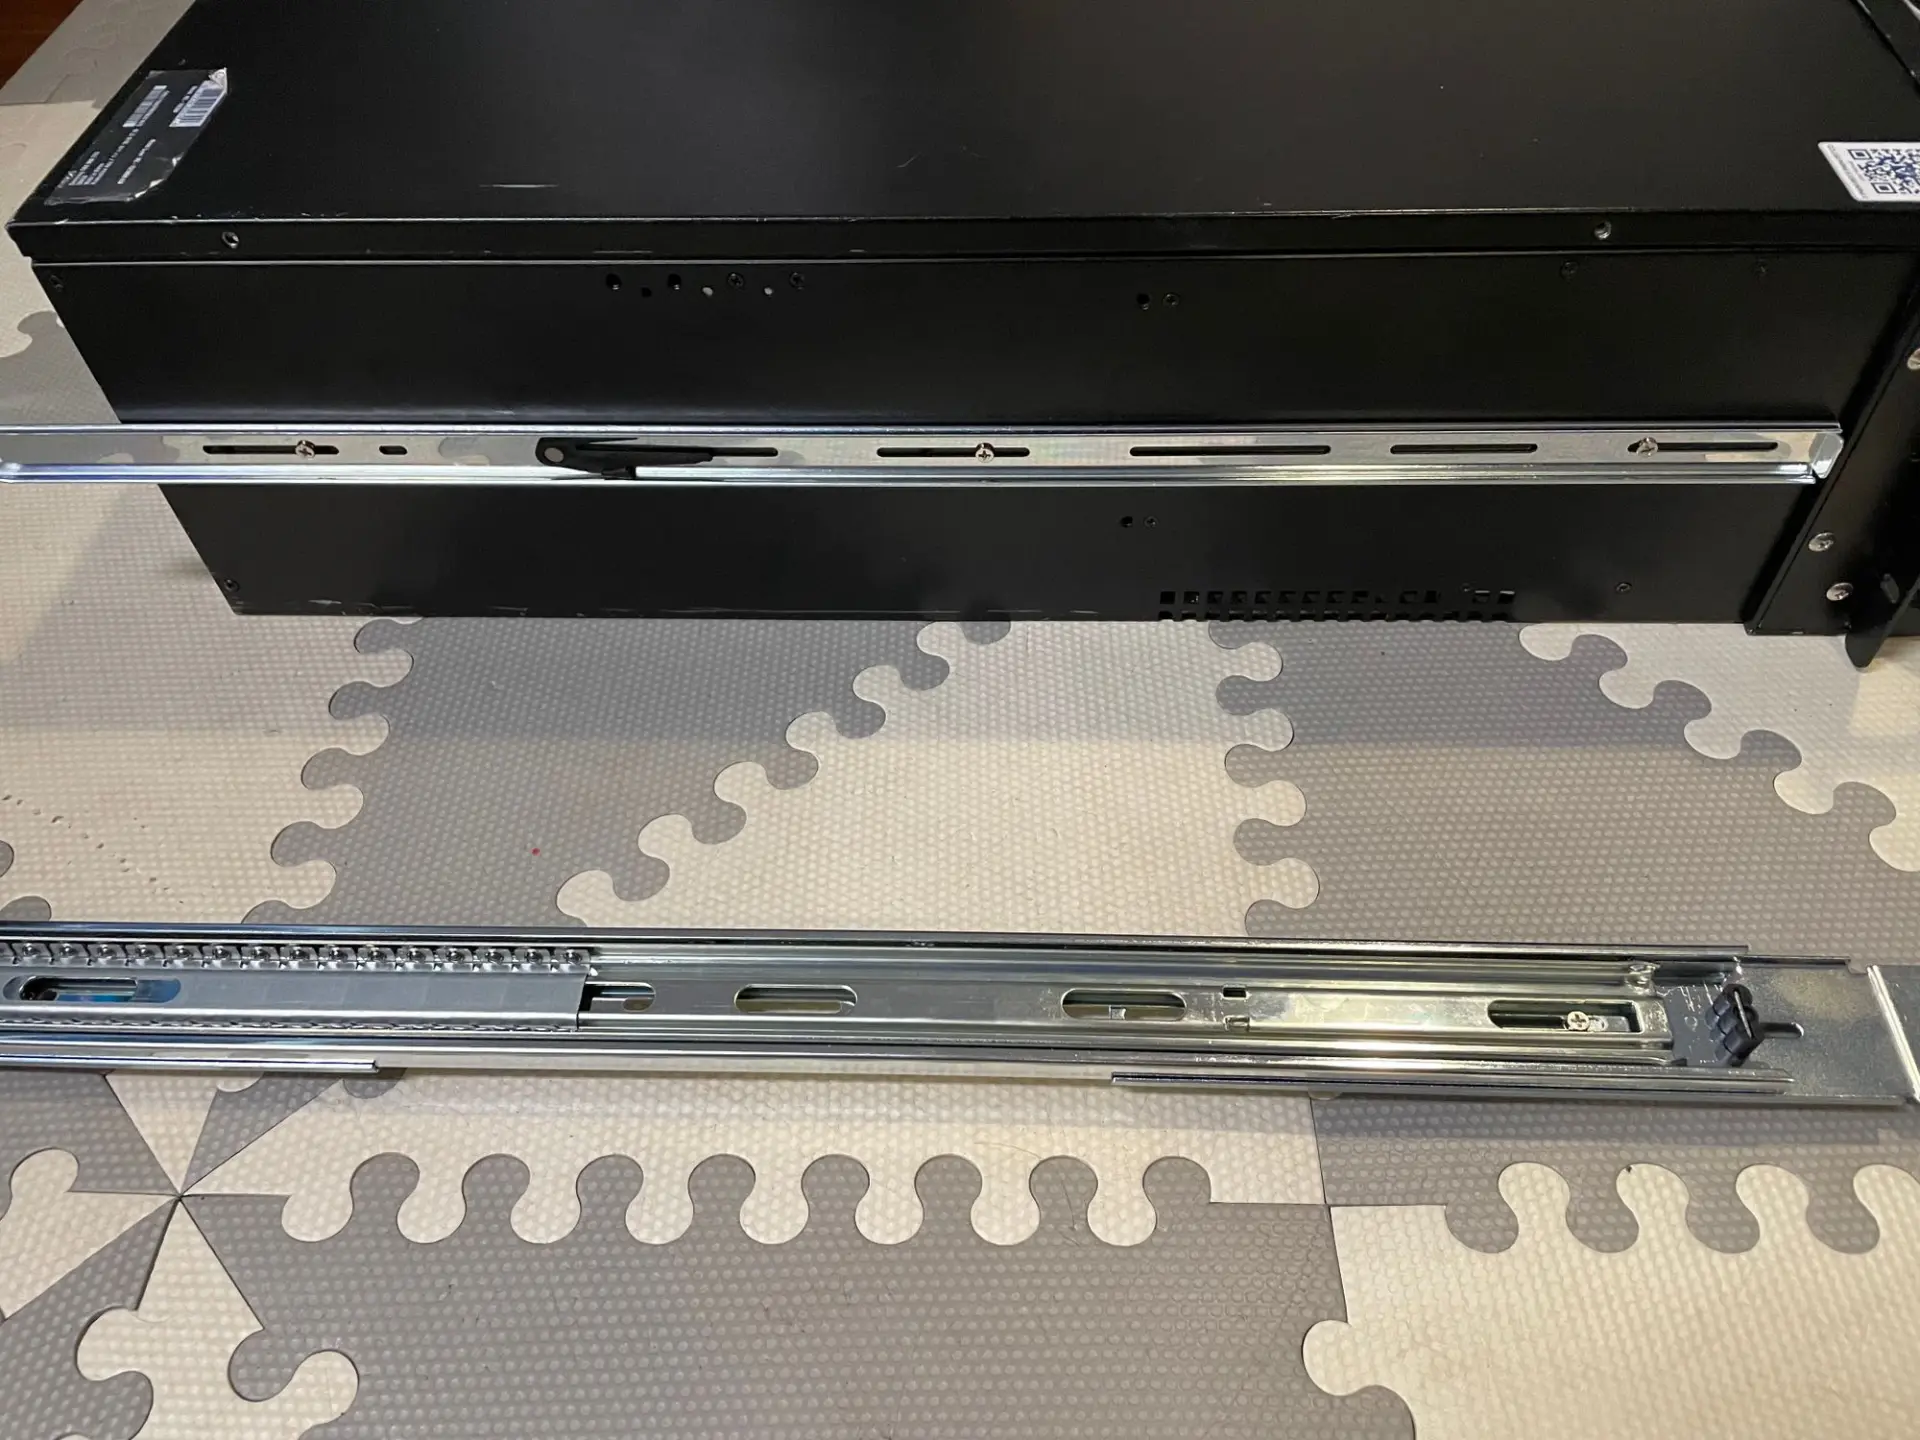
First step is to install the inner rails on the chassis. The outer rails are provided in three piece, to allow the flexibility of different width of racks. Installation is easy if you have access to the the sides of the rack : simply install the first two brackets that connect to the front and back rails, and then add the middle rail. Without access to the sides, the only solution is to measure the distance between front and back rail, and then preassemble the brackets and the rail.
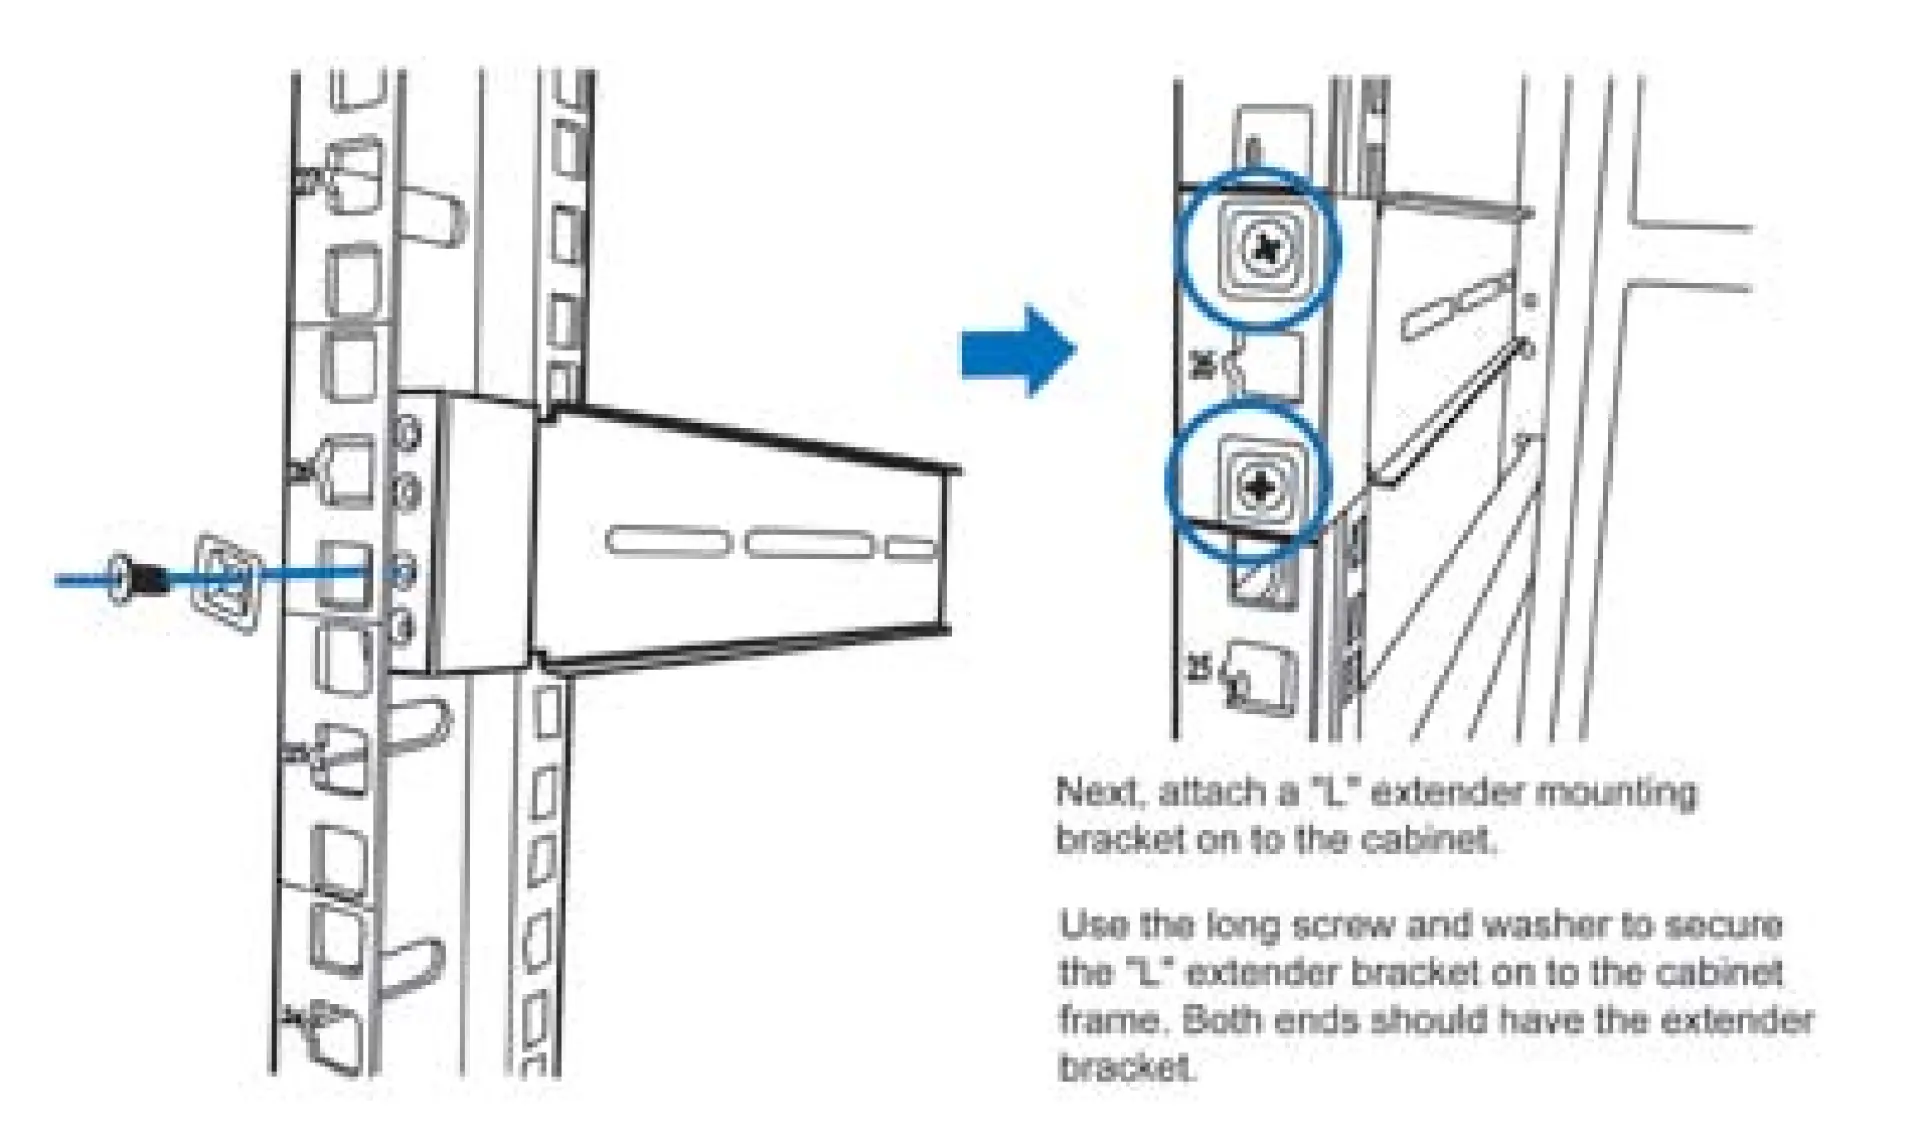
Note that the brackets do not attach to the rack using traditional screws because the positioning of the rails is different if installed on a 2u, 3u or 4u case. The brackets are positioned behind the rack rails, and fixed using square washers.
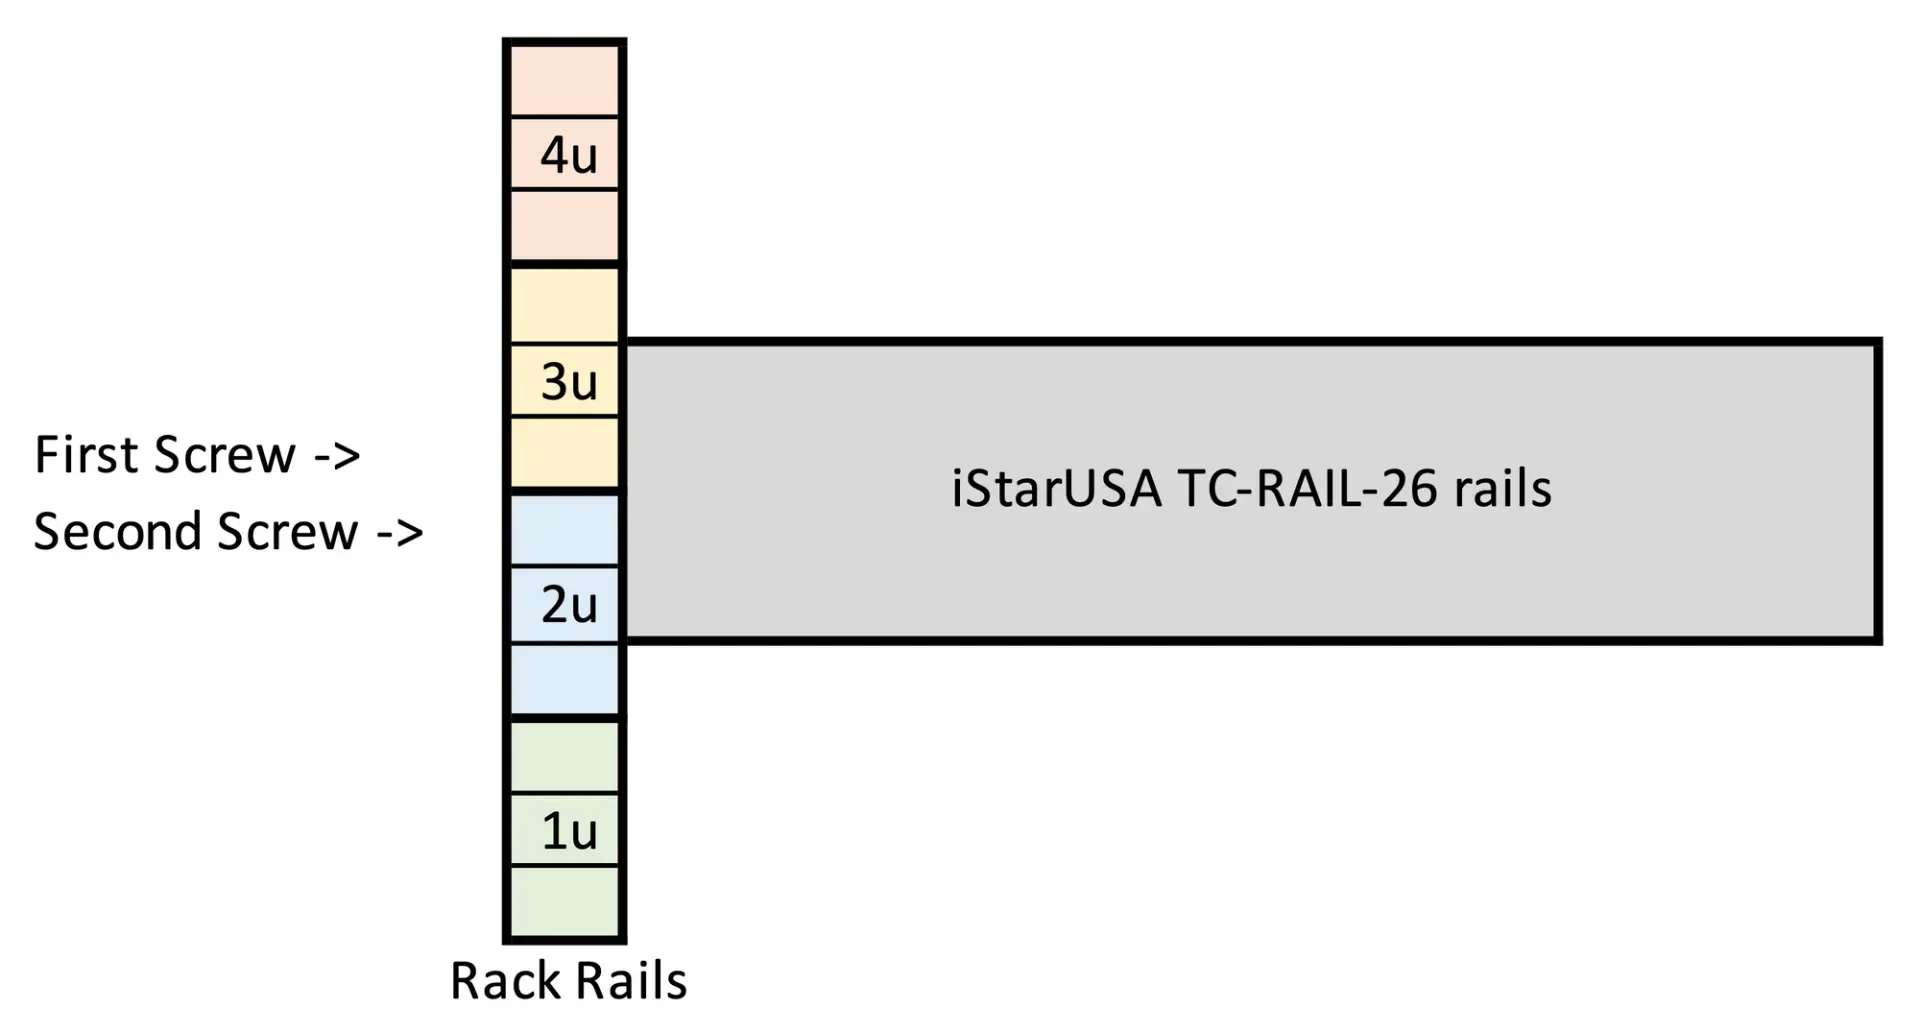
The brackets have four screw holes. In the case of a Rosewill 4u case, two middle holes should be used with the top 2u and bottom 3u square. Once the four square washers are screwed in (two in front, two in the back), the rails will firmly lock into place.
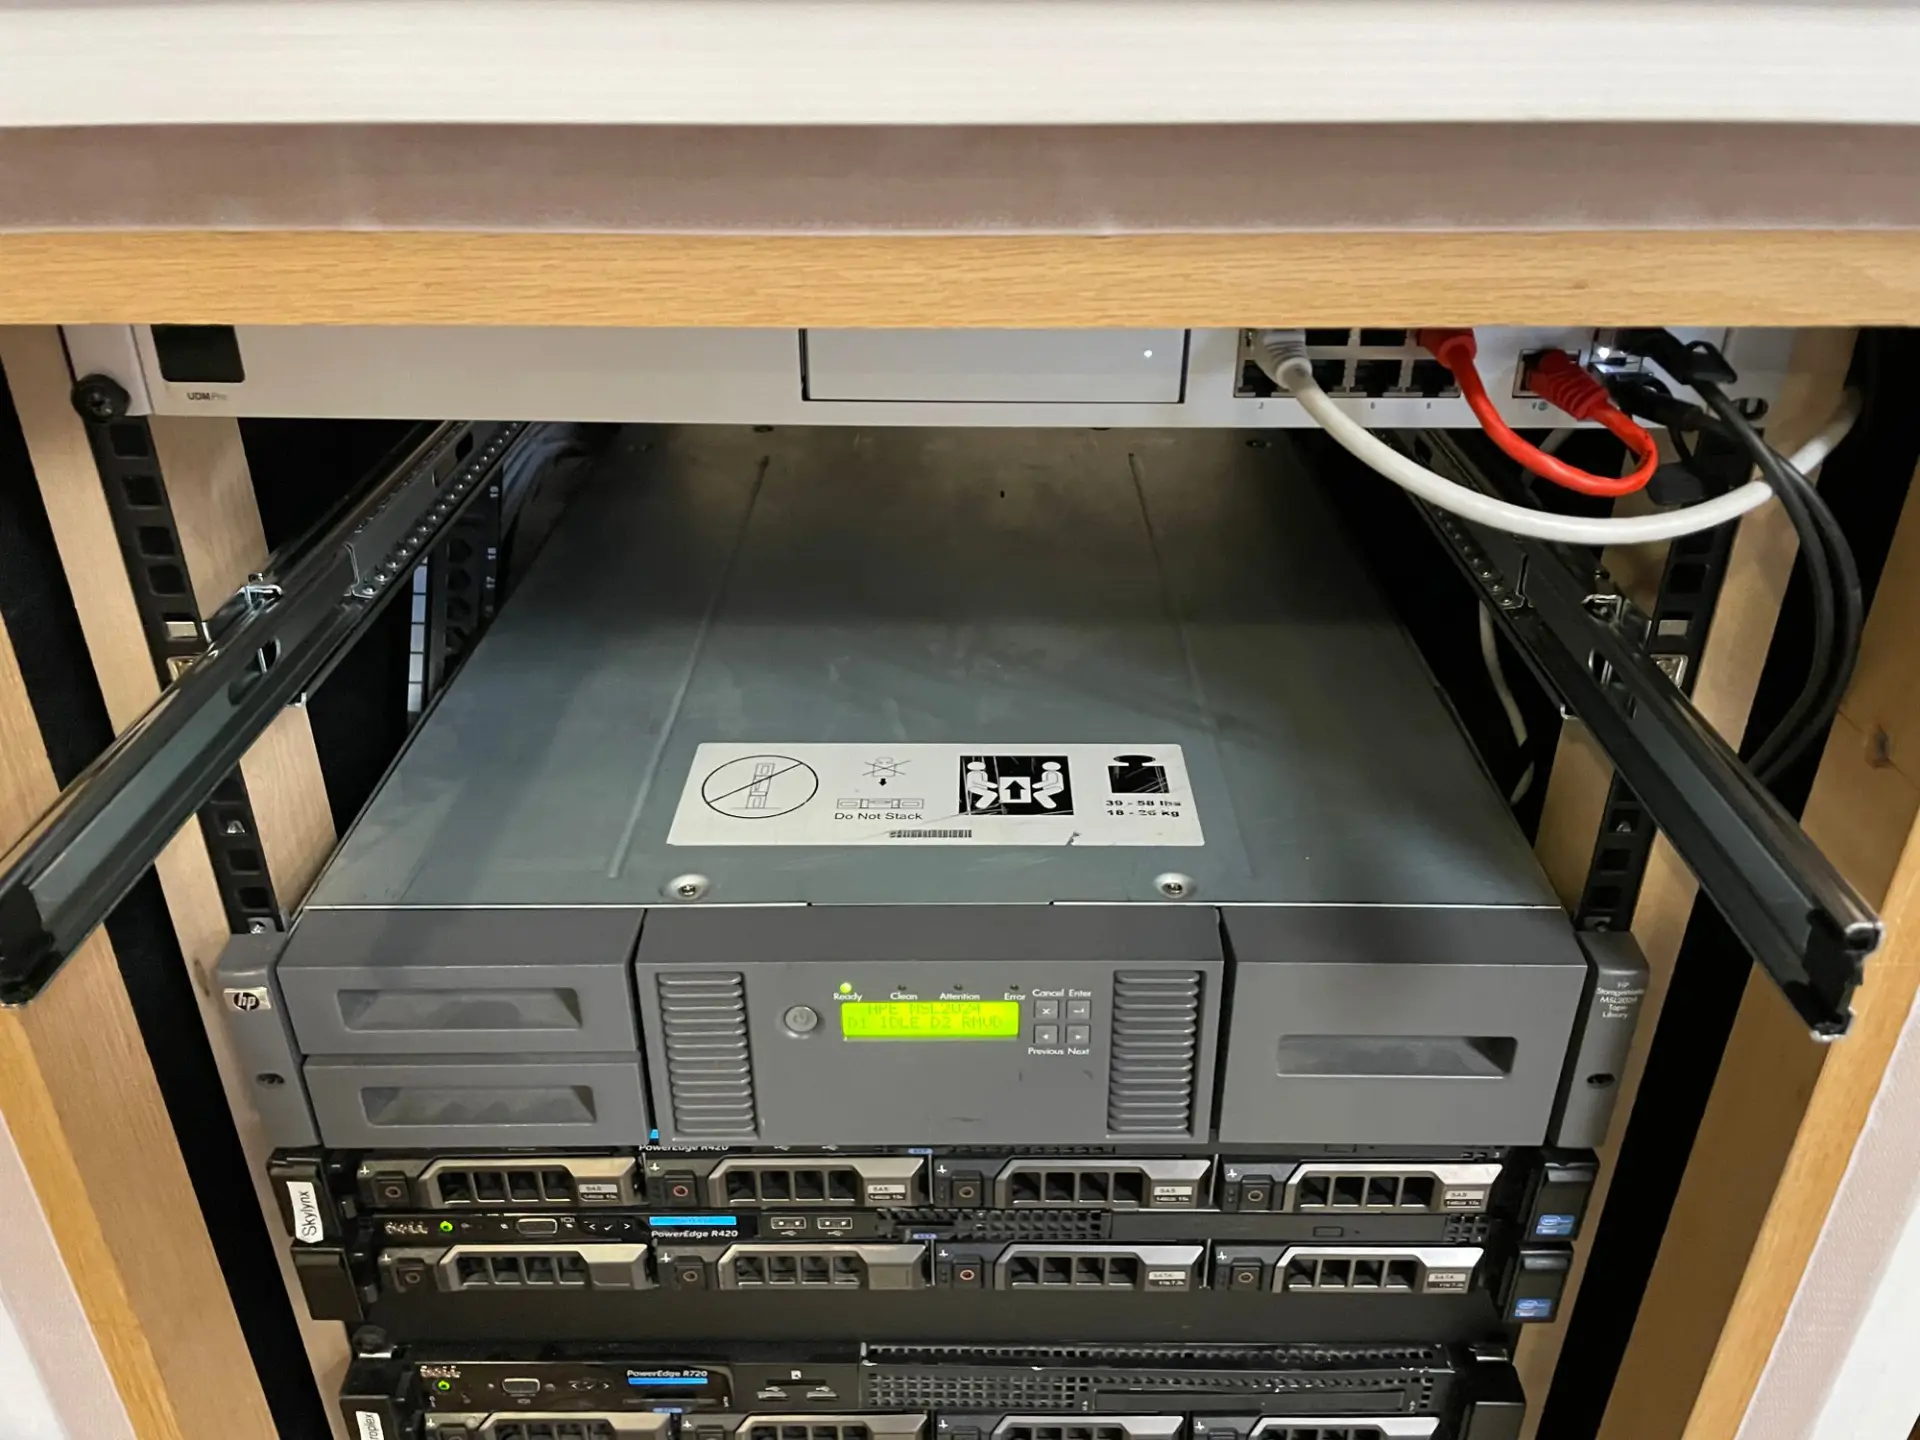
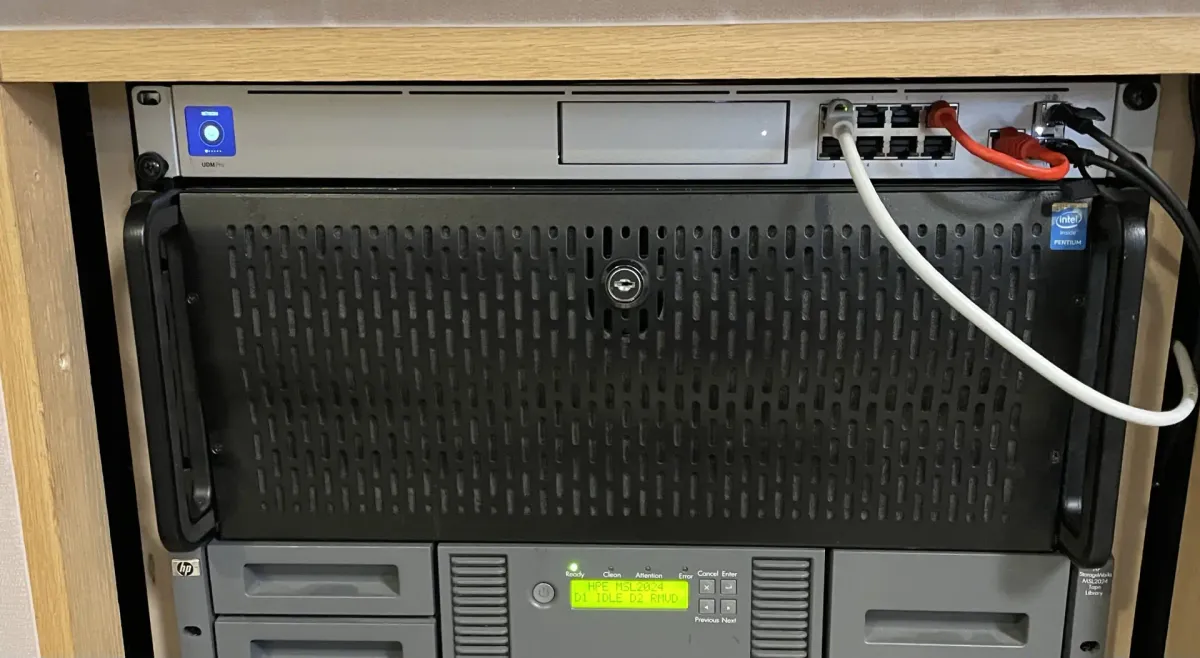
The next step is extending the outer rails and to slip the server's inner rails. Servers are heavy, so take care. The inner rails will not slip into the outer rails unless perfectly aligned. This means the server can't be sagging forward or the rails will not clip into place.
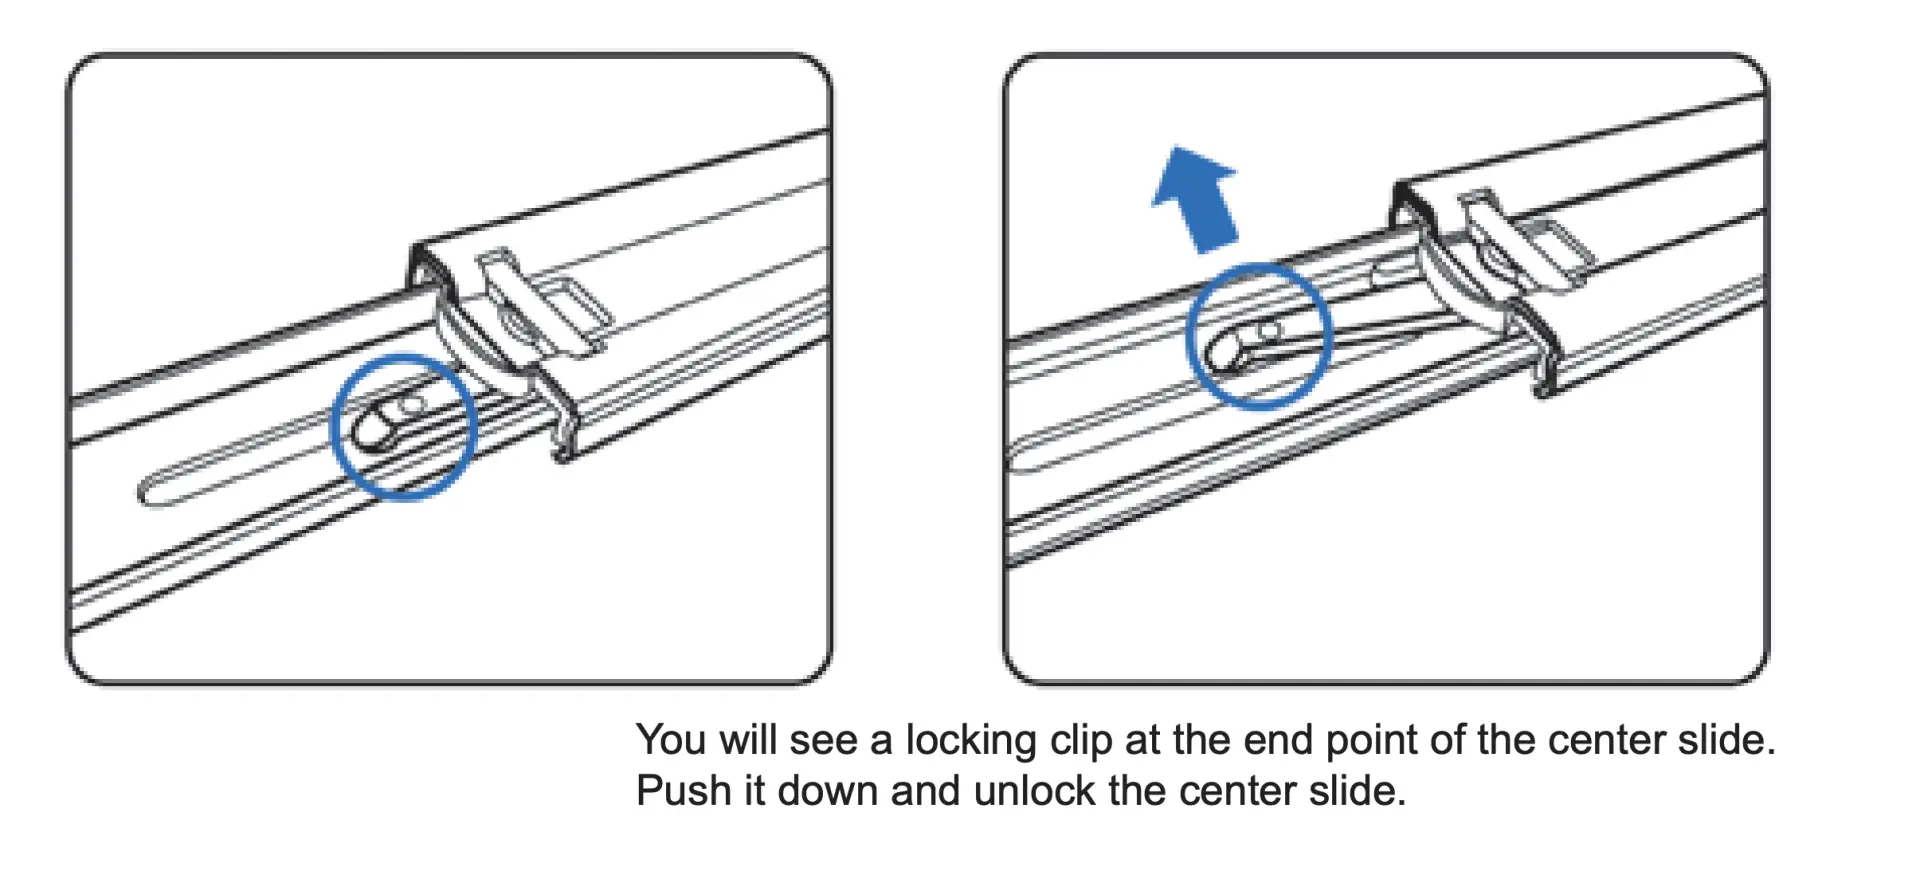
Once installed, the server can easily be pulled out for maintenance. Unfortunately, removing the server can be difficult. The locking clip is quite flimsy and can be difficult to release. Given that the left and right rails are identical, unlocking requires pushing one clip up and the other down. This is easily one of the most confusing aspect of the rails.
The iStarUSA TC-RAIL-26 rails are a great option for racking a RSV-L4500U or a RSV-L4412U. The installation takes a bit of patience, but offers a solution comparable to many of the sliding rails offered for professional servers. If you need to rack this server, skip the official rails and get the iStarUSA instead.