How Do You Set Up the Perfect Electronic Workbench?
Curious about electronics? Start with a simple workbench that grows from blinking LEDs to Arduino projects, and opens the door to endless experiments.

In Independence Day, Jeff Goldblum builds a wireless signal decoder out of spare parts, then casually writes a computer virus for an alien fleet. It looks convincing on screen, but in reality most developers could not tell the difference between a capacitor and a transistor, let alone assemble a working circuit under pressure.
The good news is that electronics can be learned the same way programming is learned: by experimenting. With a small workspace, a set of starter components, and a willingness to tinker, anyone can build the foundation for understanding circuits. Over time, that same foundation becomes the perfect launchpad for working with boards like Arduino or Raspberry Pi, where software and hardware meet.
This article explores three essentials for setting up a beginner electronics workbench: learning the basics, selecting the first tools and components, and preparing a space that grows with your projects.
Learning the Basics
Electronics is best learned by doing. While textbooks provide theory, most beginners make faster progress when they build something and see it work. A flashing LED teaches more about electricity and resistance than a dozen pages of circuit diagrams.
A great place to start is the book Make: Electronics by Charles Platt. Its “learning by discovery” approach encourages experimentation first, explanation second. Following simple guided projects, like building a light sensor or a basic alarm, helps concepts such as voltage, current, and resistance click into place.


Beyond books, there are plenty of modern resources. YouTube channels like Afrotechmods and EEVblog break down concepts into digestible lessons with real-world demonstrations. Communities such as Hackaday, Reddit’s r/electronics, and the Arduino forums provide both inspiration and troubleshooting help when circuits don’t behave as expected.
The key is not to get stuck in research. Skim enough theory to understand what you are trying, then build. Successes will confirm your understanding, while mistakes become valuable lessons in how electricity behaves.
First Projects to Try
The best way to learn electronics is through simple projects that show immediate results. These first experiments don’t require much equipment, but each one introduces a new idea that builds your understanding.
- Blinking a light: The electronics version of “Hello World.” Power a small light, called an LED, and watch it turn on and off. This teaches the basics of electricity flowing through a circuit.
- A button you control: Add a push button or switch so you can control the light yourself. You’ll see how circuits open and close.
- A beeping buzzer: Replace the light with a small speaker or buzzer. Suddenly, your circuit makes sound instead of light.
- Making things blink on their own: By adding a timing element, like a capacitor or a special chip, you can make the light flash automatically.
- A light-sensitive circuit: Add a sensor so that a light turns on when it gets dark, or a buzzer sounds when it gets bright.
Each of these projects can be built on a breadboard without soldering. They are small, quick to assemble, and give you the thrill of building something that works.
Components and Tools
To build your first projects, you only need a small collection of basic components. Each one introduces a new idea, and together they form the foundation of your electronics workbench.
Light-emitting diodes (LEDs) : These small lights are often the very first component beginners work with. They glow when electricity flows through them, which makes them perfect for testing circuits and getting instant feedback that your project is working.

Resistors : Electricity needs to be controlled. Resistors limit how much current flows through a circuit, protecting LEDs and other parts from damage. They come in different strengths, measured in ohms, and each resistor is marked with a set of colored bands that indicate its exact value. Whenever you see a blinking light project, there’s always a resistor in the design keeping everything safe.

Switches and push buttons : A switch opens or closes a circuit, which is the essence of control in electronics. With a switch, you can decide when an LED turns on or when a buzzer sounds. They are also a first step toward understanding how computers process input.

Capacitors : Capacitors store and release energy. In beginner projects, they are often used to create delays, fades, or timed flashes. For example, a capacitor can make an LED slowly dim or a buzzer beep at intervals.

Integrated circuits (ICs) : One of the most famous beginner chips is the 555 timer. It’s like a tiny building block of logic that can make LEDs blink or buzzers beep automatically. Working with a simple IC like this shows how more complex chips inside computers and phones operate at their most basic level.

Sensors : Sensors make electronics interactive. A light sensor (photoresistor or LDR) changes resistance depending on how bright the room is, letting you build circuits that react to light. A temperature sensor can trigger a fan or buzzer when it gets too hot. These components prepare you for Arduino or Raspberry Pi projects, where sensors become the inputs your code responds to.

Breadboard and Jumper Wires : A breadboard is your canvas. It’s a plastic board full of holes that lets you connect components without soldering. They come in different sizes, from small boards for quick tests to large boards for more elaborate circuits. Jumper wires plug everything together, letting you experiment and rebuild in minutes.

Battery packs : Most first projects are powered by simple AA battery packs with leads that plug directly into a breadboard. They provide a safe, low-cost way to start experimenting before moving on to more advanced power supplies.

All of these parts can be purchased individually, but for beginners it is often easier to start with a reputable starter kit. Kits bundle LEDs, resistors, sensors, and breadboards into one box, saving time and ensuring compatibility. Reliable options include the Elegoo Starter Kit, Adafruit Experimentation Kit, and SparkFun Inventor’s Kit. These kits also include project guides, making them excellent for self-teaching.
Building the Workbench
Once you have components to experiment with, the next step is equipping your workspace with the right tools. Think of these as upgrades, added in order of priority as your projects become more ambitious.
Wire cutters and strippers : The first tool you’ll reach for again and again. Wire cutters let you trim excess leads from components, while strippers prepare clean jumper wires when you move beyond pre-made sets. Having the right tool here makes every project easier and neater.

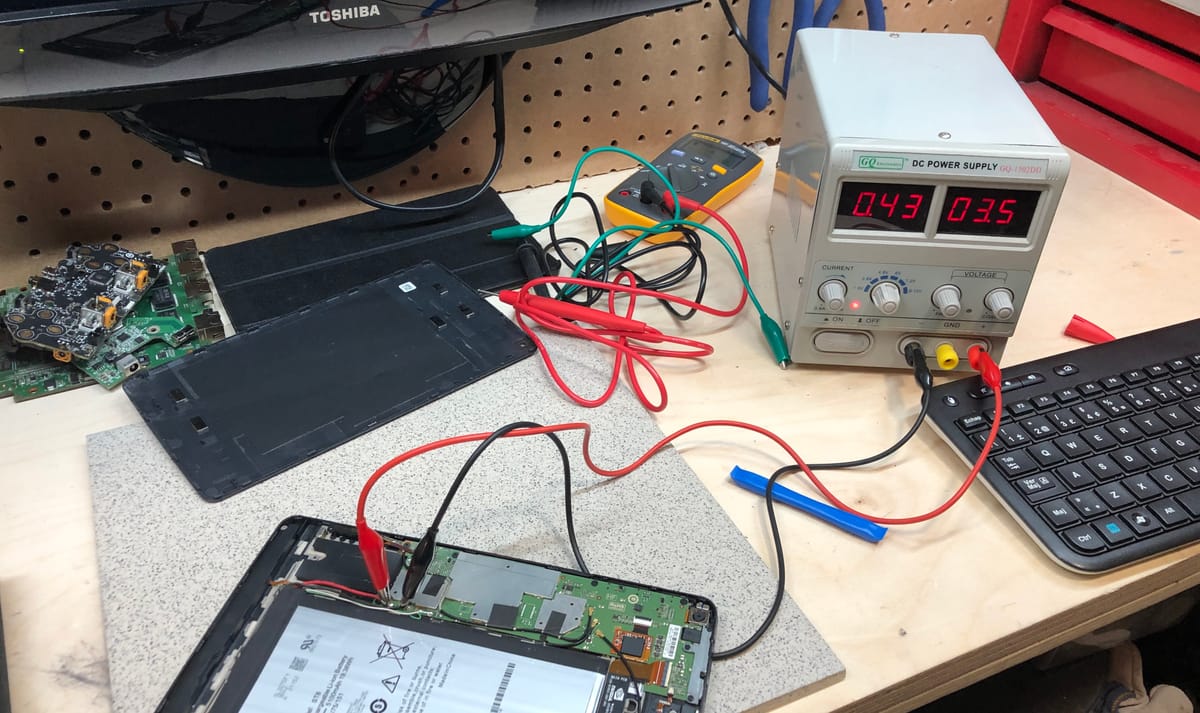
Digital multimeter : The most important diagnostic tool on your bench. A multimeter measures voltage, current, and resistance, making the invisible rules of electricity visible. It’s invaluable for troubleshooting and is the foundation of every electronics workspace. Even a modest entry-level model will serve you well.

Storage organizers : Electronics involves dozens of small components, resistors, LEDs, capacitors, sensors, that quickly become unmanageable without organization. Small drawers, bins, or craft boxes keep everything sorted and accessible, saving both time and frustration.

Soldering iron : Breadboards are excellent for temporary circuits, but sooner or later you’ll want something permanent. A basic soldering iron opens the door to building reliable prototypes, repairing devices, and eventually working with custom circuit boards. Pair it with a stand and some solder wire to get started.

Helping hands and magnification : Electronics often means dealing with tiny components that are difficult to hold steady. A simple “helping hands” tool, two small clamps on adjustable arms, usually with a magnifying glass, makes soldering and inspection much easier.

Stable power : Batteries are fine for your first experiments, but they drain quickly and deliver inconsistent voltage as they weaken. To make your projects more reliable, it’s worth investing in stable power. Two options stand out, each suited to a different stage of your journey.
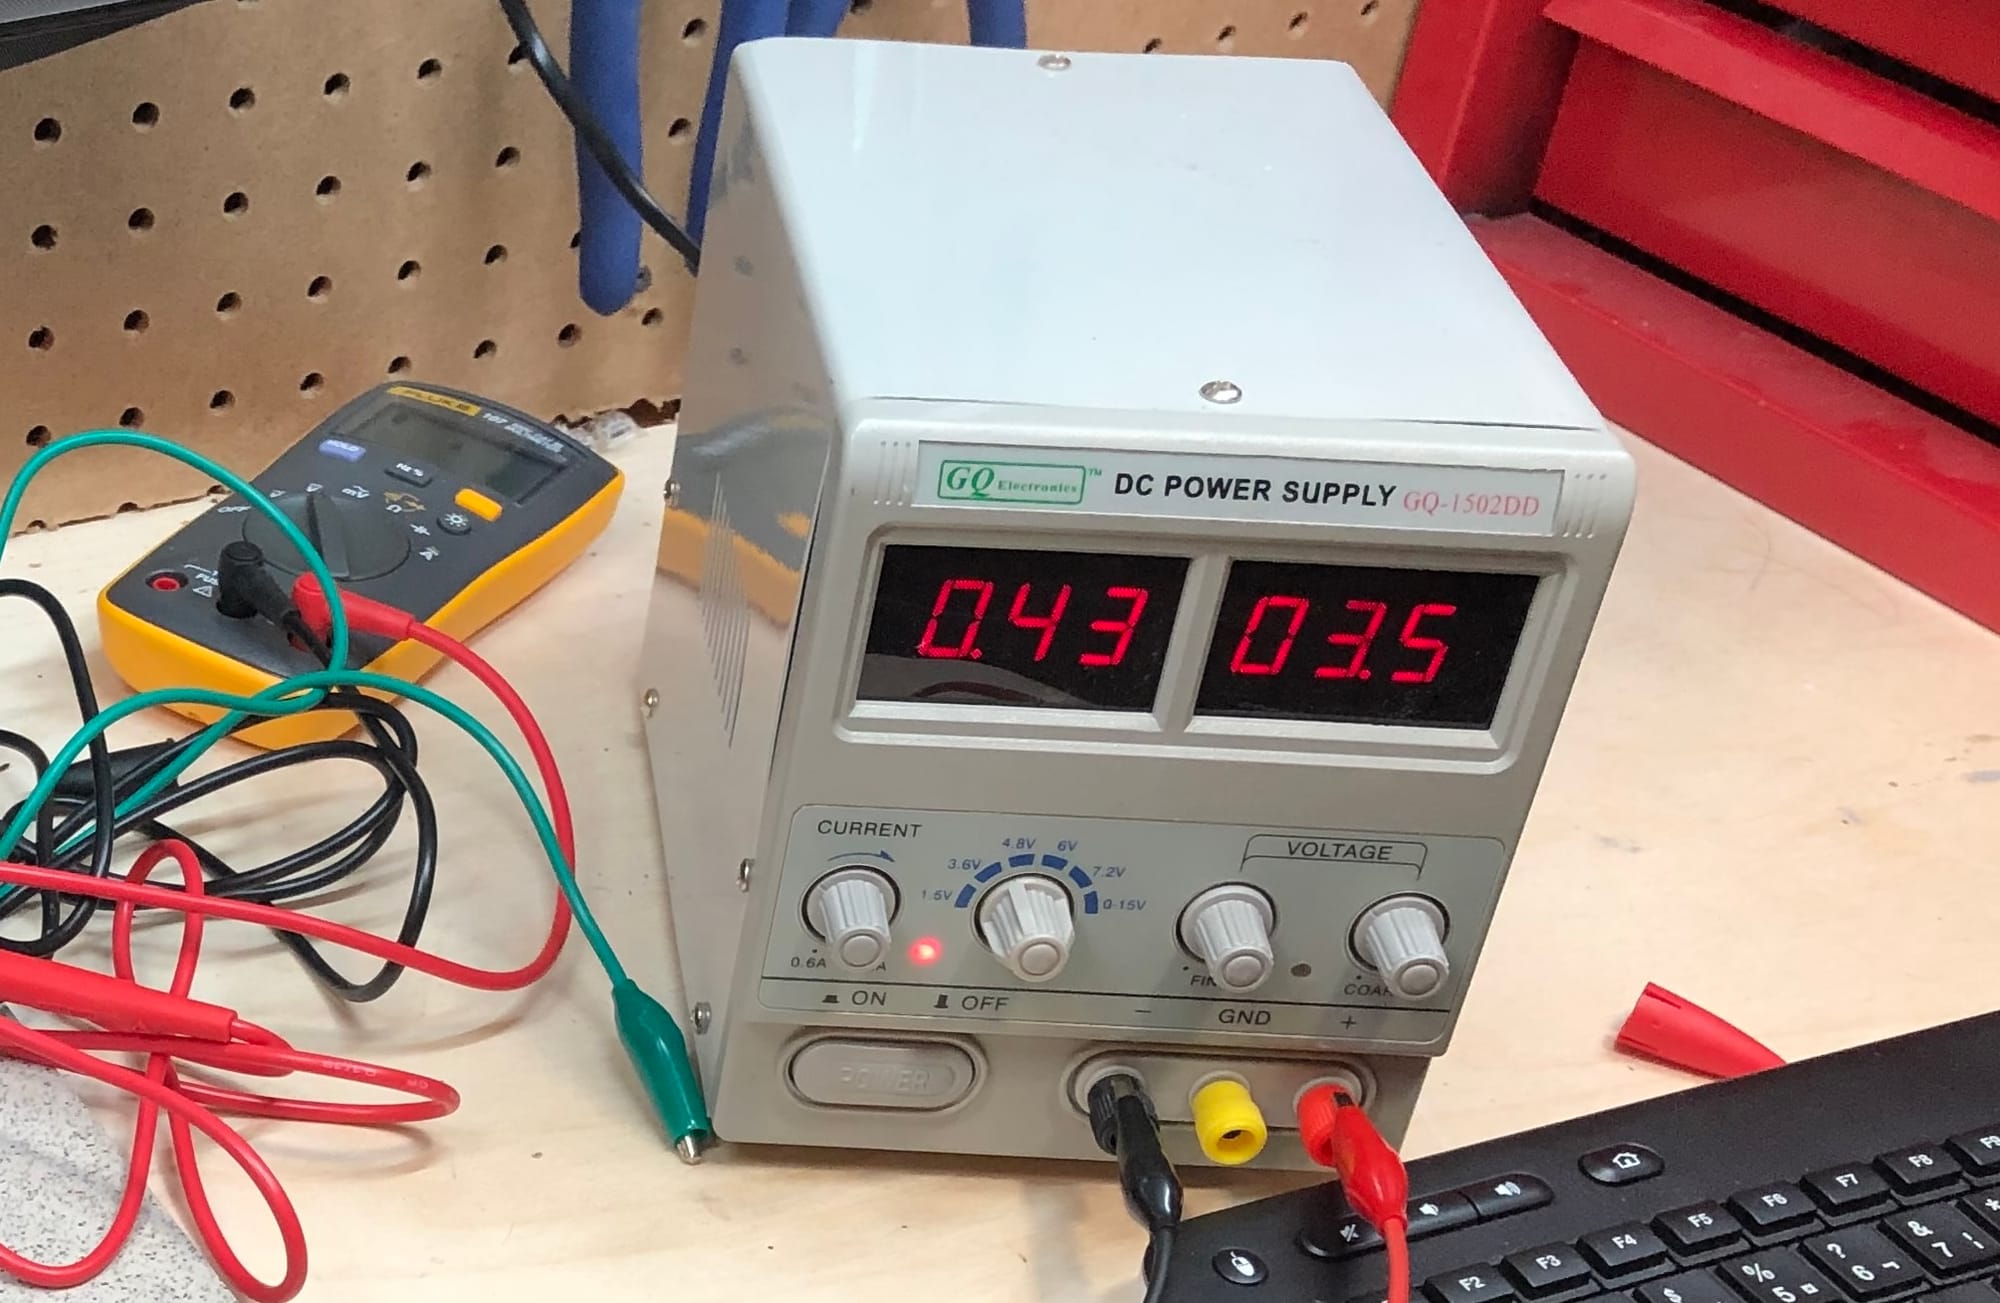
A bench power supply is the gold standard. It lets you set both the voltage and the maximum current, protecting your components from accidents while giving you precise control. Many affordable models even include digital displays, so you can watch exactly what your circuit is drawing. Once you start building more advanced projects, or working with sensitive chips, having this kind of control is invaluable.
A breadboard power module is a more beginner-friendly option. These small adapters plug directly into a breadboard and convert power from a USB cable or a wall adapter into clean 3.3V or 5V rails. They’re inexpensive, portable, and perfectly suited to projects with LEDs, sensors, or even microcontrollers like the Arduino. While they don’t offer the same flexibility as a full bench supply, they’re an excellent step up from juggling AA battery packs.
Precision tool kit : Exploring electronics often means taking things apart to see how they work. A precision screwdriver set, such as those made by iFixit, gives you the bits and tools needed to safely open laptops, phones, or other devices. Teardowns supply spare parts and provide insight into how professionals design circuits.

Heat-shrink tubing and hot glue : These are finishing touches rather than essentials, but they quickly become indispensable. Heat-shrink tubing and electrical tape insulate and protect soldered connections, while hot glue adds strength or strain relief to fragile wires.

Added step by step, these tools transform your setup from a beginner’s bench into a versatile workspace for repair, prototyping, and long-term projects.
From Circuits to Microcontrollers
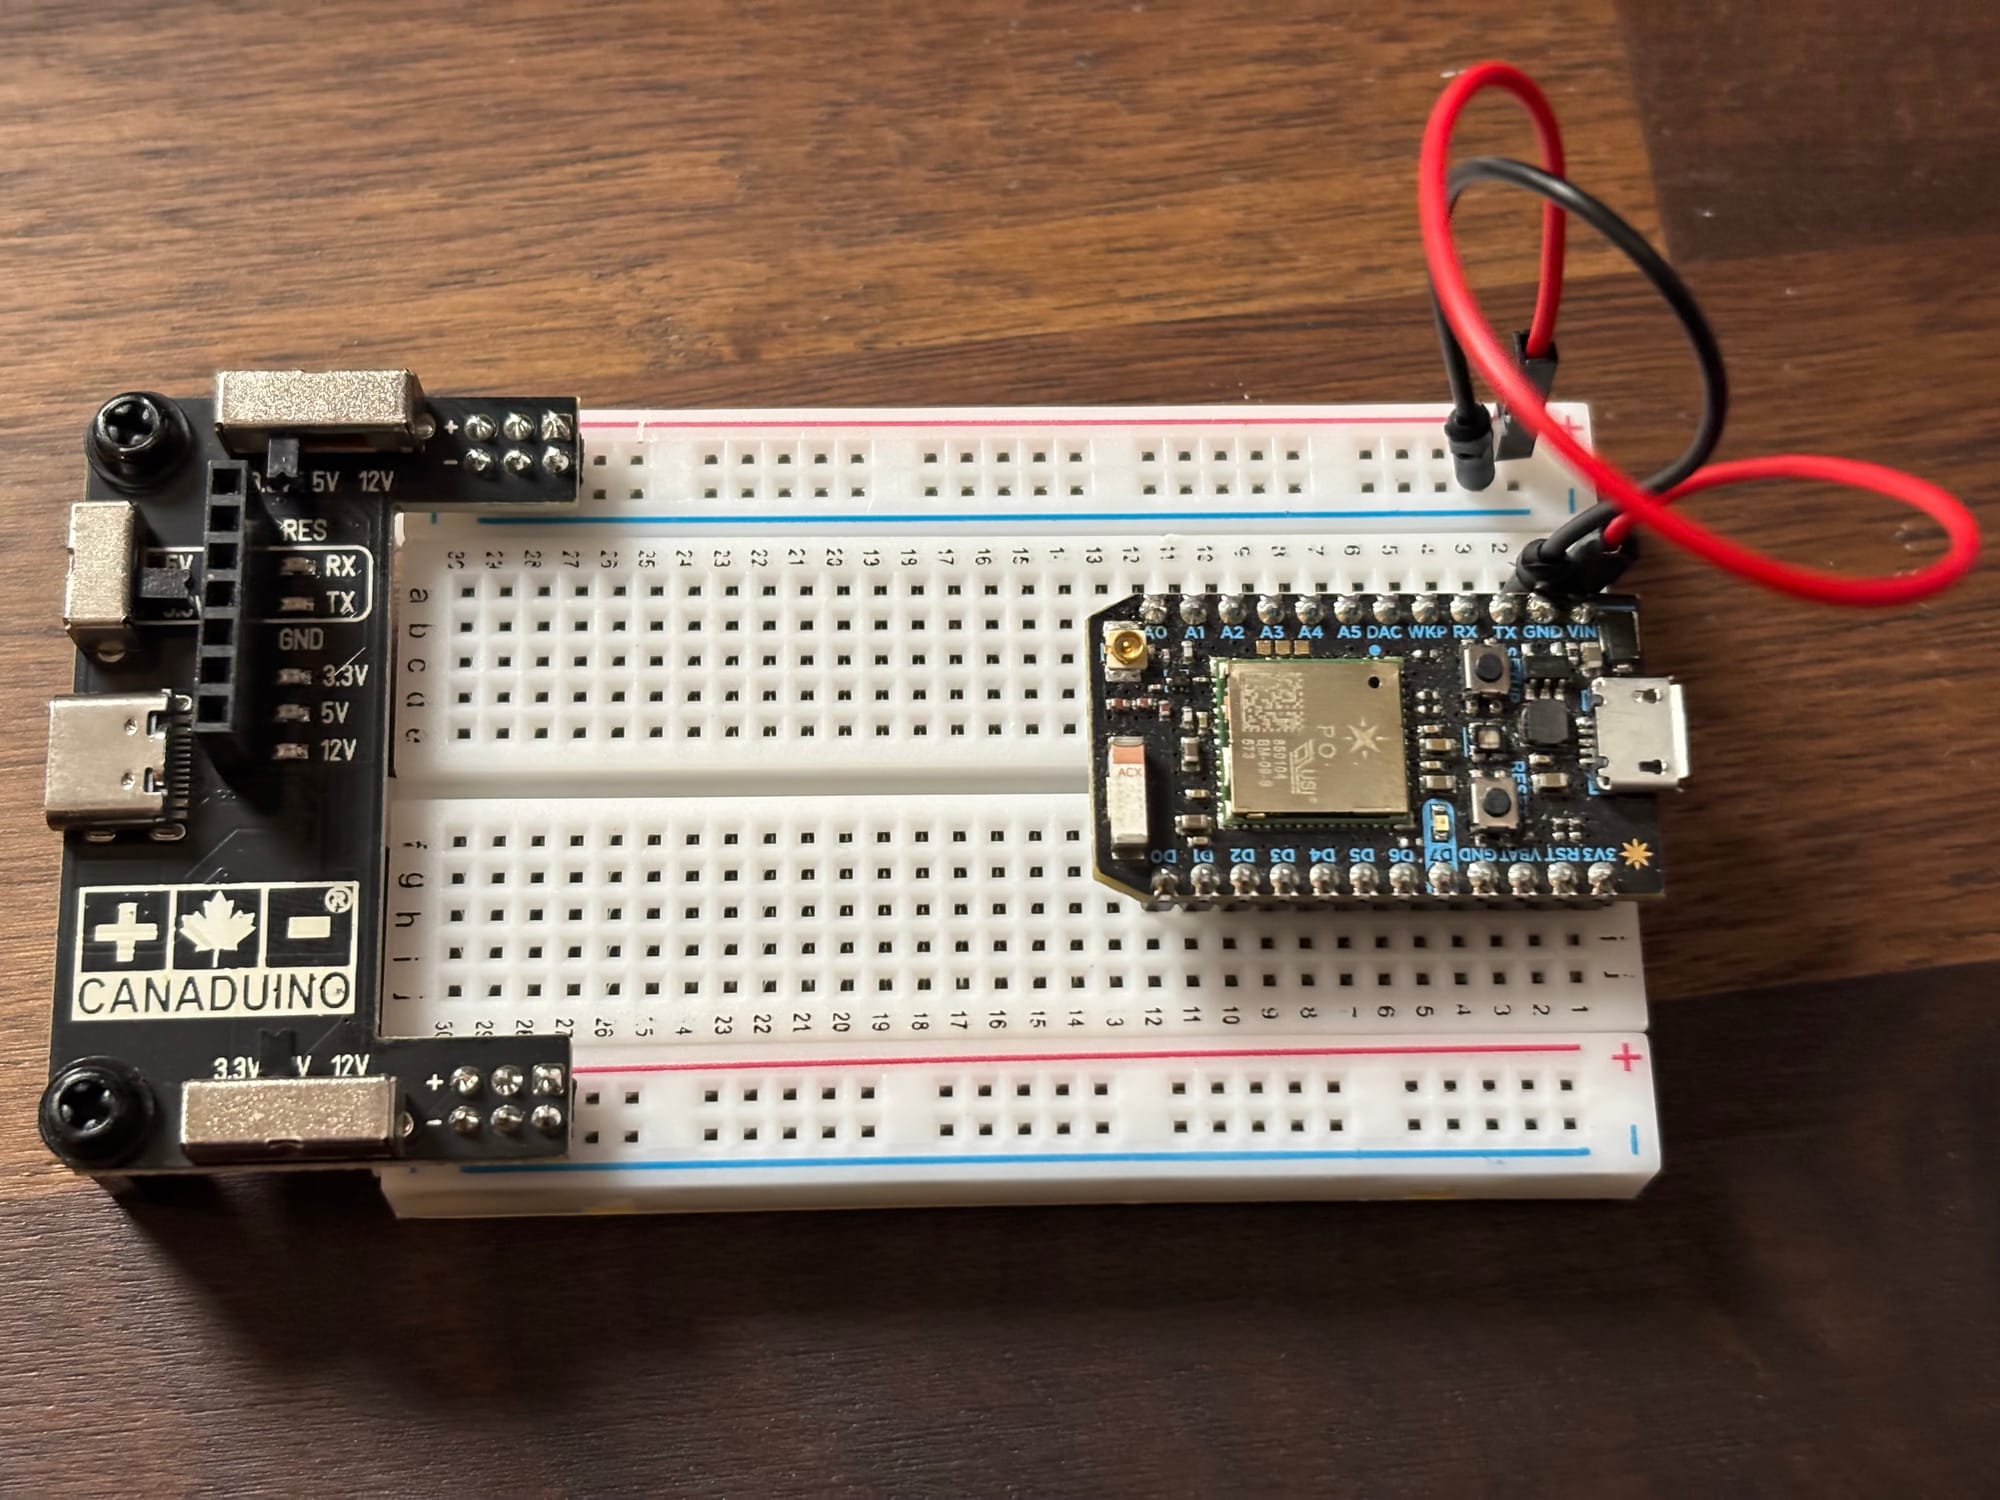
Once you are comfortable wiring up LEDs, switches, and sensors on a breadboard, the natural next step is to introduce a microcontroller. Microcontrollers act as the “brains” of your projects, combining your new understanding of circuits with the power of software.
Arduino is the most common place to start. With a simple programming language and an enormous library of tutorials, it bridges the gap between hardware and code. The same LEDs, resistors, and sensors you experimented with earlier can now be connected to an Arduino board, allowing you to write programs that blink lights in patterns, read sensor data, or drive motors. The transition feels natural: instead of flipping a switch with your hand, your code becomes the switch.

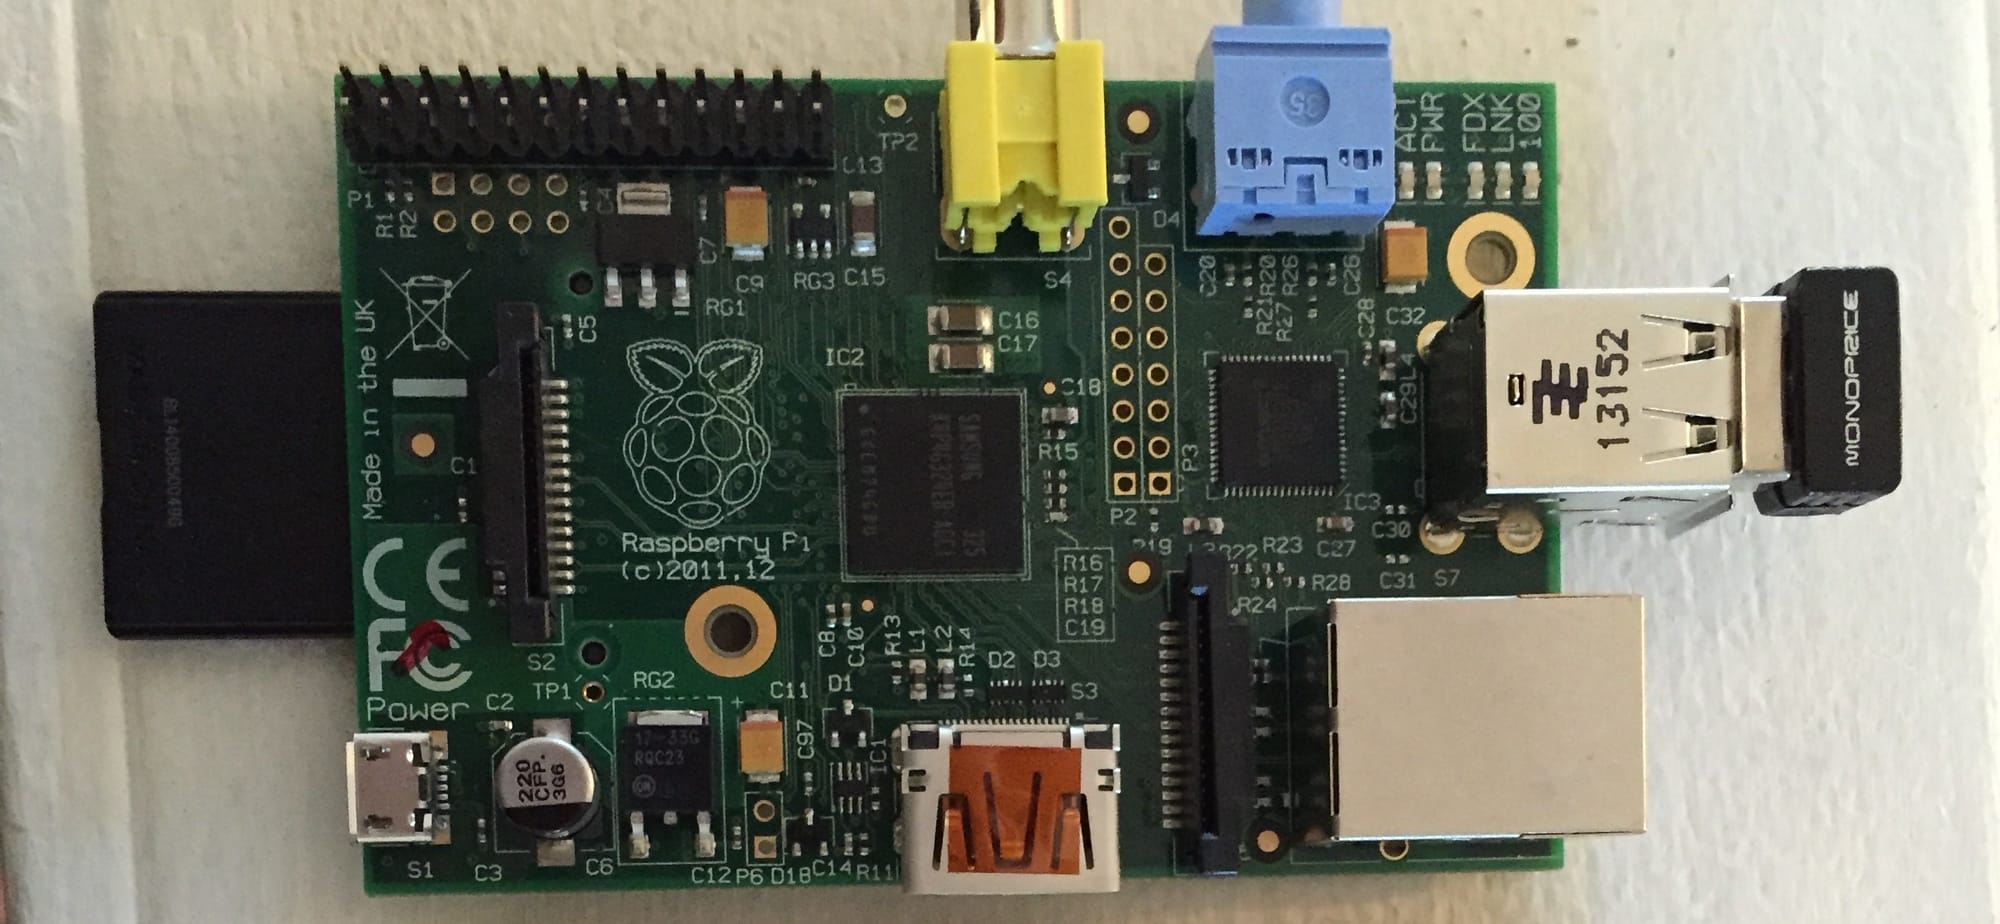
Raspberry Pi takes things further. Unlike the Arduino, which runs one program at a time, the Raspberry Pi is a full computer the size of a credit card. It can run Linux, connect to the internet, and interface with almost any peripheral. While it is more complex, it still relies on the same electronic fundamentals, LEDs, resistors, and sensors, when interacting with the outside world through its GPIO pins.
Together, these boards extend the reach of your workbench. What begins as a light blinking on command can grow into a temperature logger, a motion-activated camera, or even a small robot. The tools and components you started with remain useful, but the addition of microcontrollers unlocks an entirely new level of experimentation.
Opening the Door to More
Setting up a beginner electronics workbench is only the first step. Beyond LEDs and sensors lies an entire world of possibilities. Motors and servos can add motion, ultrasonic sensors can measure distance, and displays can bring information to life.

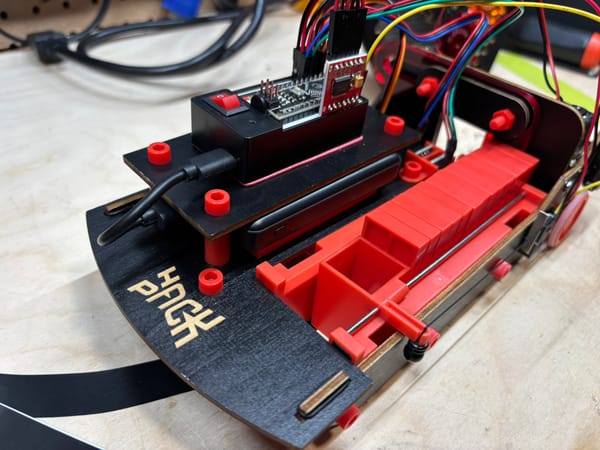
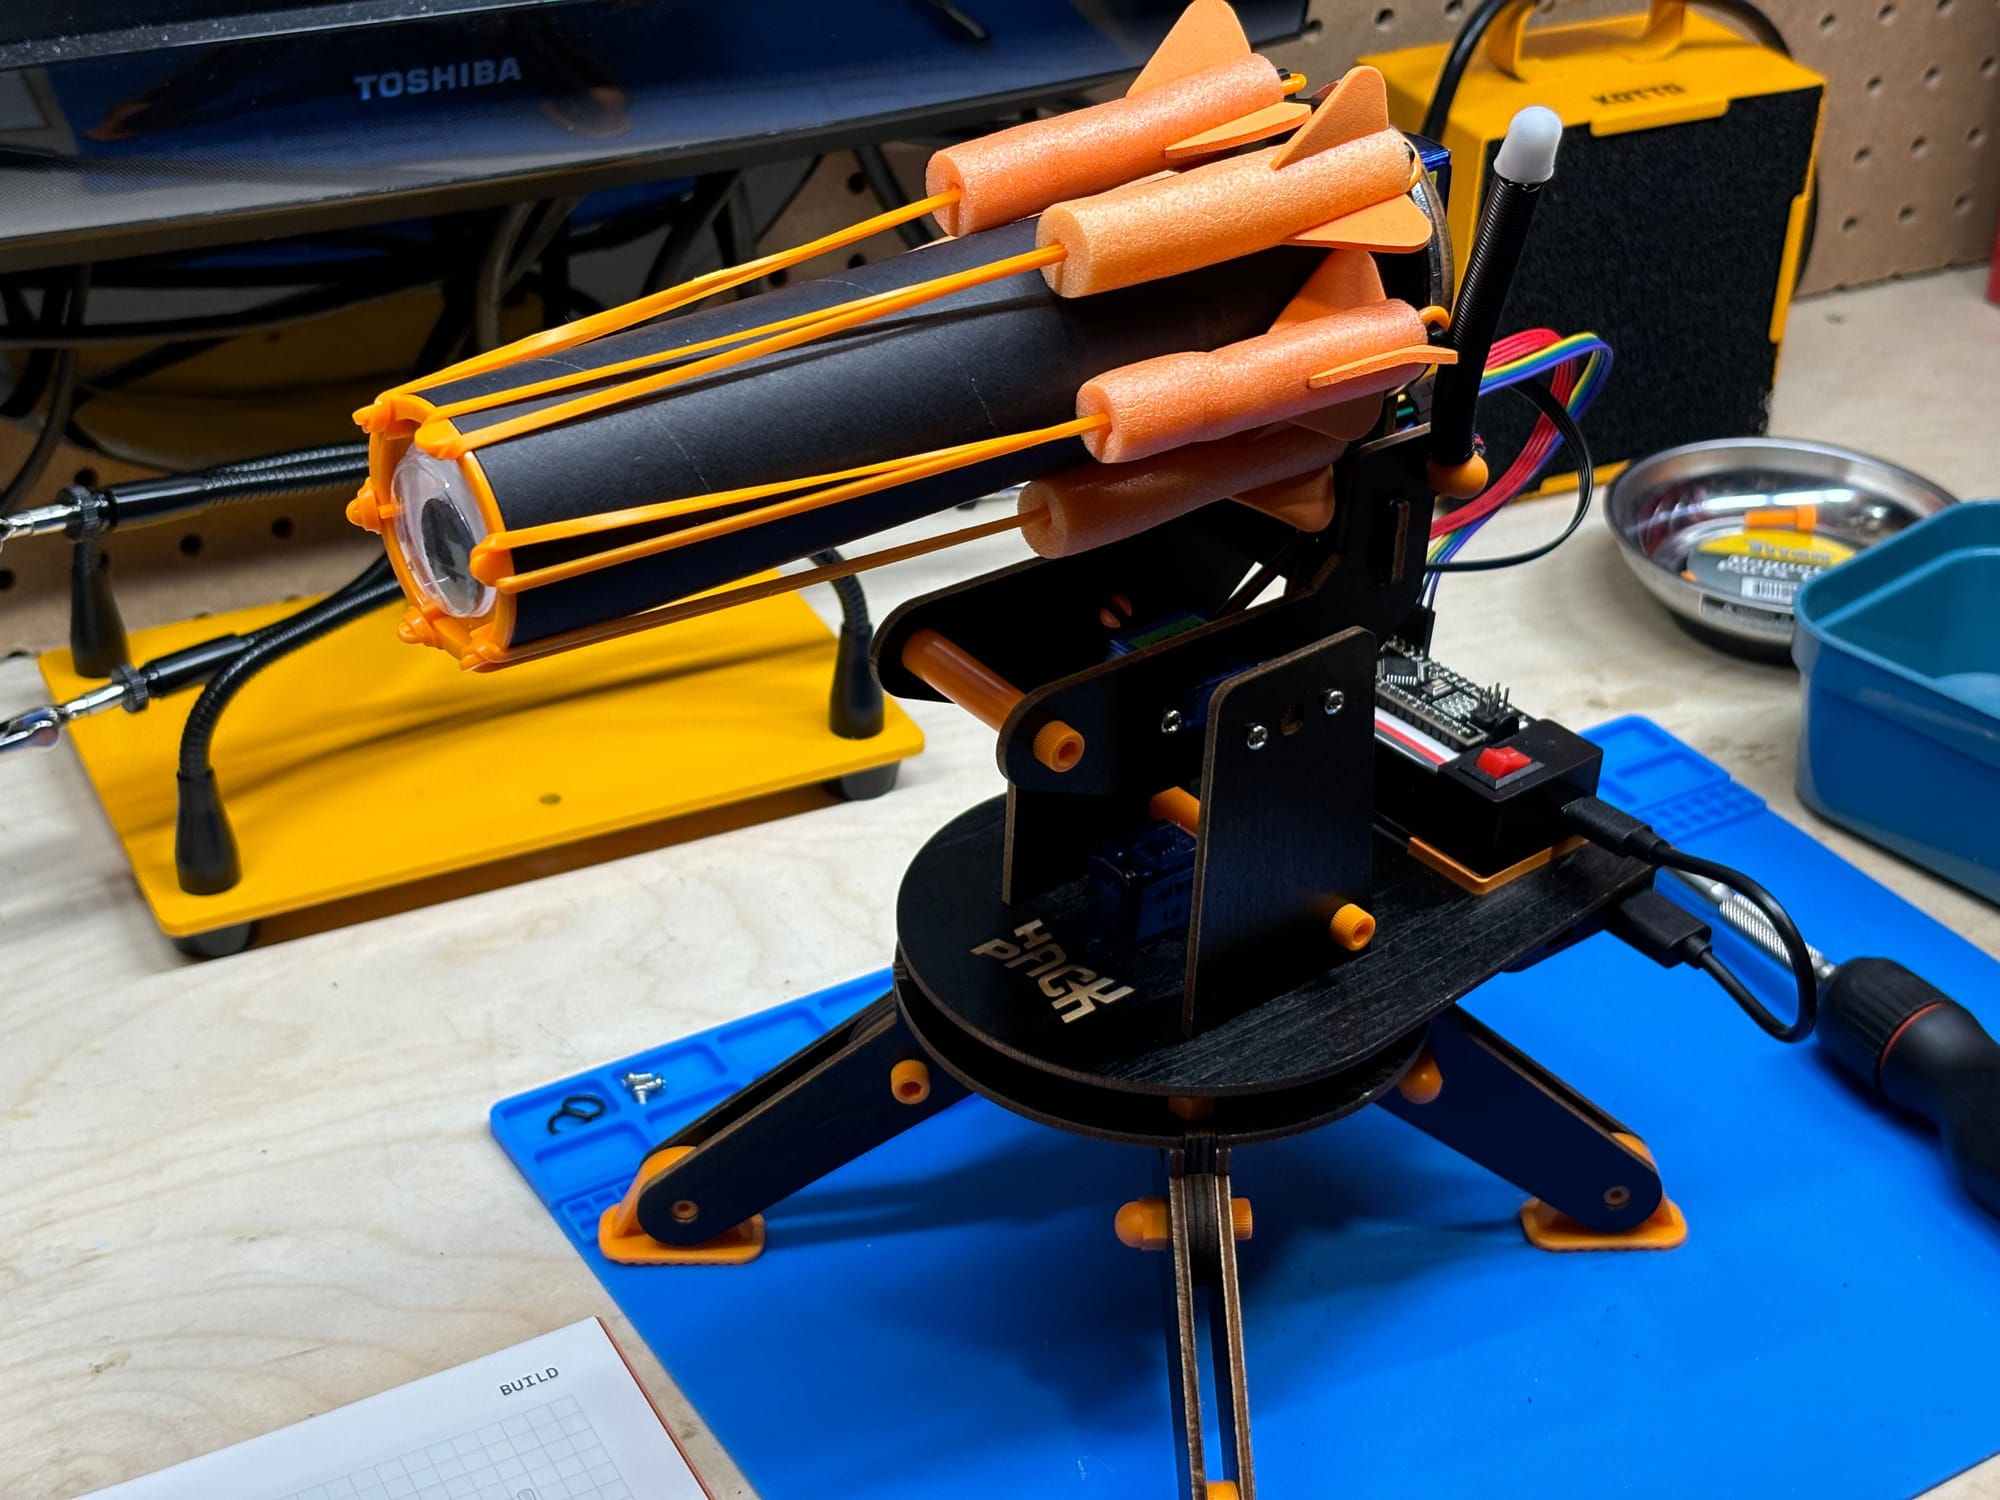
Even outside traditional microcontrollers, electronics knowledge expands what you can do with other tools. The Flipper Zero, for example, includes GPIO pins that allow simple circuits to be added. Mark Rober’s Hack Pack kits become more than just guided builds when paired with the ability to customize and expand them.

The projects described here are only the beginning. With each new component, tool, and idea, your workbench evolves into a platform for invention, whether that means robotics, connected devices, or something entirely new.