What is an Arduino? Getting Started
Microelectronics are more accessible than ever thanks to development boards like Arduino. Learn what Arduino is, how it powers projects, and explore different ways to dive into this exciting technology.


In recent years, microelectronics have become more accessible than ever. What once required expensive equipment and a deep understanding of circuitry can now be achieved with affordable, beginner-friendly tools. At the heart of this shift is the Arduino, a small development board that has opened the world of electronics to hobbyists, students, and professionals alike. Whether you're building your first LED circuit or prototyping an automation system, Arduino makes it easier to explore and create.
This article introduces the basics of Arduino, explores how it powers projects like Mark Rober’s Hack Pack, and offers tips for getting started—without breaking the bank.
What Is Arduino?
Arduino is an open-source electronics platform built around simple hardware and software. Each board features a microcontroller, a small computer that can interact with the physical world. By reading inputs, such as temperature, light, or motion and generating outputs, like turning on an LED or rotating a motor, Arduino can bring simple or complex devices to life.
The real strength of Arduino lies in its simplicity. The programming environment is beginner-friendly, and its large community offers countless tutorials, code libraries, and project examples. Whether blinking a single LED or building a sensor-driven robot, Arduino scales easily from basic concepts to advanced builds.

Prototyping with Ease
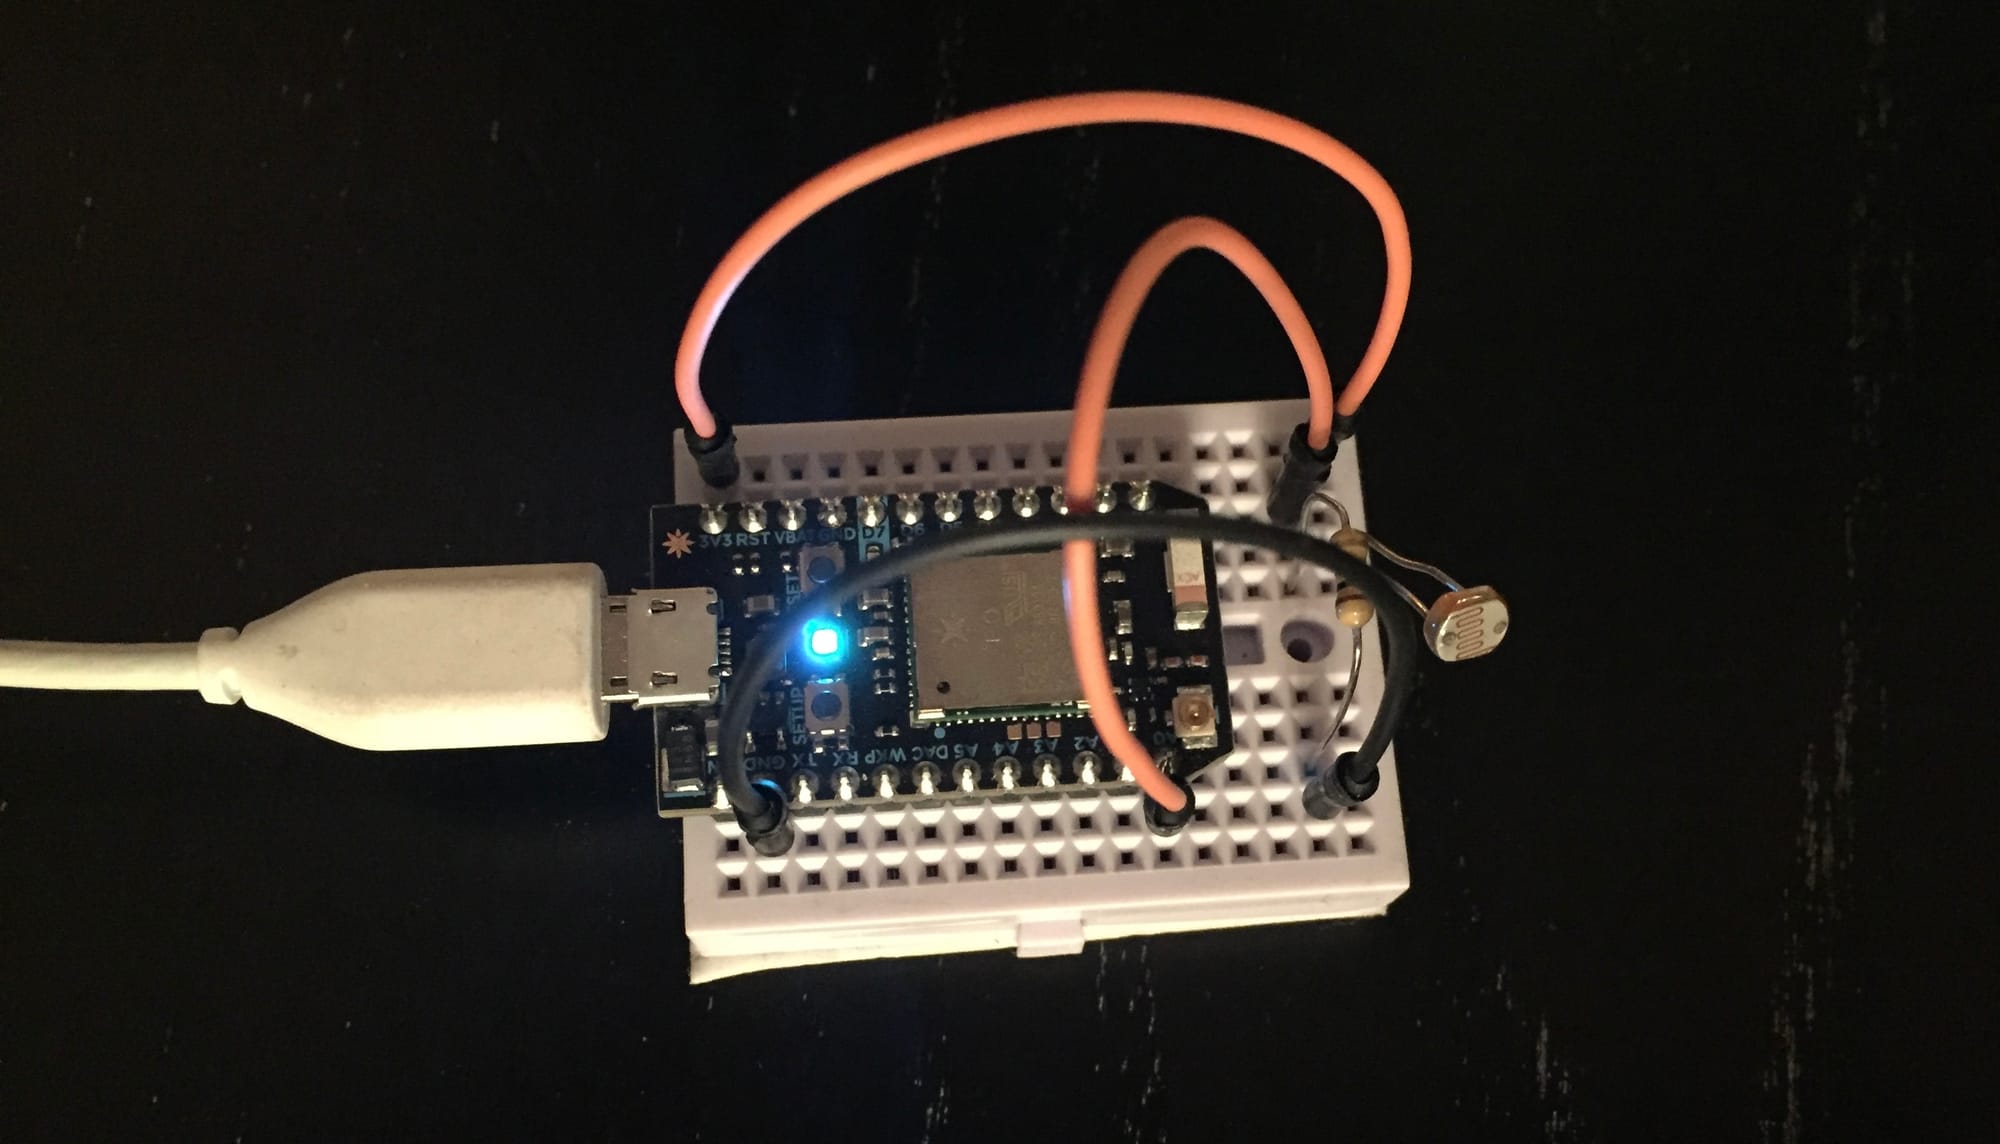
Connecting components to an Arduino board is straightforward. A typical first project involves wiring an LED to a digital pin and writing code to make it blink. From there, it's a small step to attaching a servo motor, reading sensor data, or controlling multiple components at once.
The versatility of the Arduino has inspired countless projects. From simple light shows using multiple LEDs to more intricate creations like automated plant watering systems or home automation setups, the possibilities are endless. Some have even built robots, weather stations, and wearable technology—all powered by this little board. The Arduino’s flexibility allows it to serve both fun projects and practical applications, making it an essential tool for prototyping.
The Arduino Board Itself
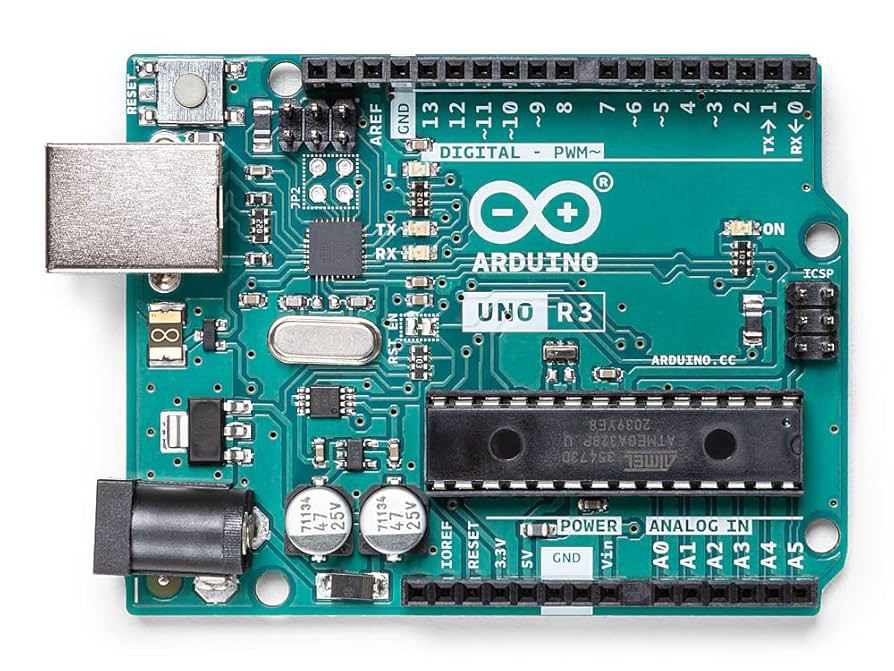
At its core, an Arduino is a microcontroller development board that follows a set of hardware and software conventions. Most use a microcontroller like the ATmega328P (in the popular Uno), paired with a USB interface, voltage regulator, and headers for connecting sensors or actuators. The board comes preloaded with a lightweight bootloader, which allows code to be uploaded over USB without special tools.
One of the most important features of an Arduino board is its GPIO pins: the physical interface through which the microcontroller interacts with the outside world. These pins can be configured as either inputs (to read buttons, sensors, or switches) or outputs (to control LEDs, motors, or relays). Some support analog input, allowing the board to measure variable signals like light or temperature. Others can simulate analog output using PWM (pulse-width modulation), often used for dimming LEDs or setting servo positions. The software interface makes it easy to assign functions to these pins, enabling beginners to control hardware with only a few lines of code.
Beyond the physical board, Arduino is a platform. Its strength lies in the consistent programming model—functions like pinMode(), digitalWrite(), and delay() work across all official Arduino boards and many third-party variants. This makes it possible to switch between different hardware without rewriting code from scratch. Combined with the easy-to-use Arduino IDE and a vast community of support, this consistency is what truly defines the Arduino experience.
Building More with Shields and Modules
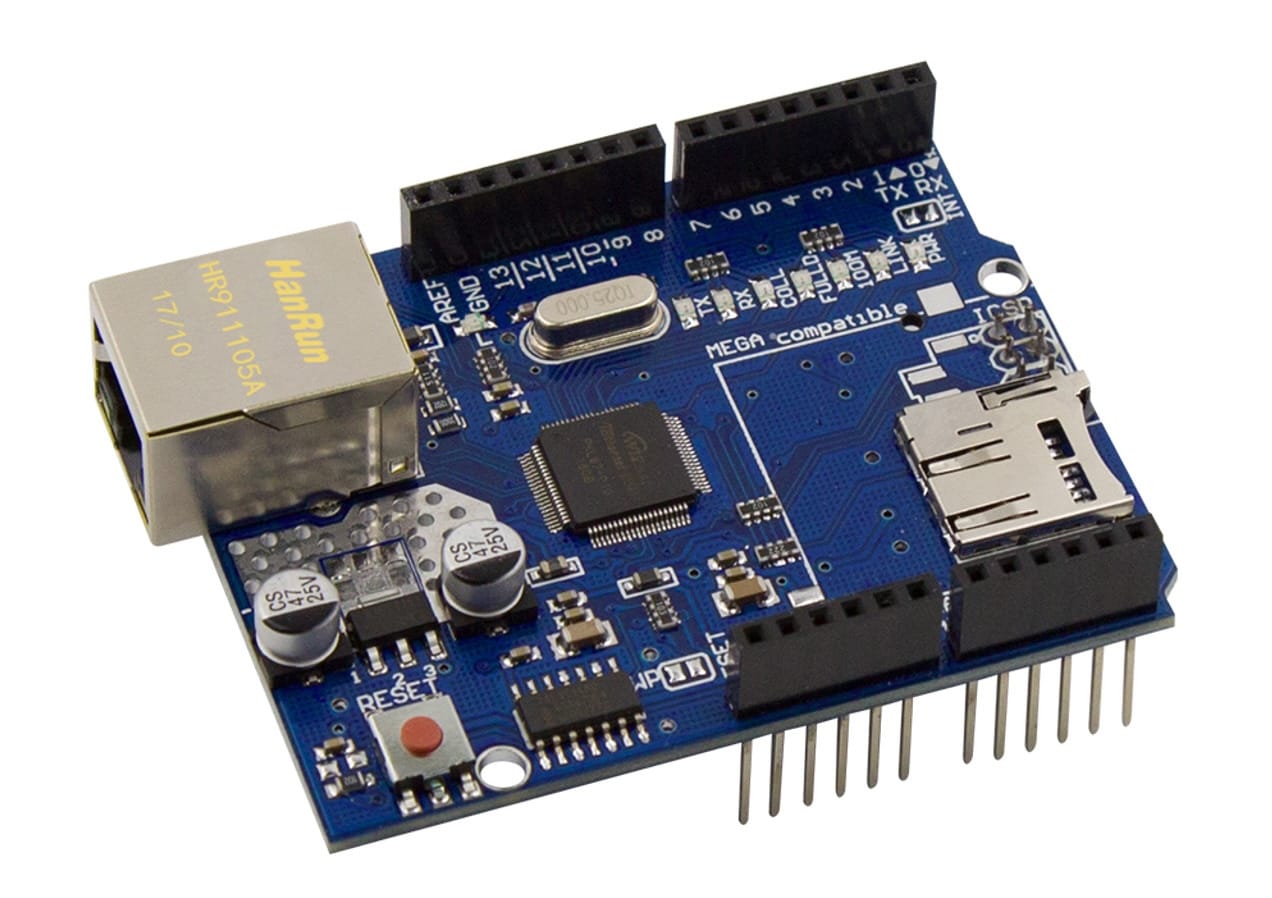
Arduino’s popularity sparked an entire ecosystem of add-ons. The most recognizable are shields: stackable boards that plug directly into the top of Arduino headers. Common shields include motor drivers, Ethernet adapters, GPS receivers, and LCD displays. These add-ons are designed to align with the standard Arduino Uno footprint, making them easy to mix and match without rewiring your project.
In parallel, many projects use external modules connected by jumper wires or cables—often using I2C or SPI. These might include temperature sensors, ultrasonic range finders, or real-time clocks. Because Arduino libraries abstract most of the low-level communication, integrating these modules usually takes only a few lines of code. This plug-and-play mindset is a big reason Arduino remains a go-to choice for both education and prototyping.
Beyond Arduino
Not all development boards that use the Arduino IDE are officially made by Arduino. Many third-party boards offer extended capabilities while maintaining the familiar programming model. Some of the most notable examples include:
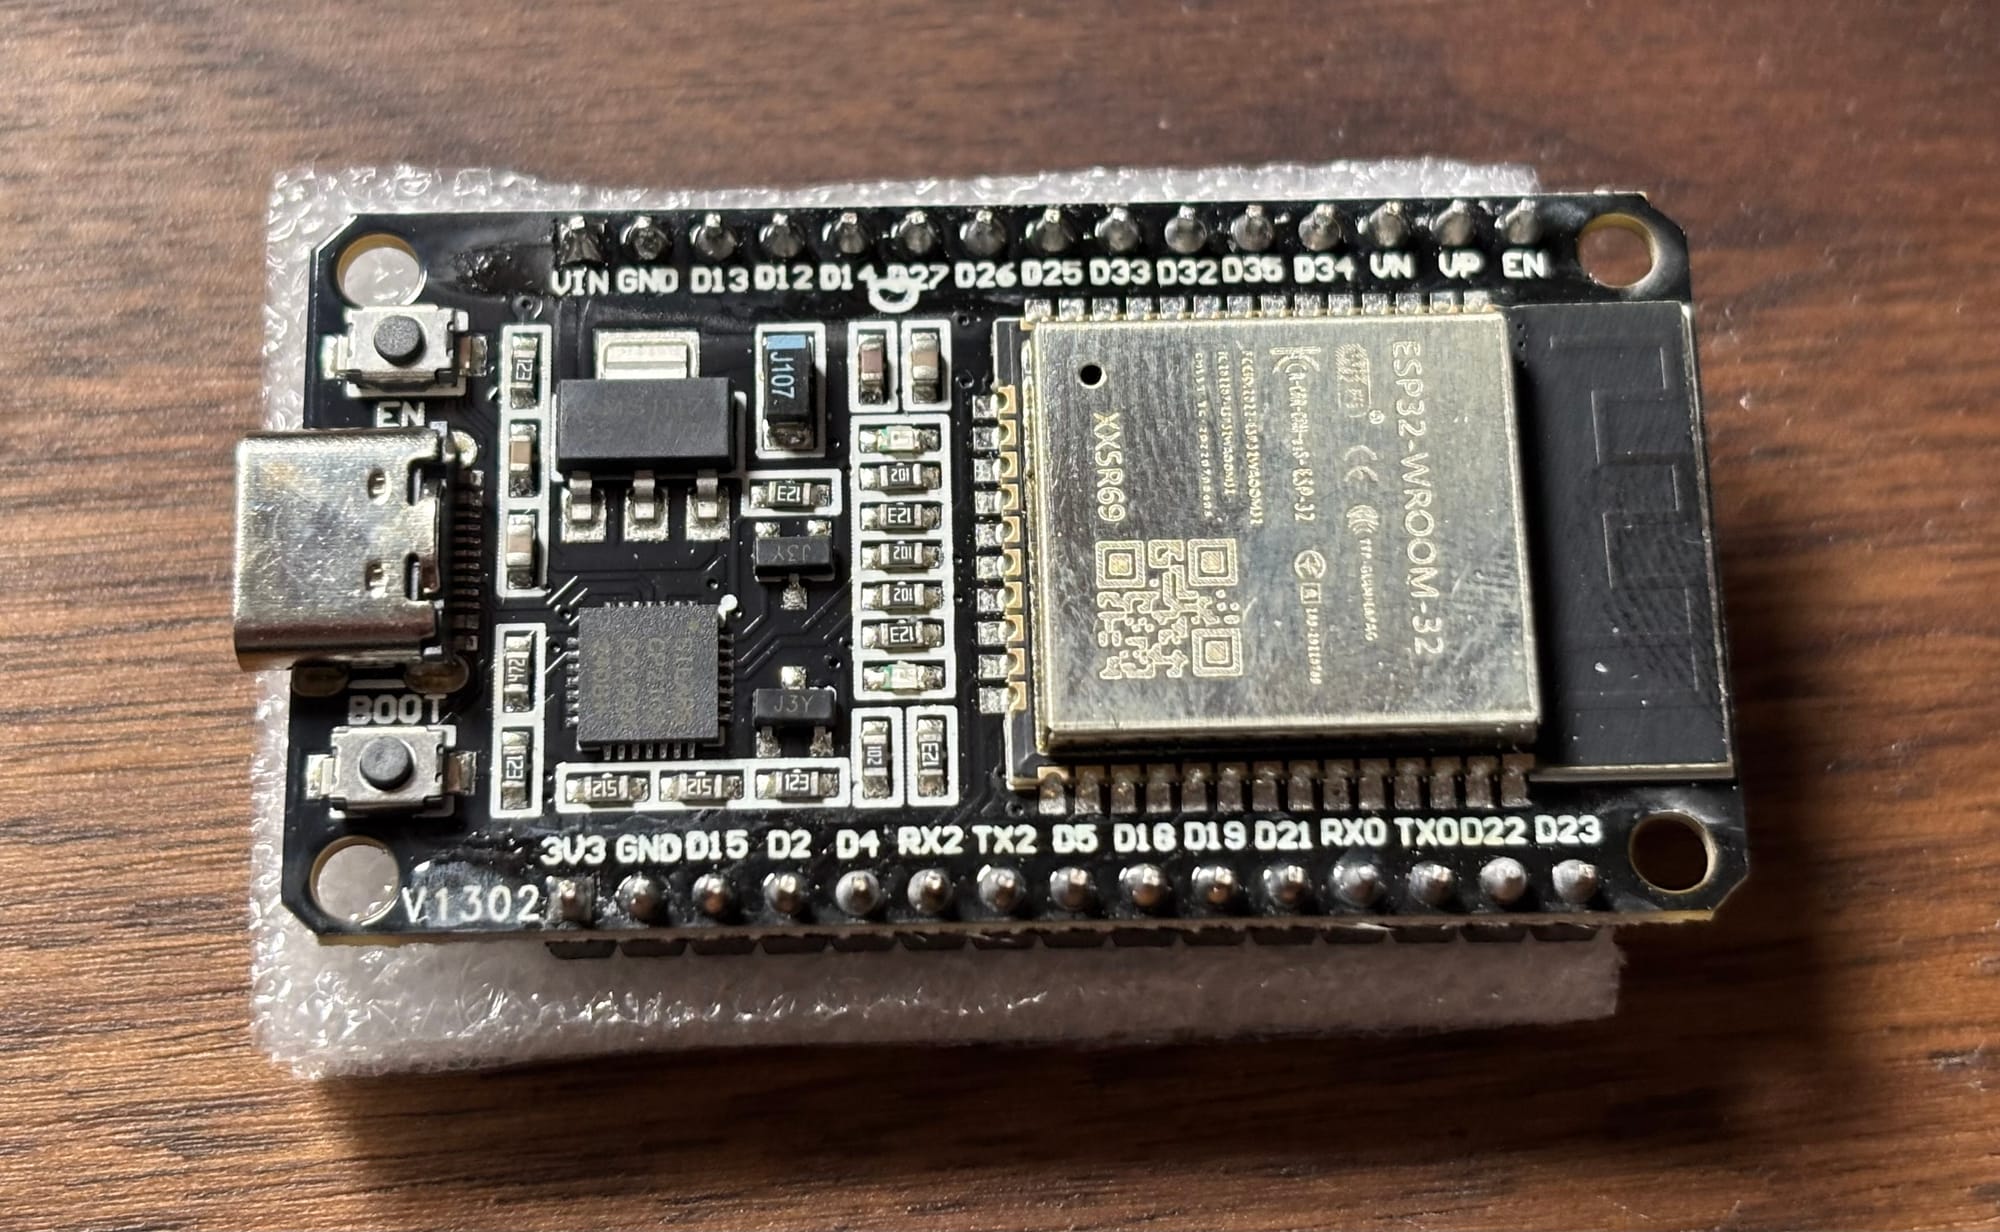
- ESP8266 and ESP32: Developed by Espressif, these microcontrollers include built-in Wi-Fi (and Bluetooth on the ESP32). They’re perfect for IoT projects and support the Arduino IDE via a community-maintained board package. While they don’t follow the original Arduino form factor, they are fully Arduino-compatible in terms of code and libraries.
- Particle Photon and Argon: These boards add a cloud-first approach to microcontroller programming. Particle’s ecosystem includes device management, OTA firmware updates, and easy connectivity and yet still supports the Arduino programming model for local development.
- Teensy Boards: Built by PJRC, Teensy boards use powerful ARM Cortex processors but remain programmable through the Arduino IDE using the Teensyduino extension. They offer high-speed USB, audio capabilities, and more RAM, making them popular for advanced projects like MIDI controllers or digital synthesizers.
These boards stretch the limits of what an “Arduino” can be while keeping the development process accessible. For users who outgrow the basic Uno or Nano, they represent a natural next step.
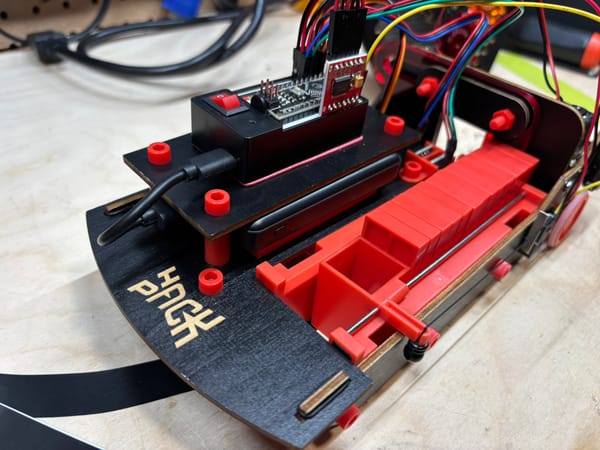
The Hack Pack Experience
Mark Rober’s Hack Pack offers a curated entry point into Arduino-powered robotics and coding. Delivered every two months, each kit includes a themed project, such as an infrared turret or a domino-laying robot, built around a simple Arduino-compatible microcontroller. Designed to engage teens and adults, the kits combine physical assembly with code exploration through a browser-based development environment.
That said, the Hack Pack is not cheap. Boxes cost $80 USD each, and a minimum three-box commitment is required. While it offers a fun and well-supported learning experience, it’s not the most economical way to start with Arduino.
Budget-Friendly Alternatives
Fortunately, there are many affordable alternatives. Starter kits from companies like Elegoo (available on Amazon), often available for under $40 USD, include a genuine Arduino-compatible board along with sensors, motors, and detailed tutorials. These kits are ideal for self-guided exploration and can be paired with online resources like Arduino’s official website or free video lessons on YouTube.
Even without a kit, it's possible to begin with a single Arduino Uno board and a few inexpensive components. The core lessons, reading inputs, controlling outputs, and writing basic code, remain the same.
Final Thoughts
The Arduino platform has made electronics approachable for a global community of makers, students, and engineers. Its flexibility supports everything from casual tinkering to serious prototyping. Whether you're exploring with a subscription box or a budget starter kit, there’s never been a better time to get started.