Live-Streaming Conclusion : A lot more complicated than expected

As previous mentioned, I participated to Extra-Life, an event to raise funds for Opération Enfant Soleil. The cause raised a total of 6,653,220 USD, with 6,767 USD coming from my team (a big thanks to Ludia for doubling our fund raising effort). I'm very happy with the experience, but the streaming component turned out to be a lot more complicated than expected.
Broadcasting it to the world
It is common for people to live-stream their gaming marathon over Twitch, encouraging people to donate for a good cause. The first thing needed is a streaming software. If you only need a simple streaming solution, the PS4 and Xbox One come with built-in streaming functionalities. For PC, you can use ShadowPlay, which is included in the Nvidia experience or Razer Cortex Gamecaster. However, if you want a more elaborate streaming solution, the two candidates are OBS Studio or Xsplit Gamecaster/Broadcaster.

OBS Studio, from Open Broadcasting Software, is an open source solution and a complete re-write of OBS Classic. Although it lacks many of the extensions found in the original version, its a very complete solution. You can separate your stream into different scenes, which can each show a different set of components. For example, you might want a static scene with text indicating that you will be right back. Another scene might be a composite between your game stream and your webcam. OBS Studio also provides extensive keyboard shortcut customization, which is very practical for scene switching. The sound mixing interface is pretty straight forward, although it needs a "testing" mode so I can validate if I have selected the proper volume levels. In the end, I used OBS Studio for my broadcast.
The other alternative would be Xsplit, using either the Gamecaster or the Broadcaster software. Fundamentally, both solution share the same core, but Gamecaster provides an simplified user interface. Like OBS, XSplit allows for the capture and mixing of multiple audio & video source. XSplit is a commercial solution, although Xsplit generously game out 3 month licenses to anyone that raised 10 USD. Trial licenses seem pretty easy to find around the web. I personally have not tried Xsplit, but have read amazing praise and feedback.
Streaming Source
If you are using OBS or XSplit, you will need to capture the video of your game before streaming it. When gaming on the PC, the solution is easy : both OBS or XSplit can record the content of your screen and stream it to Twitch. On the console, capturing your game session is easiest additional hardware.

Searching the forums of streamer, I found that the community is split among three devices : the Elgato hd60, the AVerMedia Live Gamer EXTREME and the Razer Ripsaw. All three devices serve the same purpose, they allow an HDMI signal to be recorded over a USB 3.0 connections. Both the Elgato and AVerMedia cards are also available in PCI-e format. Only AVerMedia and Razor provide a component input which is necessary to record from a PS3 or an older console.
I decided to go for a cheaper alternative, streaming my Xbox One game session to a Windows 10 PC using the Xbox application. The solution worked well-enough, although recording the current screen makes it difficult to make on-the-fly changes. For future streaming, I'm likely to purchase a Razer Ripsaw, using the discount from Razer's Supported Streamer Program.
Get your face in
Adding a live feed of the streamer adds authenticity to the stream, especially since streaming is basically playing a game with a commentary. When streaming using the console directly, you will need the camera supported by the console. For example, the Xbox One requires the Kinect camera to broadcast the player on the screen. On the PC, there are many choices available.

The first option is to use a camera specialized in streaming, like the Razer Stargazer. These cameras offer features that cater to streamers, such as background removal or noise cancelation. An alternative is to use a DSLR camera as a HDMI source. Although this solution can offer a professional level of video, the HDMI output of many cameras only provide the content of the viewfinder, with overlays showing camera and battery settings. The most common solution is to use a regular PC web-camera, with the Logitech C920 being the most popular among streamers. I used a much simpler Logitech C270, which provided both crisp audio and video.
My experience
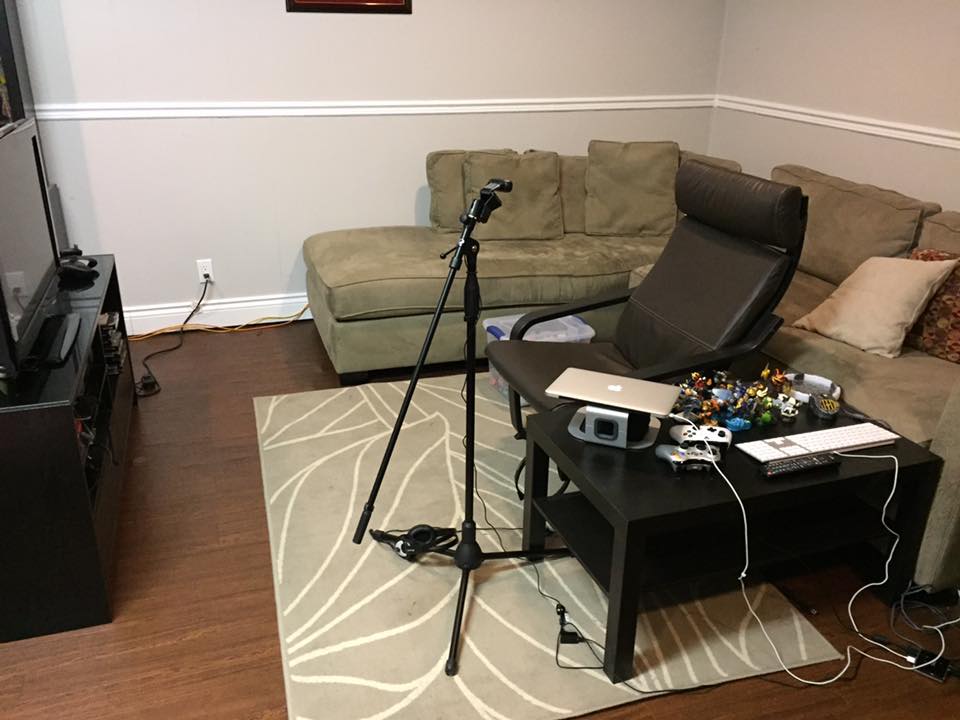
I am very happy with my first setup and enjoyed the streaming experience. I was able to keep my setup relatively simple with OBS, the Xbox App and a C270 camera. I plan to keep on streaming, especially when trying out new games. However, there are some important changes I would bring to my setup.
As previously mentioned, I would purchase an USB 3 capture device. Recording from the screen was too error prone and caused important delays. I would also need a better way to test the audio stream, as I had many problems related to calibrating the sound levels correctly. My game volume was either too loud, or my microphone was too soft.
Regardless, the experience was very positive and I can guaranty that you will find me on-the-air again.
Do you stream? Do you want to brag about your setup? Post in the comment section below. If you enjoyed reading about streaming, you might be like reading about old hardware or new games. And you can get more Technodabbler articles directly in your email box as they are published by subscribing to our mailing list.


