Giving the Game Boy Advance SP a New Life
In the world of handheld consoles, few devices evoke as much nostalgia as the Game Boy Advance SP. Learn how an IPS screen can breath new life into this clam-shell wonder.

In the world of handheld gaming consoles, few devices evoke as much nostalgia as the Game Boy Advance SP. Released in 2003 as an upgraded version of the iconic Game Boy Advance, this compact wonder was an instant hit, capturing the hearts of millions of gamers with its vibrant library of games and iconic clam-shell design.
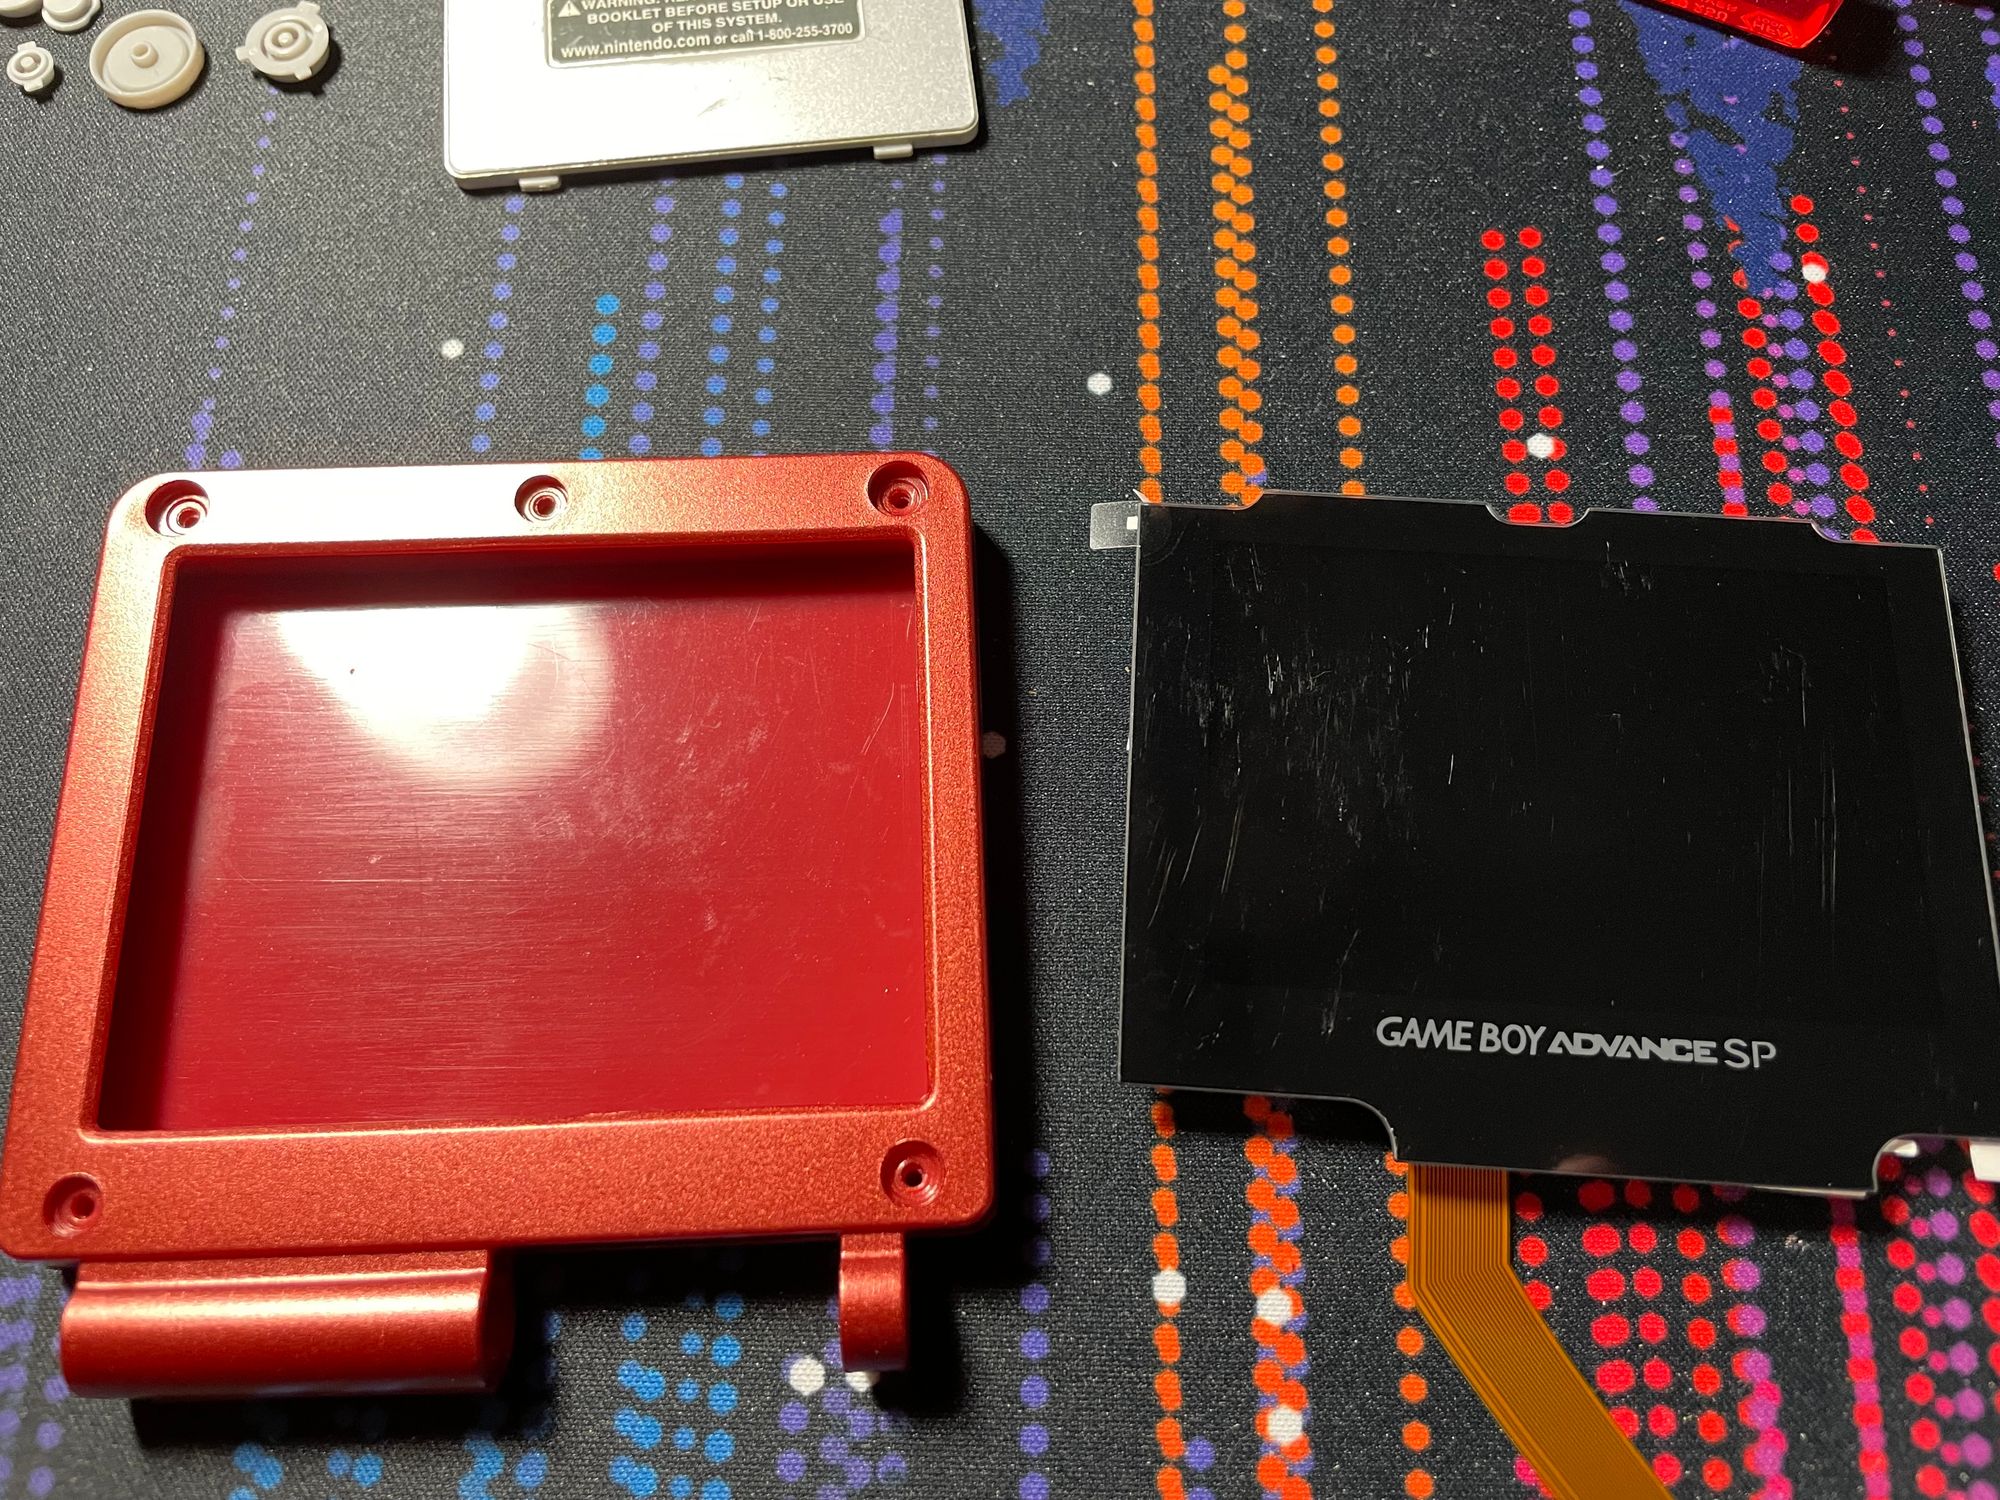
Unfortunately, by today's standard, its once acclaimed front-lit screen is quite dim. Luckily, resourceful hardware modders have found a way to enhance the gaming experience by integrating modern display technology. A new IPS LCD screen can easily be purchase AliExpress. This article shows how one of these screen, along with a new case, can breath new life into this clam-shell wonder.
New Shell
A replacement clam-shell for the Game Boy Advance SP will typically come with the following parts :
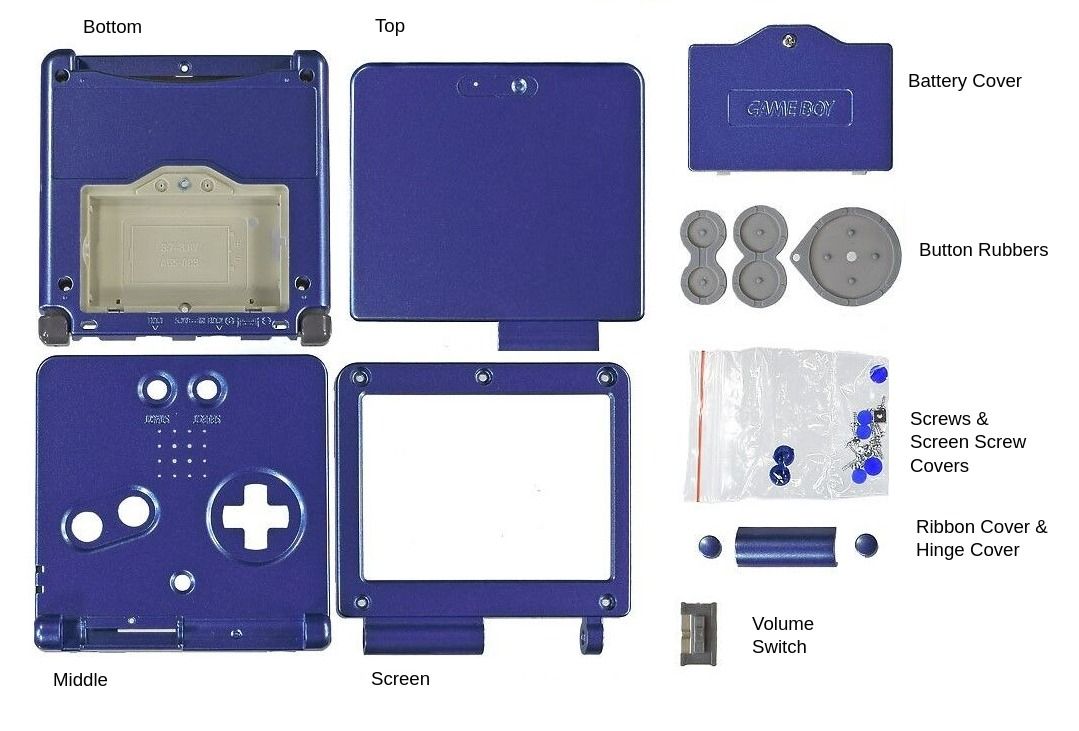
The clam-shell itself is composed of four parts: the top, the screen frame, the middle (with the button controls) and the bottom (for the battery and cartridge). Different covers are provided to hide screws and some internal components. Most will kits also include buttons and button rubbers, although some will prefer to keep the originals.
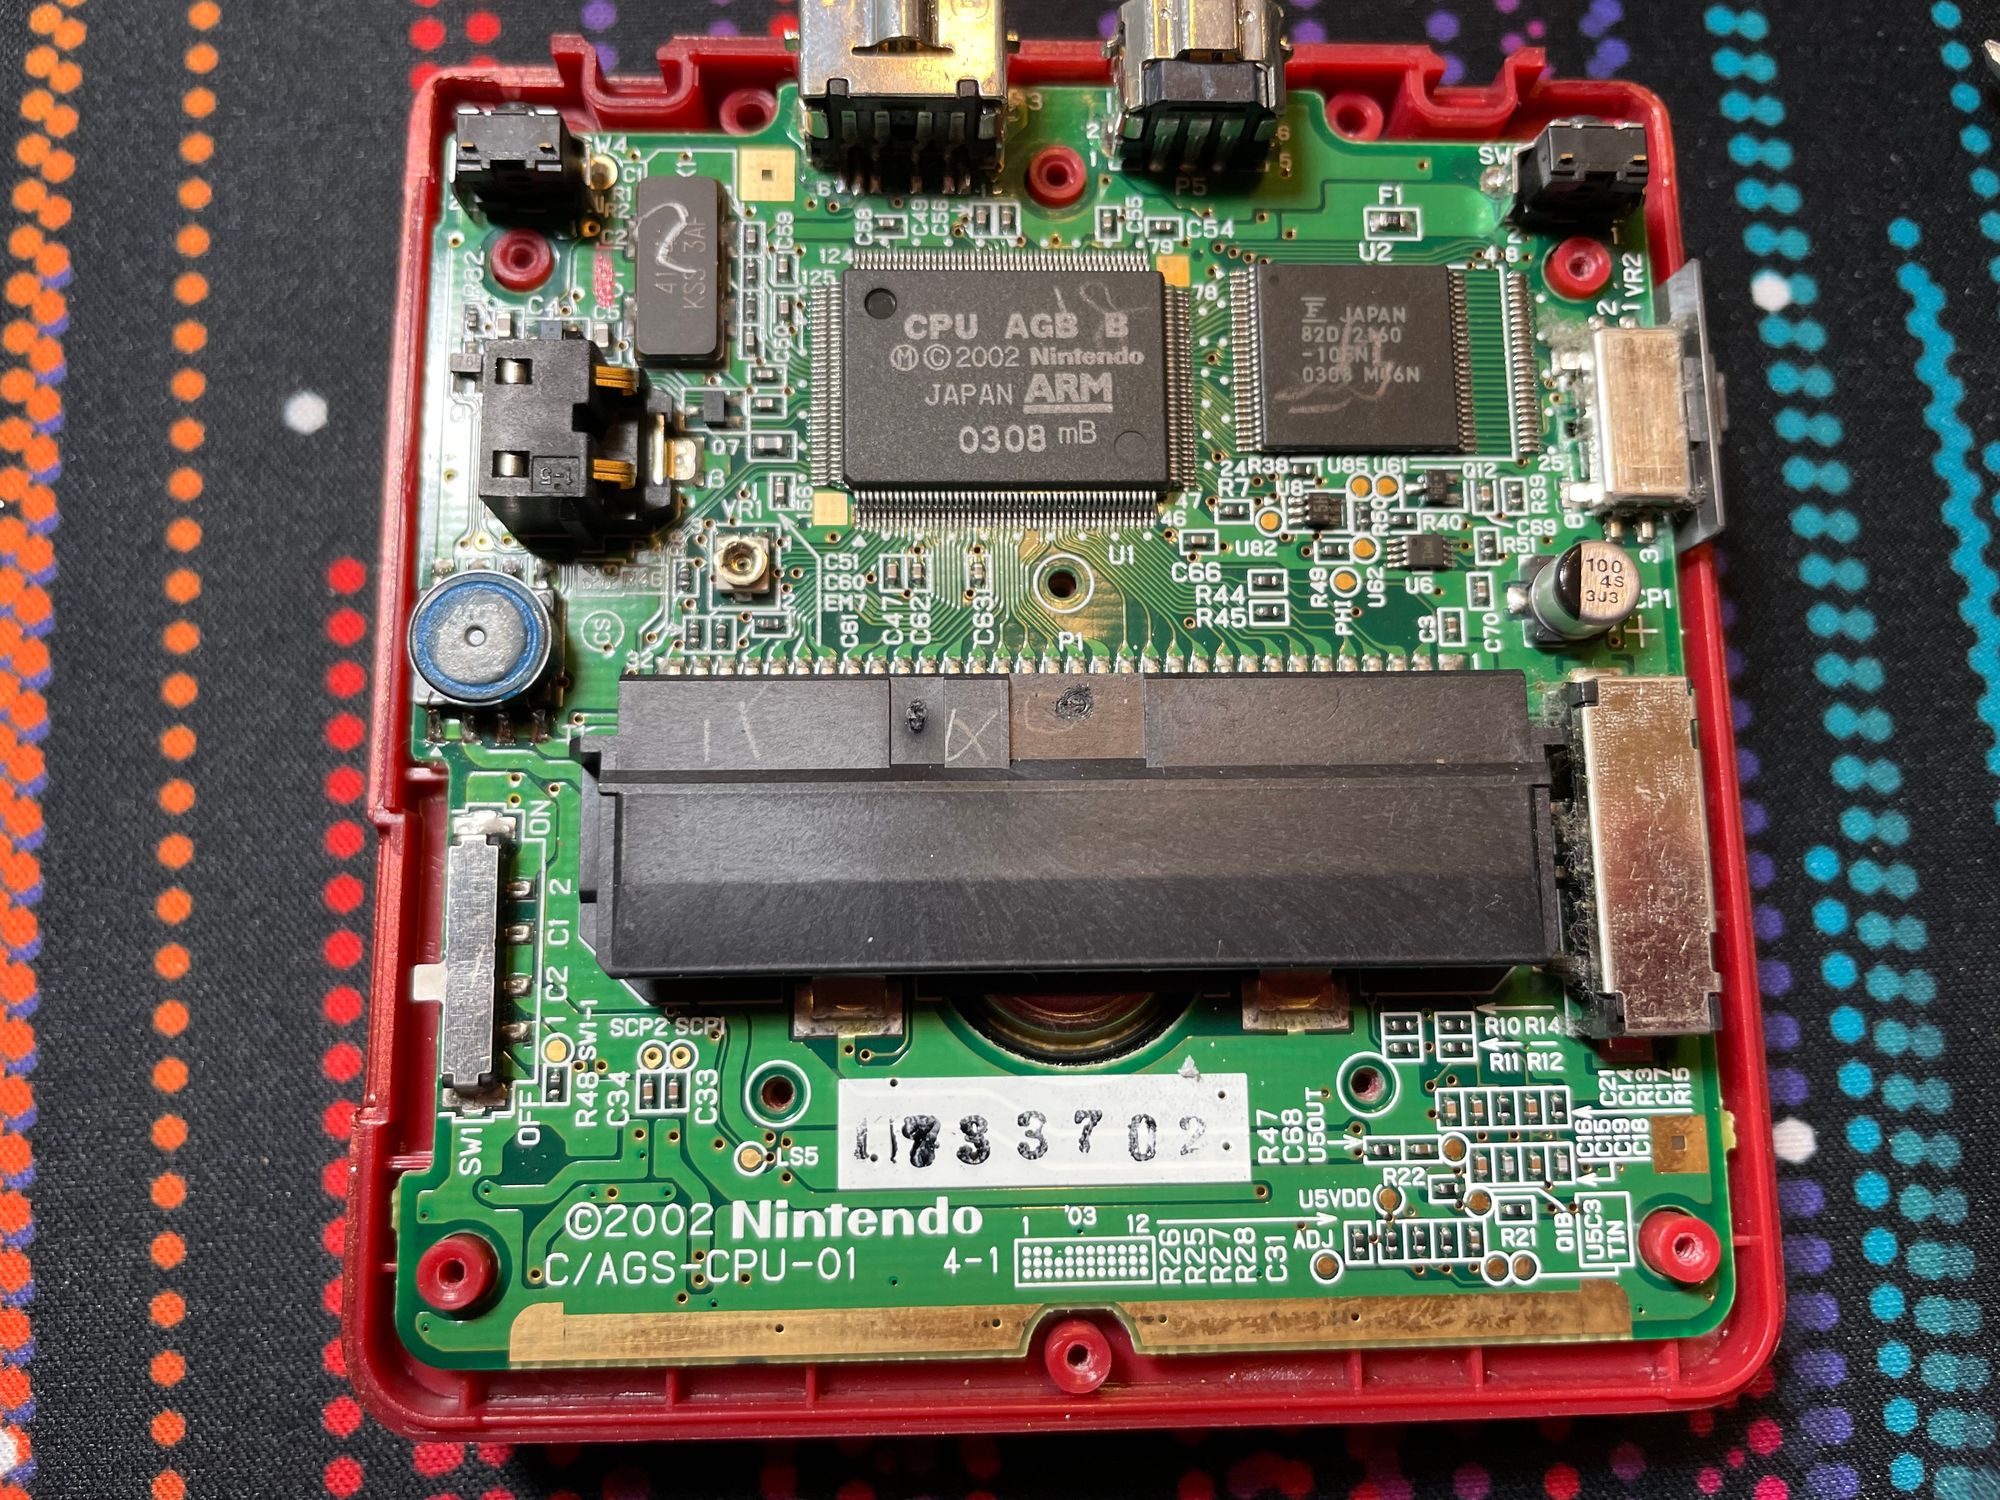
Step 1 : Breaking down the donor console
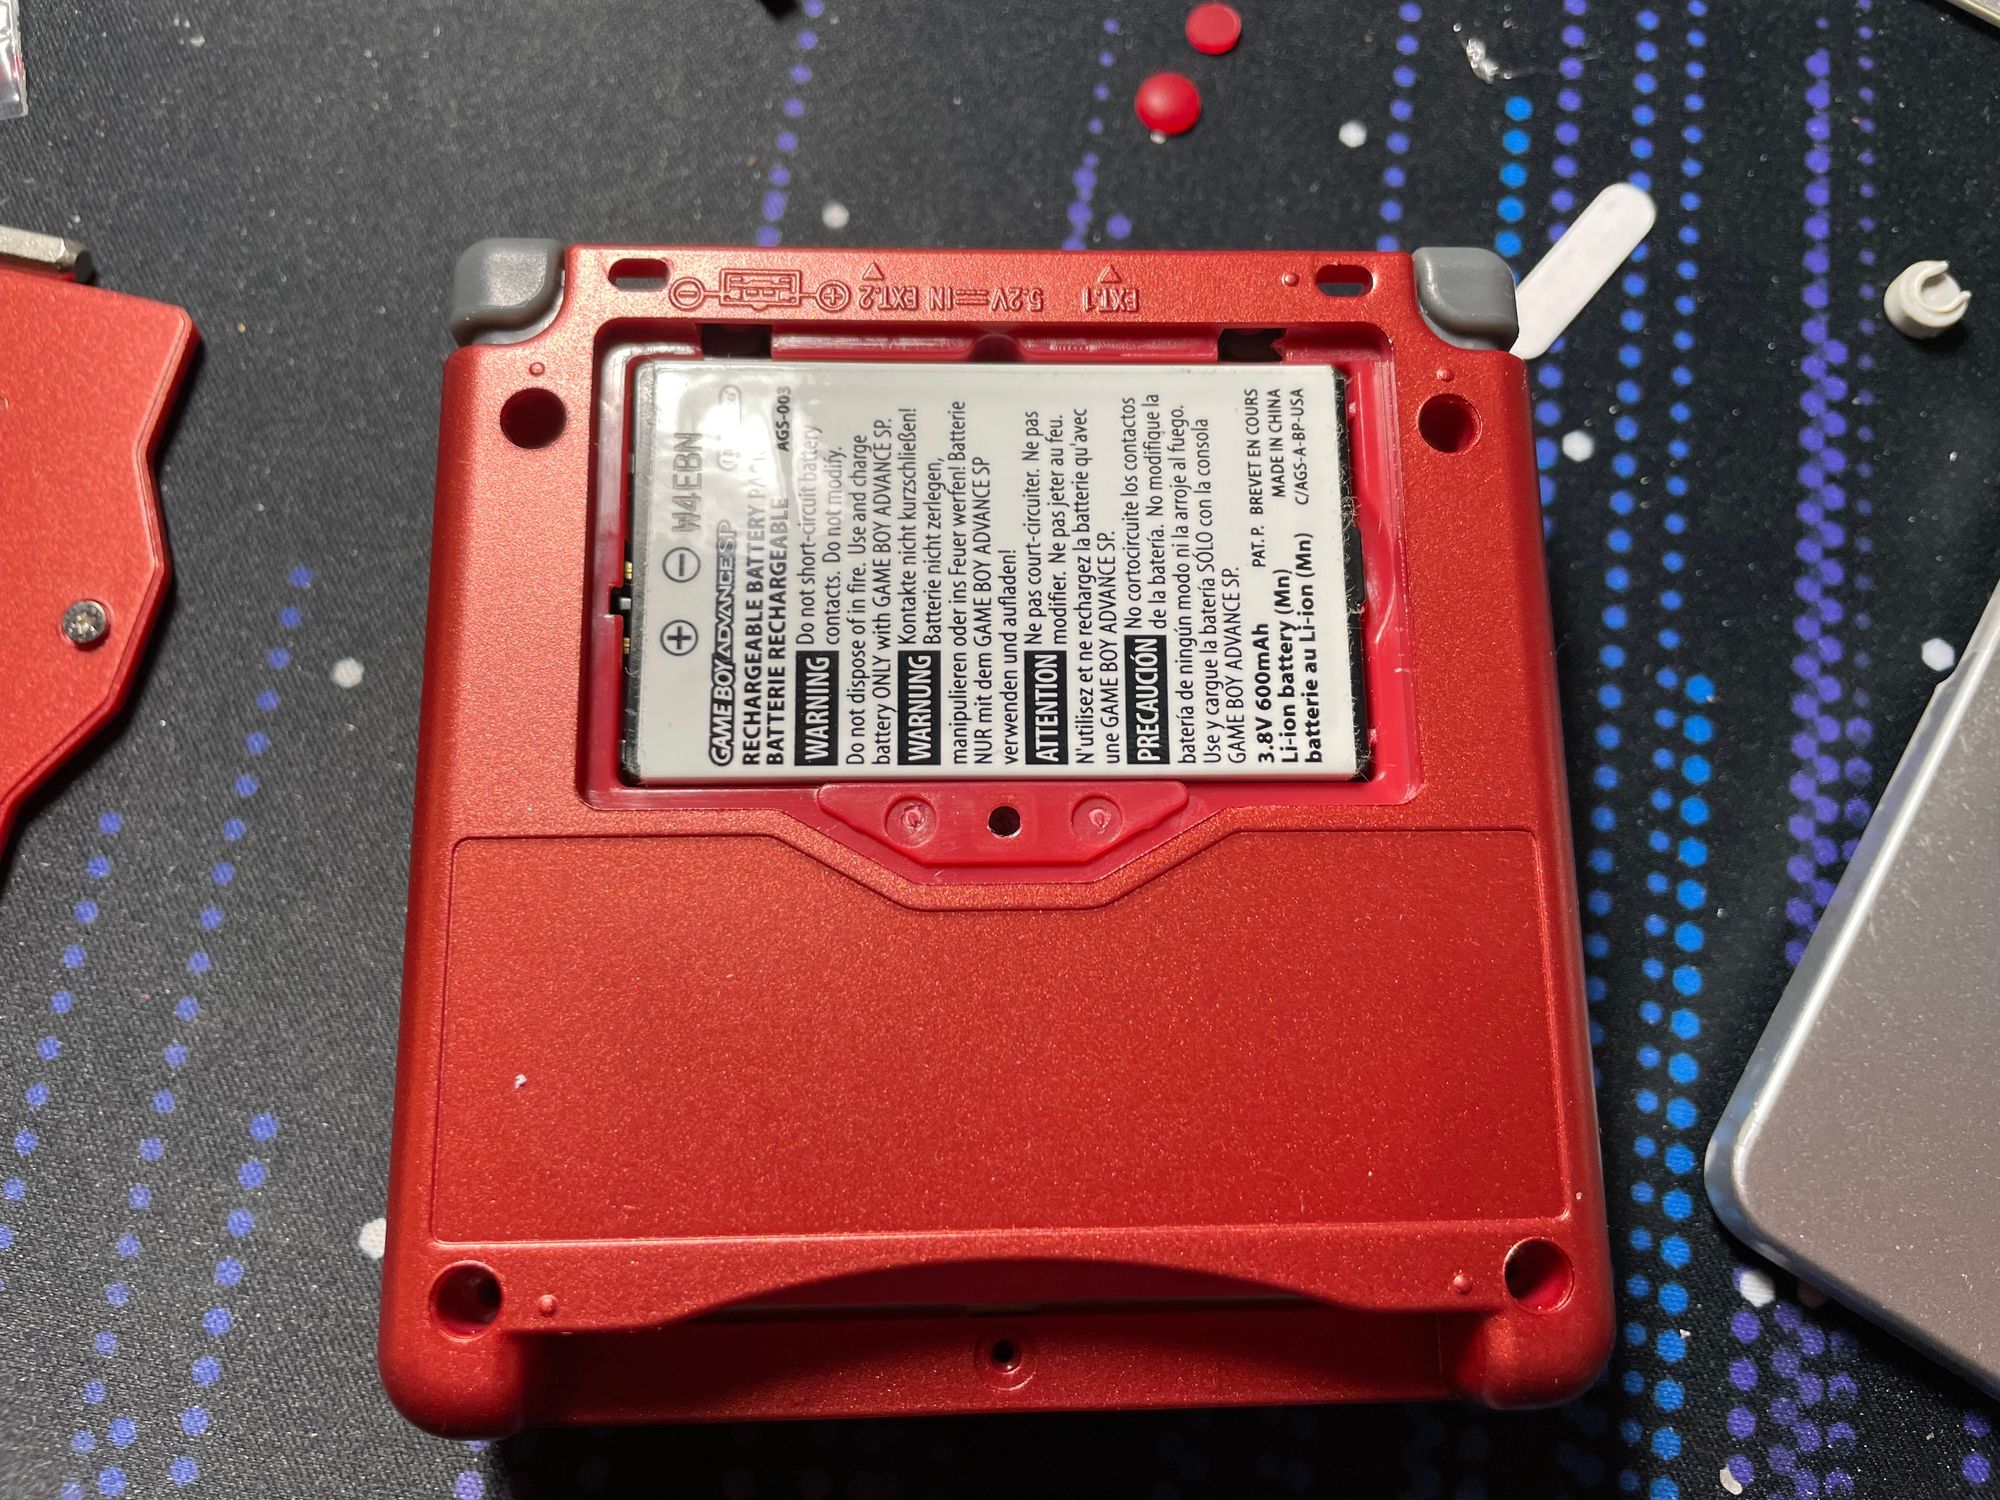
The upgrade project will require several components from a working Game Boy Advance SP console. Thus, the first step is to disassemble the donor console. Start by opening up the battery compartment to remove the battery. Next, remove the six screws that hold the bottom of the case in place. Note that Nintendo uses tri-wings screws (Y0) on the exterior of the console. Although some upgrade kits do include the required screw drivers, using an iFixIt screwdriver kit makes the journey much easier.
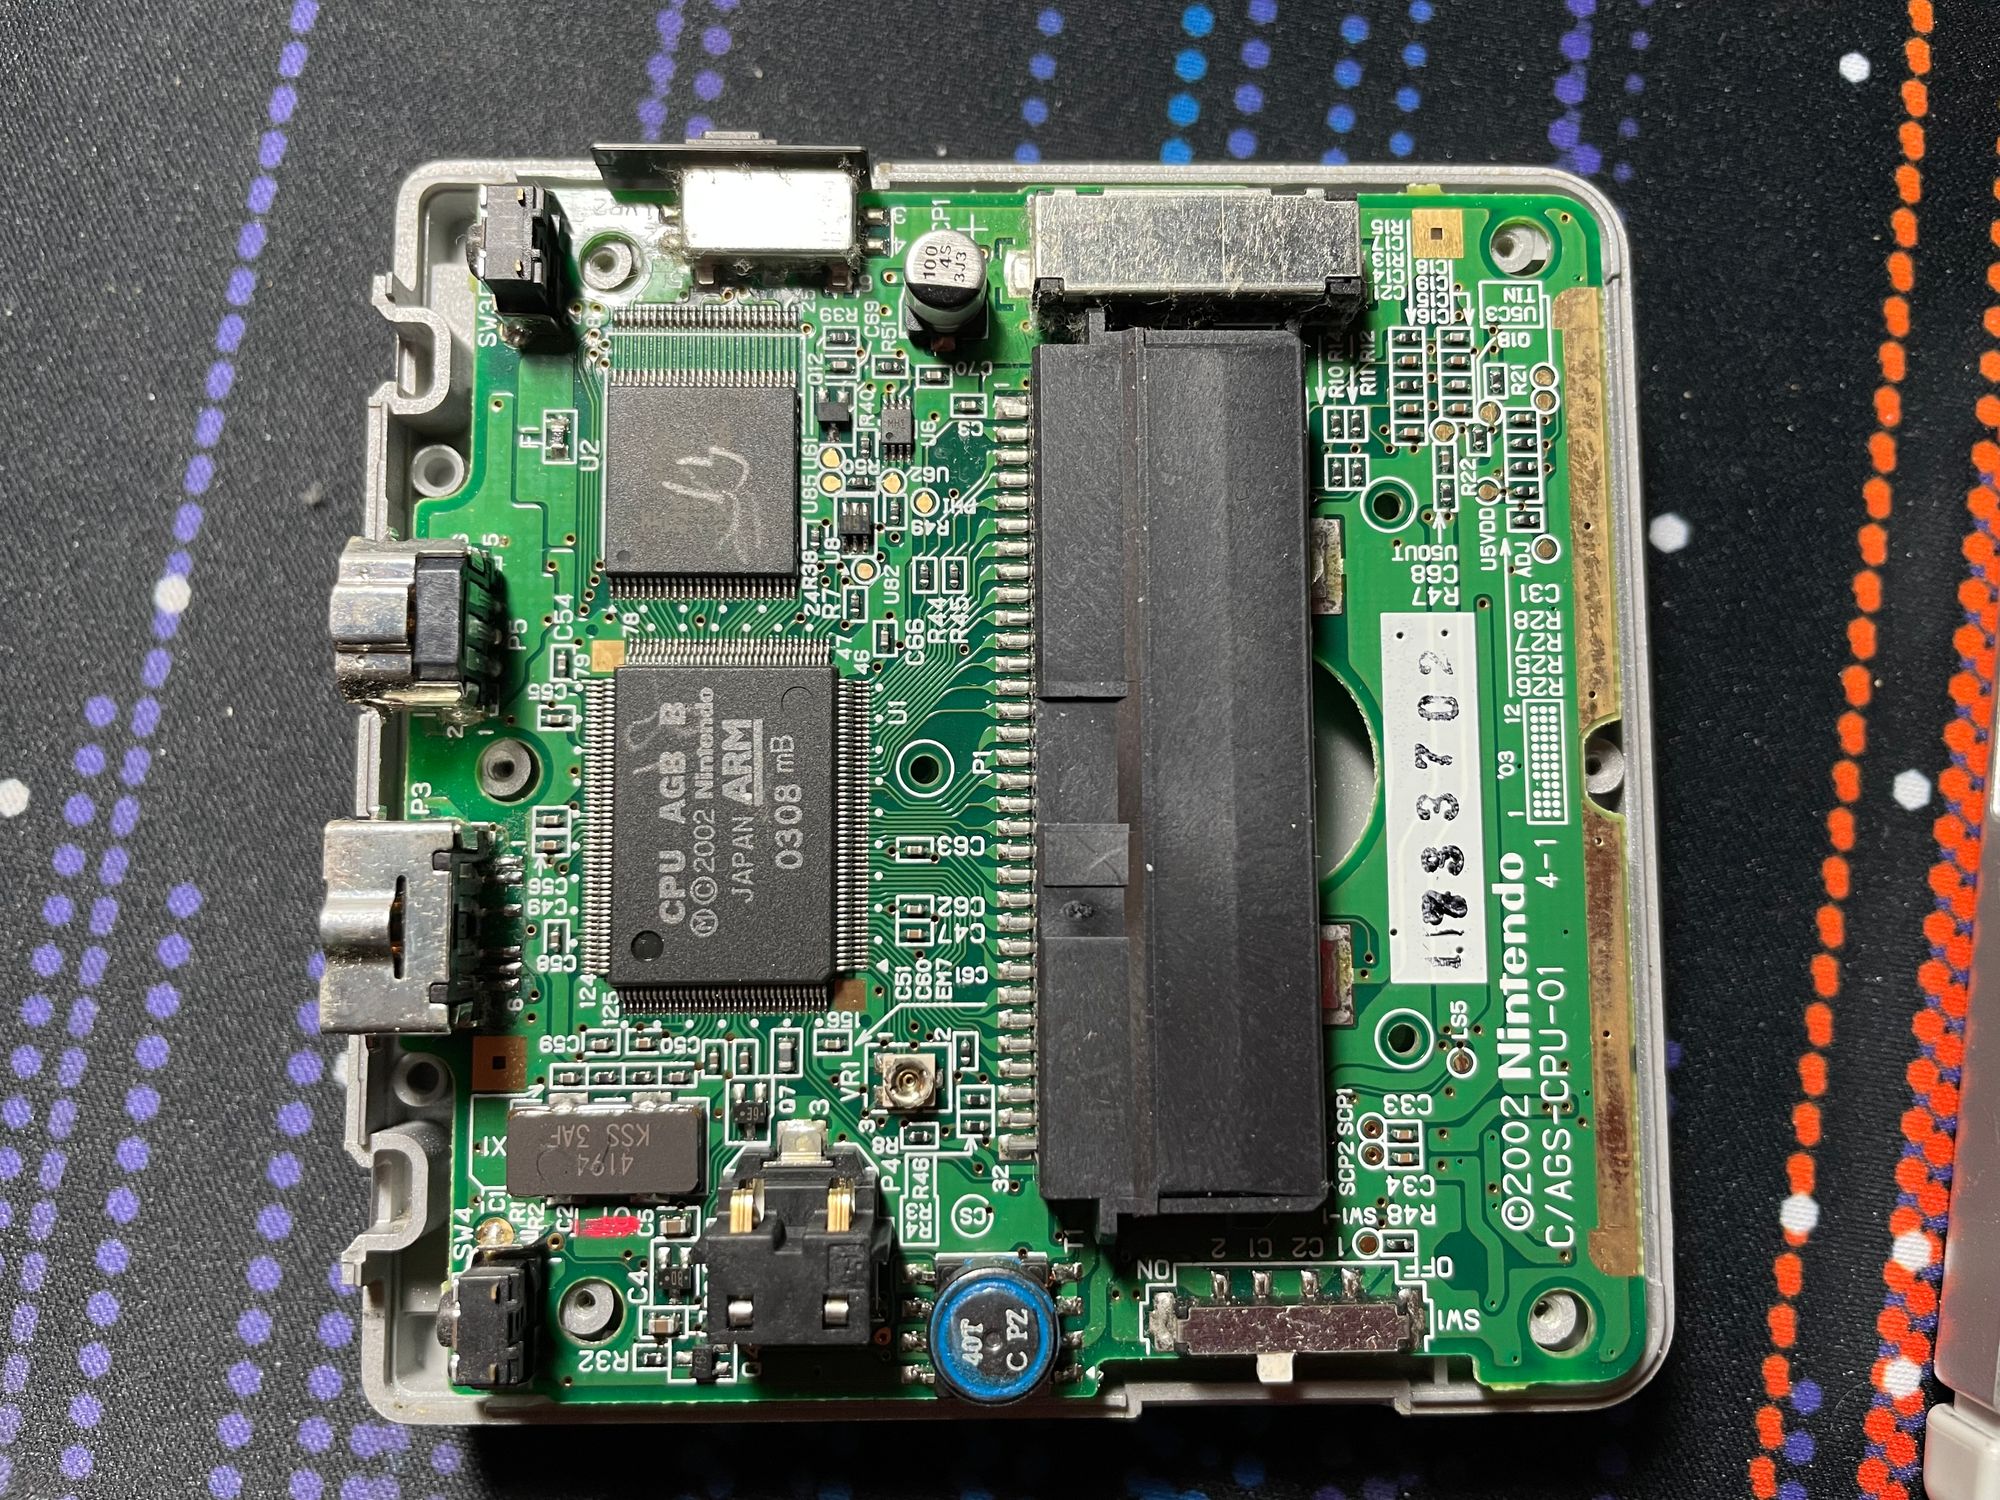
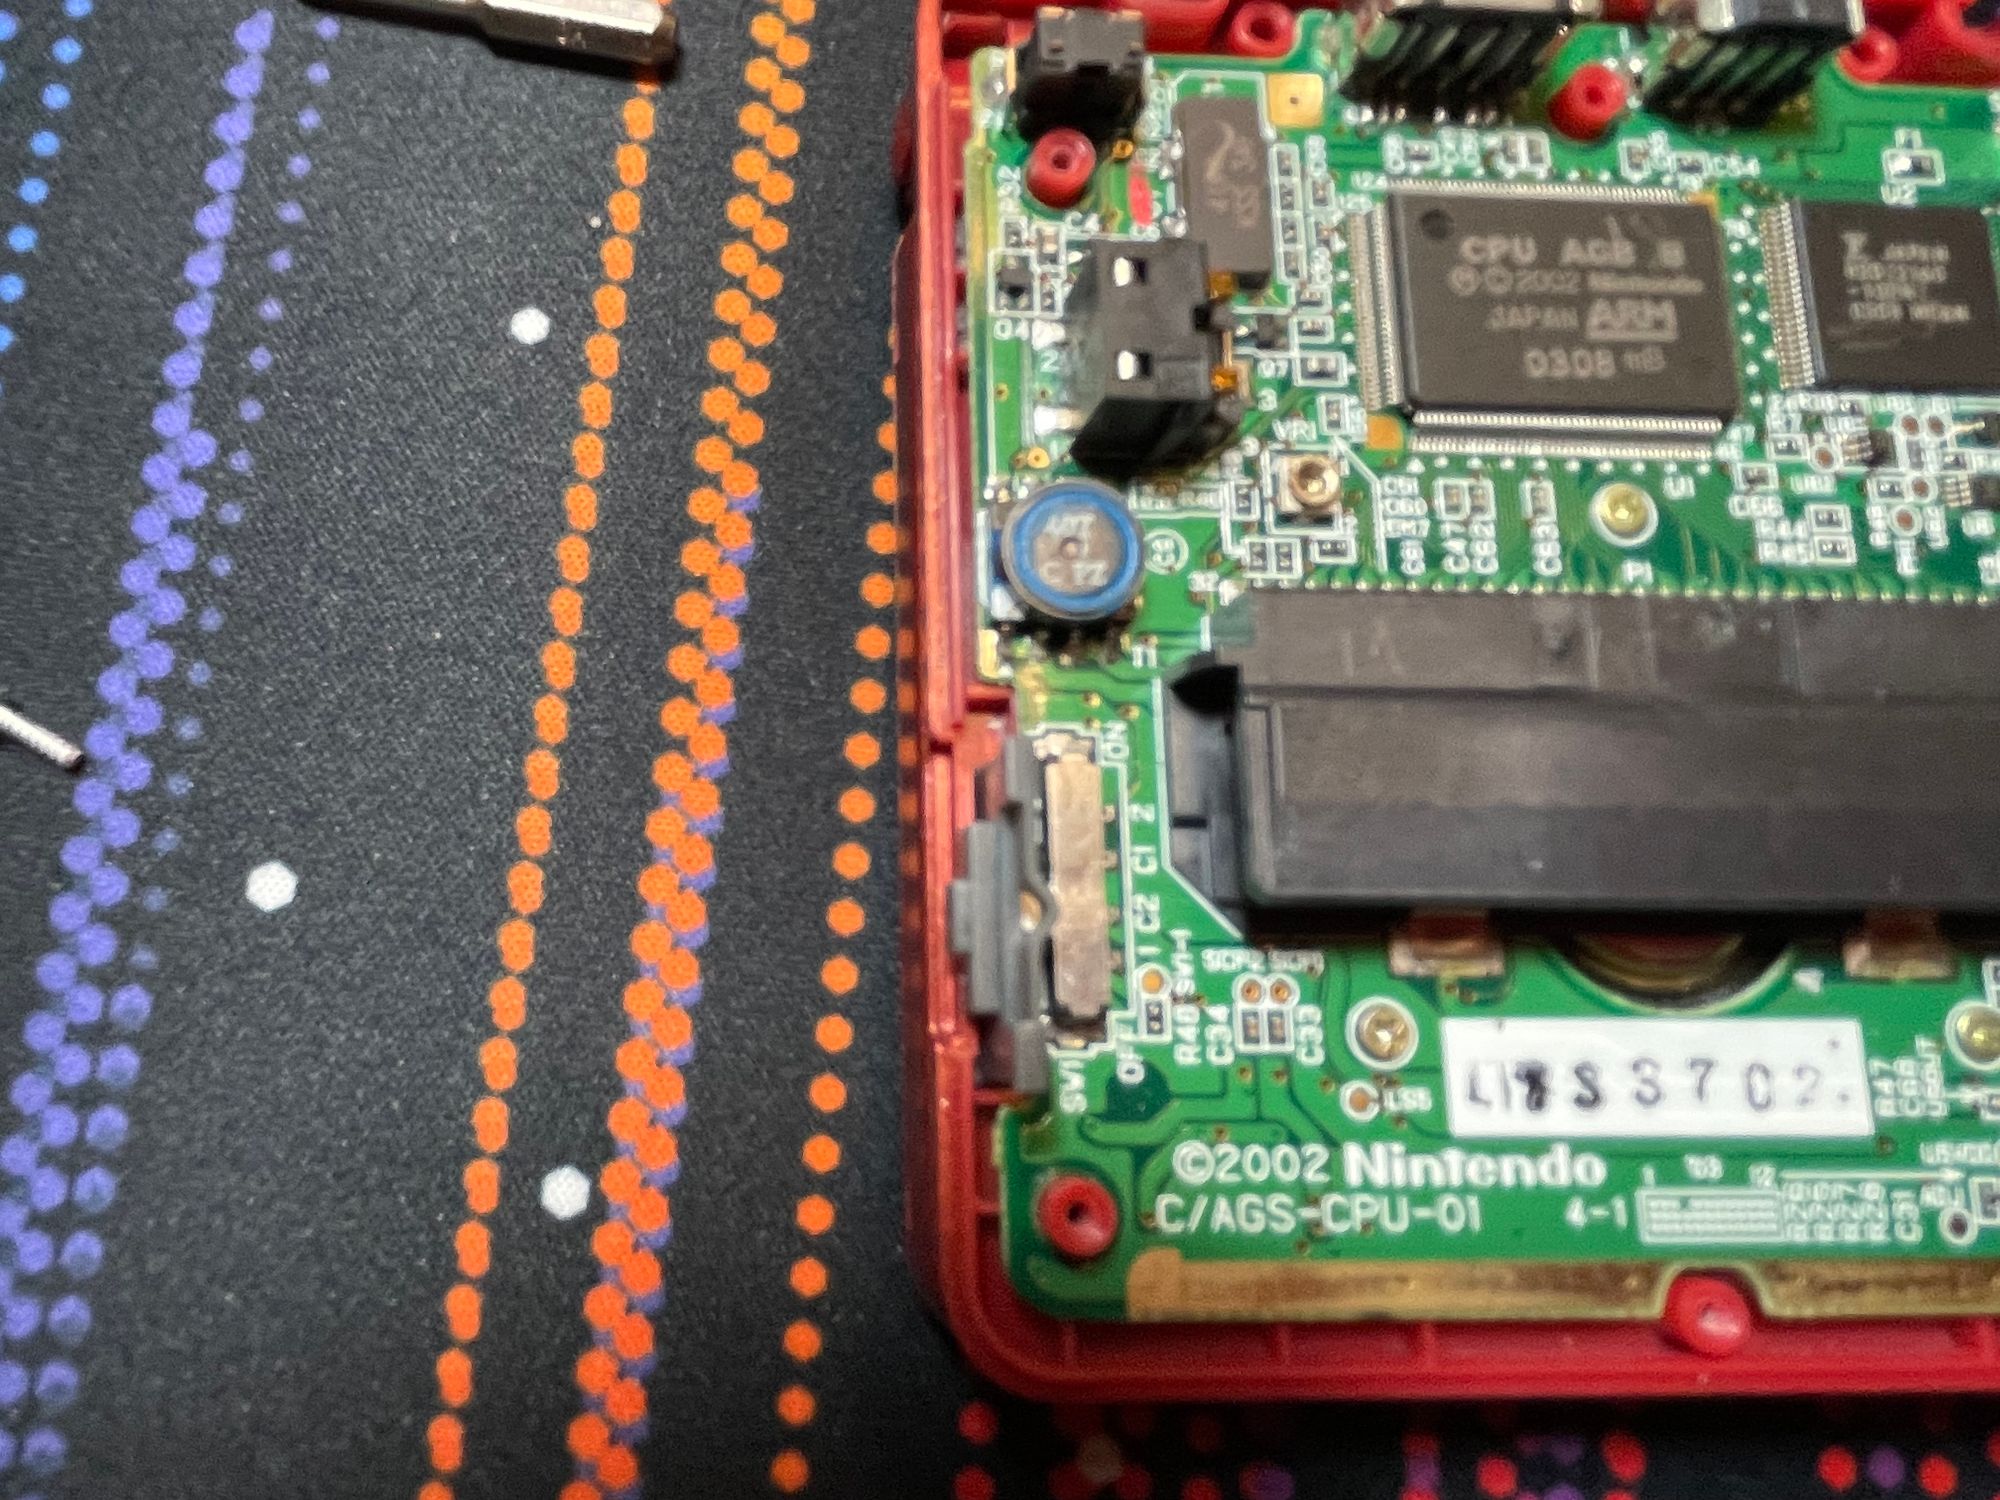
Once the bottom of the case has been removed, gently lift the green PCB board. Notice the screen is attached to the PCB board using a ribbon cable. Pull the two brown side tabs on the ribbon connector and slowly pull out the ribbon cable. You can now remove the three screws holding the PCB board and set the board aside. You will also need to retrieve the speaker and speaker foam to transfers them to the new shell. The button rubbers can also be salvaged if you want to keep the original tactile feel of the buttons.
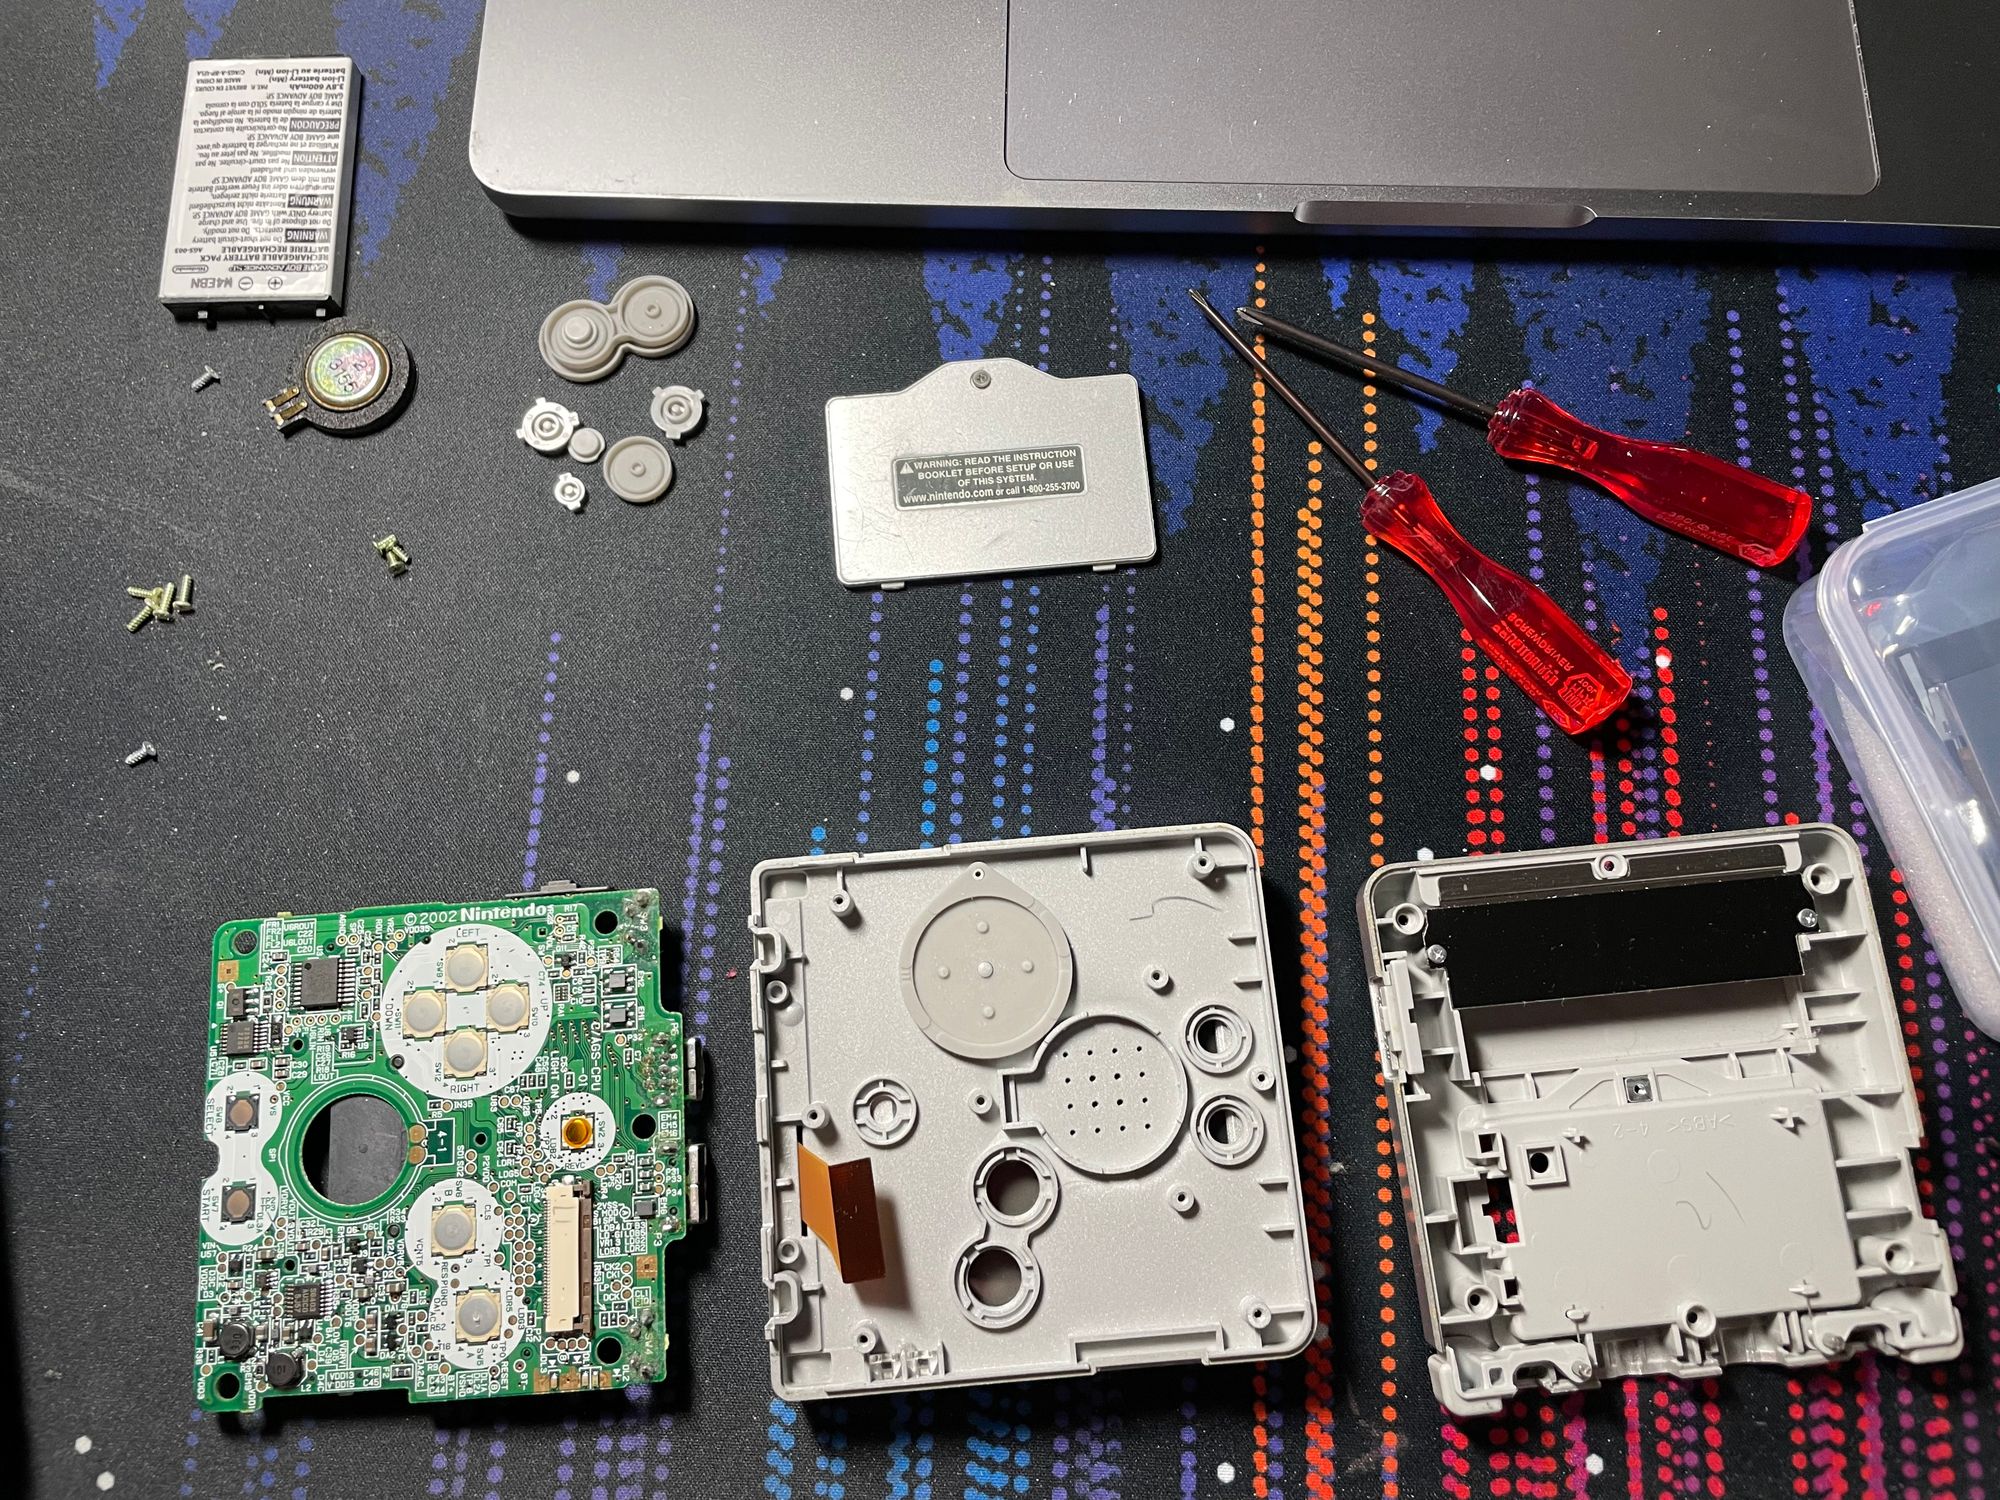
Step 2 : Setting up the new clam shell
Separate the top of shell from the screen frame to insert the LCD screen, You'll need to align the screen properly in the frame. Reassemble the top and screen frame, with the ribbon cable sticking out of the bottom of the screen assembly.
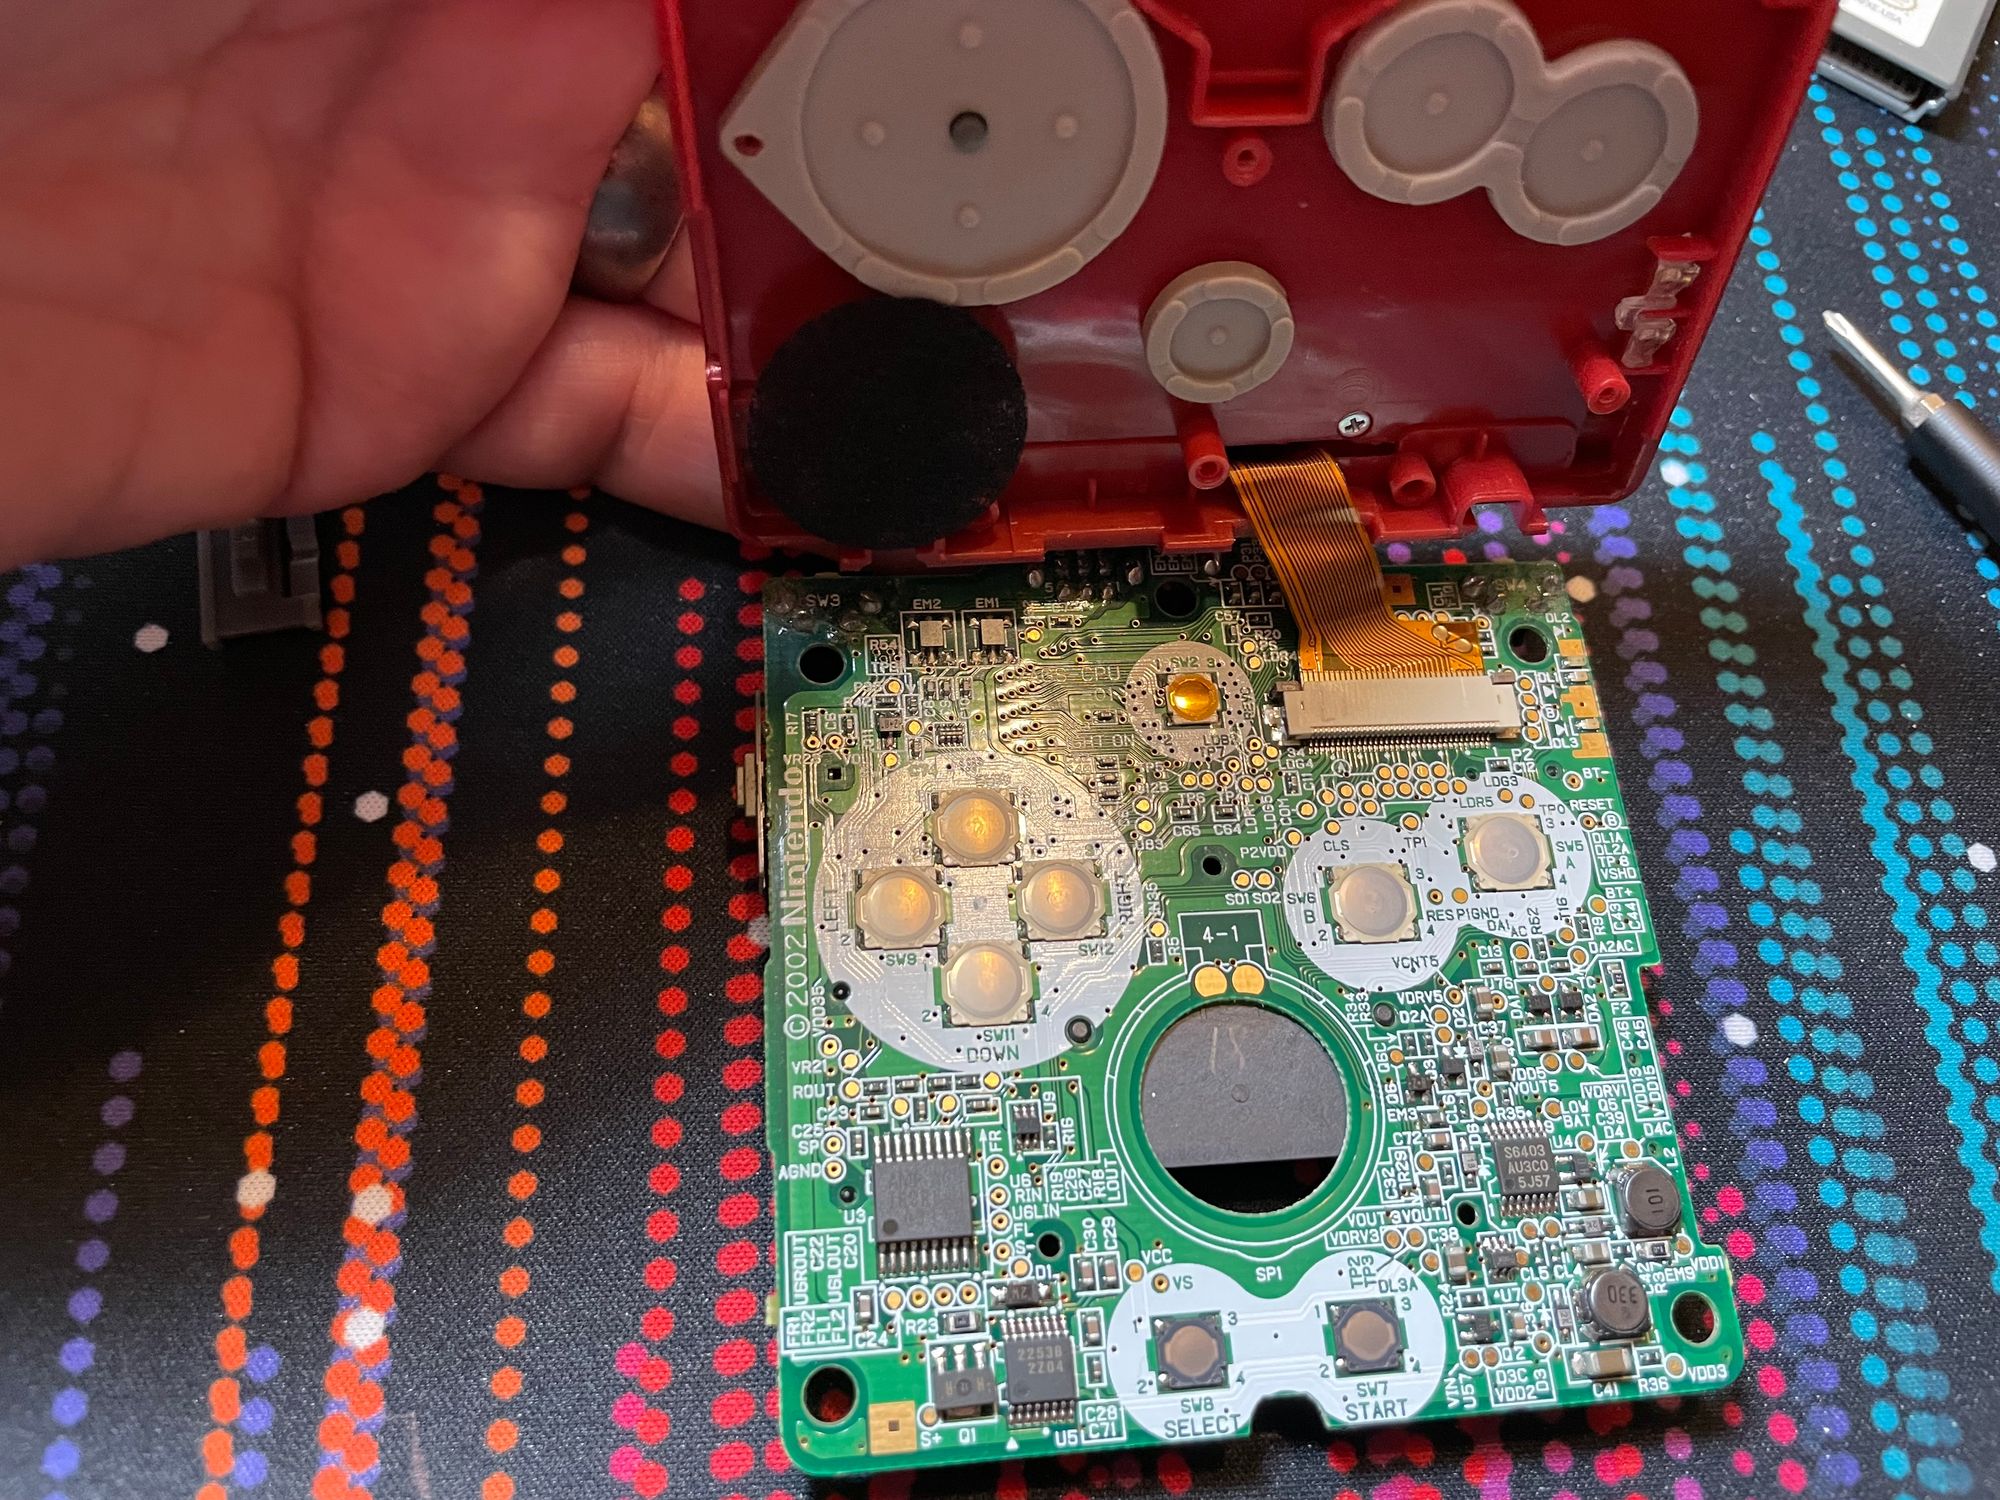
Align the top screen shell with the middle shell, passing the screen ribbon cable through the small slit. Bring the PCB board from the donor console close to the back of the middle shell. Pull the ribbon cable back and insert it in the ribbon connector on the board. Close the two brown locks on either side of the ribbon connector to lock the ribbon into place. Insert the speaker and make sure the button rubbers are properly aligned.
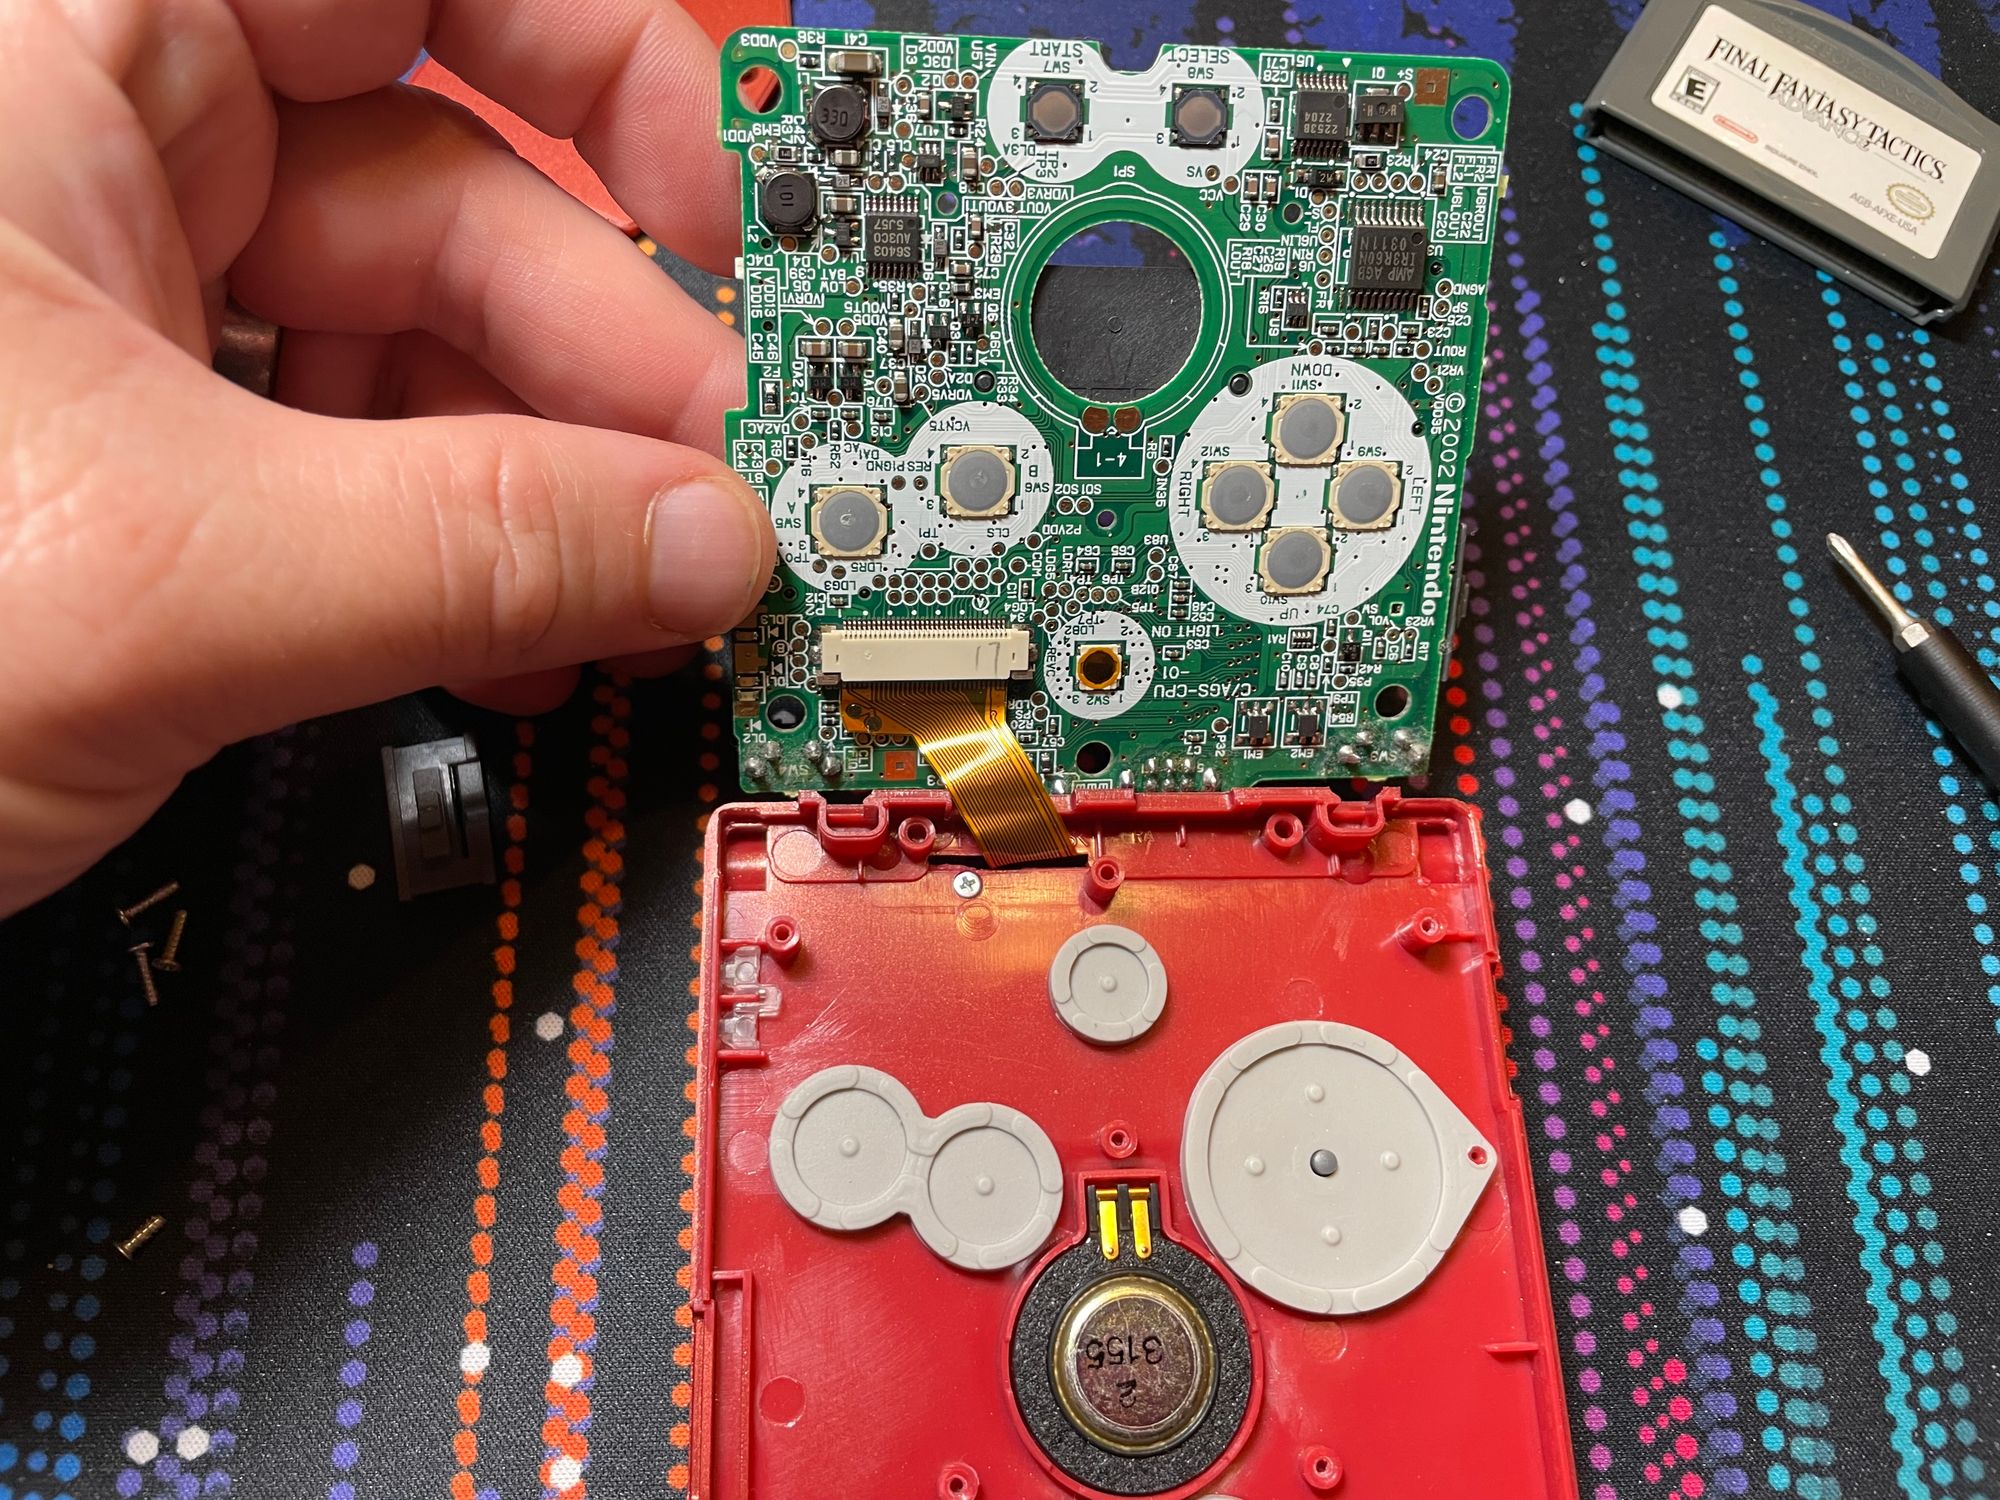
You should be able to drop the board down into place. Don't screw in the board yet, as you will need to pull the board up once more.
Step 3 : Hinge Challenge
This is the hardest part of the upgrade. Most kits do not provide any hinges, so you need to extract them from the donor console. You will need to disassemble the top screen assembly first by separating the top shell from the screen frame. Remove the five dust covers, and their corresponding screws. Remove the screen from the middle part of the shell. Remove the dust cover on hinges, pull back the tabs on the inside of the hinge and use a LOT of force to push the hinge out of their slots.

Push the hinges back into the new shells. Again, a lot of force will be required.
You can test the hinge by opening and closing the console a couple of times. Complete the hinge installation by adding the top cover hiding the ribbon cable. This is the small piece of plastic that looks like a half cylinder. Note the screw hole for this piece is under the board, so you will need to lift the board to access it.
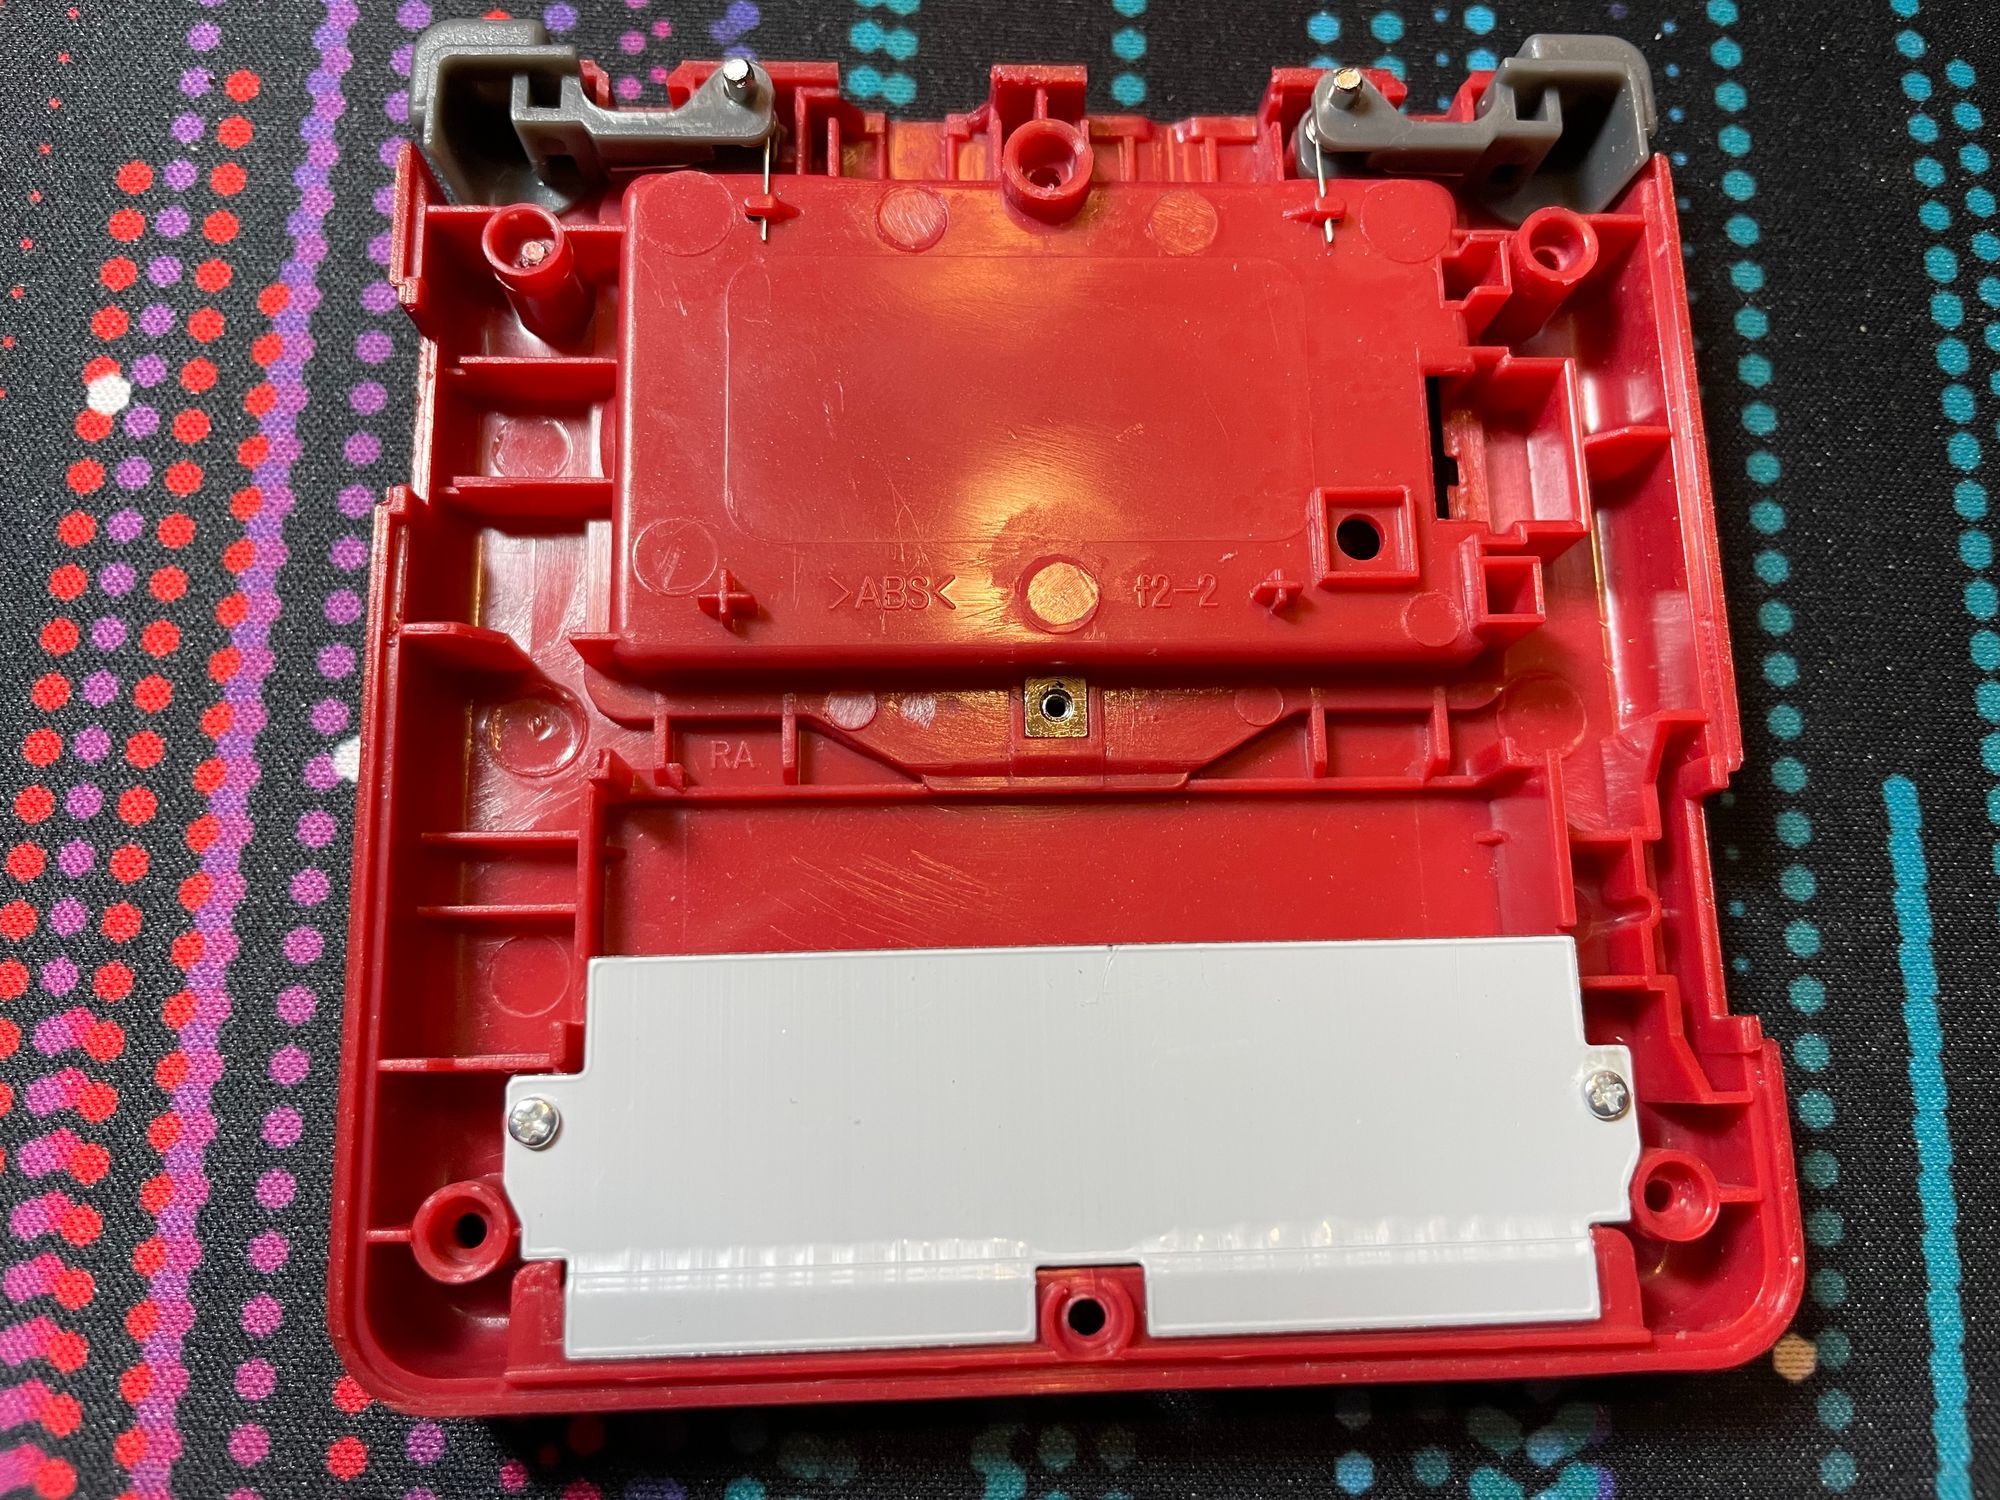
An easy to miss step is adding a square nut to the center of the bottom of the console. Without it, the battery cover will not screw in.
Step 4 : Closing things up
To close up the console, make sure the board is firmly in place with three screws.
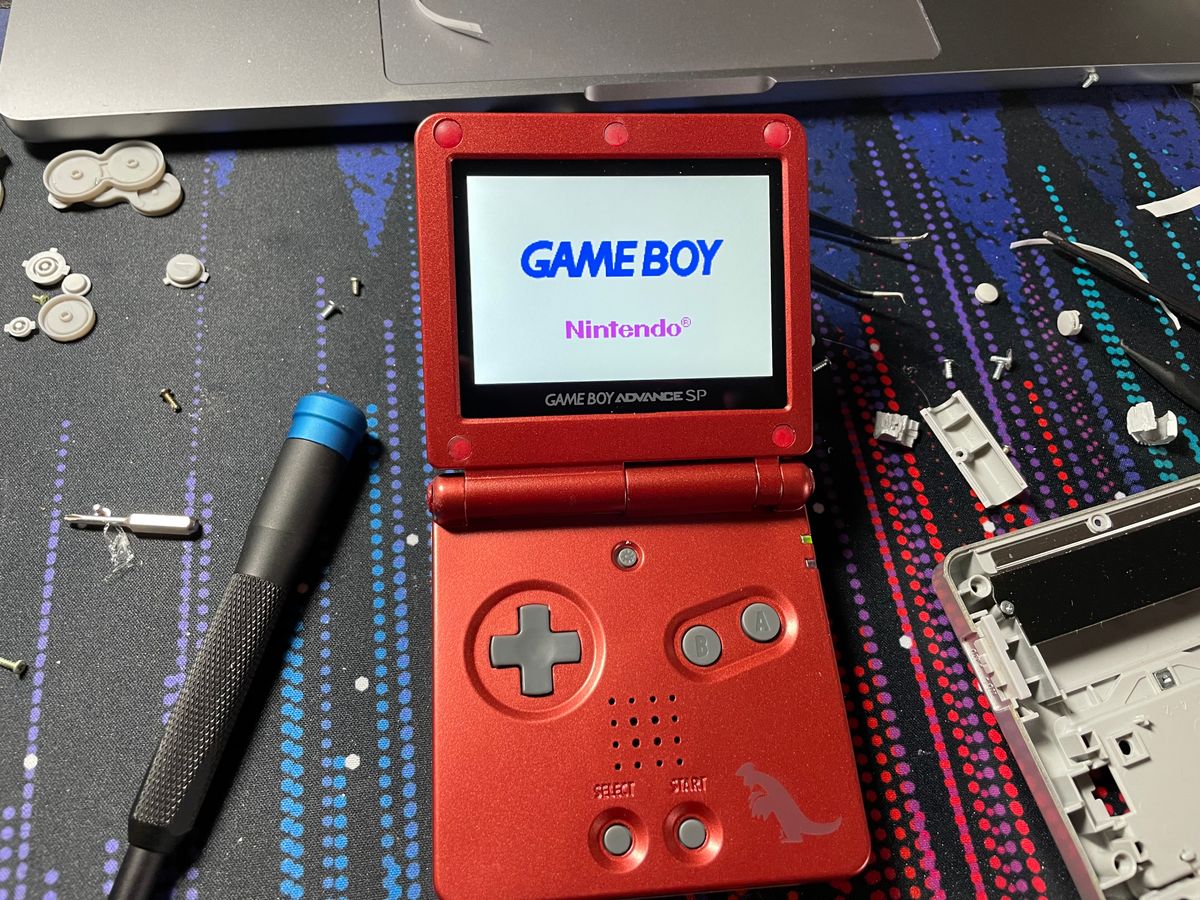
You can add the bottom of the shell to close up the console. Make sure the volume button is properly aligned. You might want to quickly test the display works by adding the battery, holding everything firmly in place and turning the console on. If the console doesn't turn on, unscrew the board and check the ribbon cable.
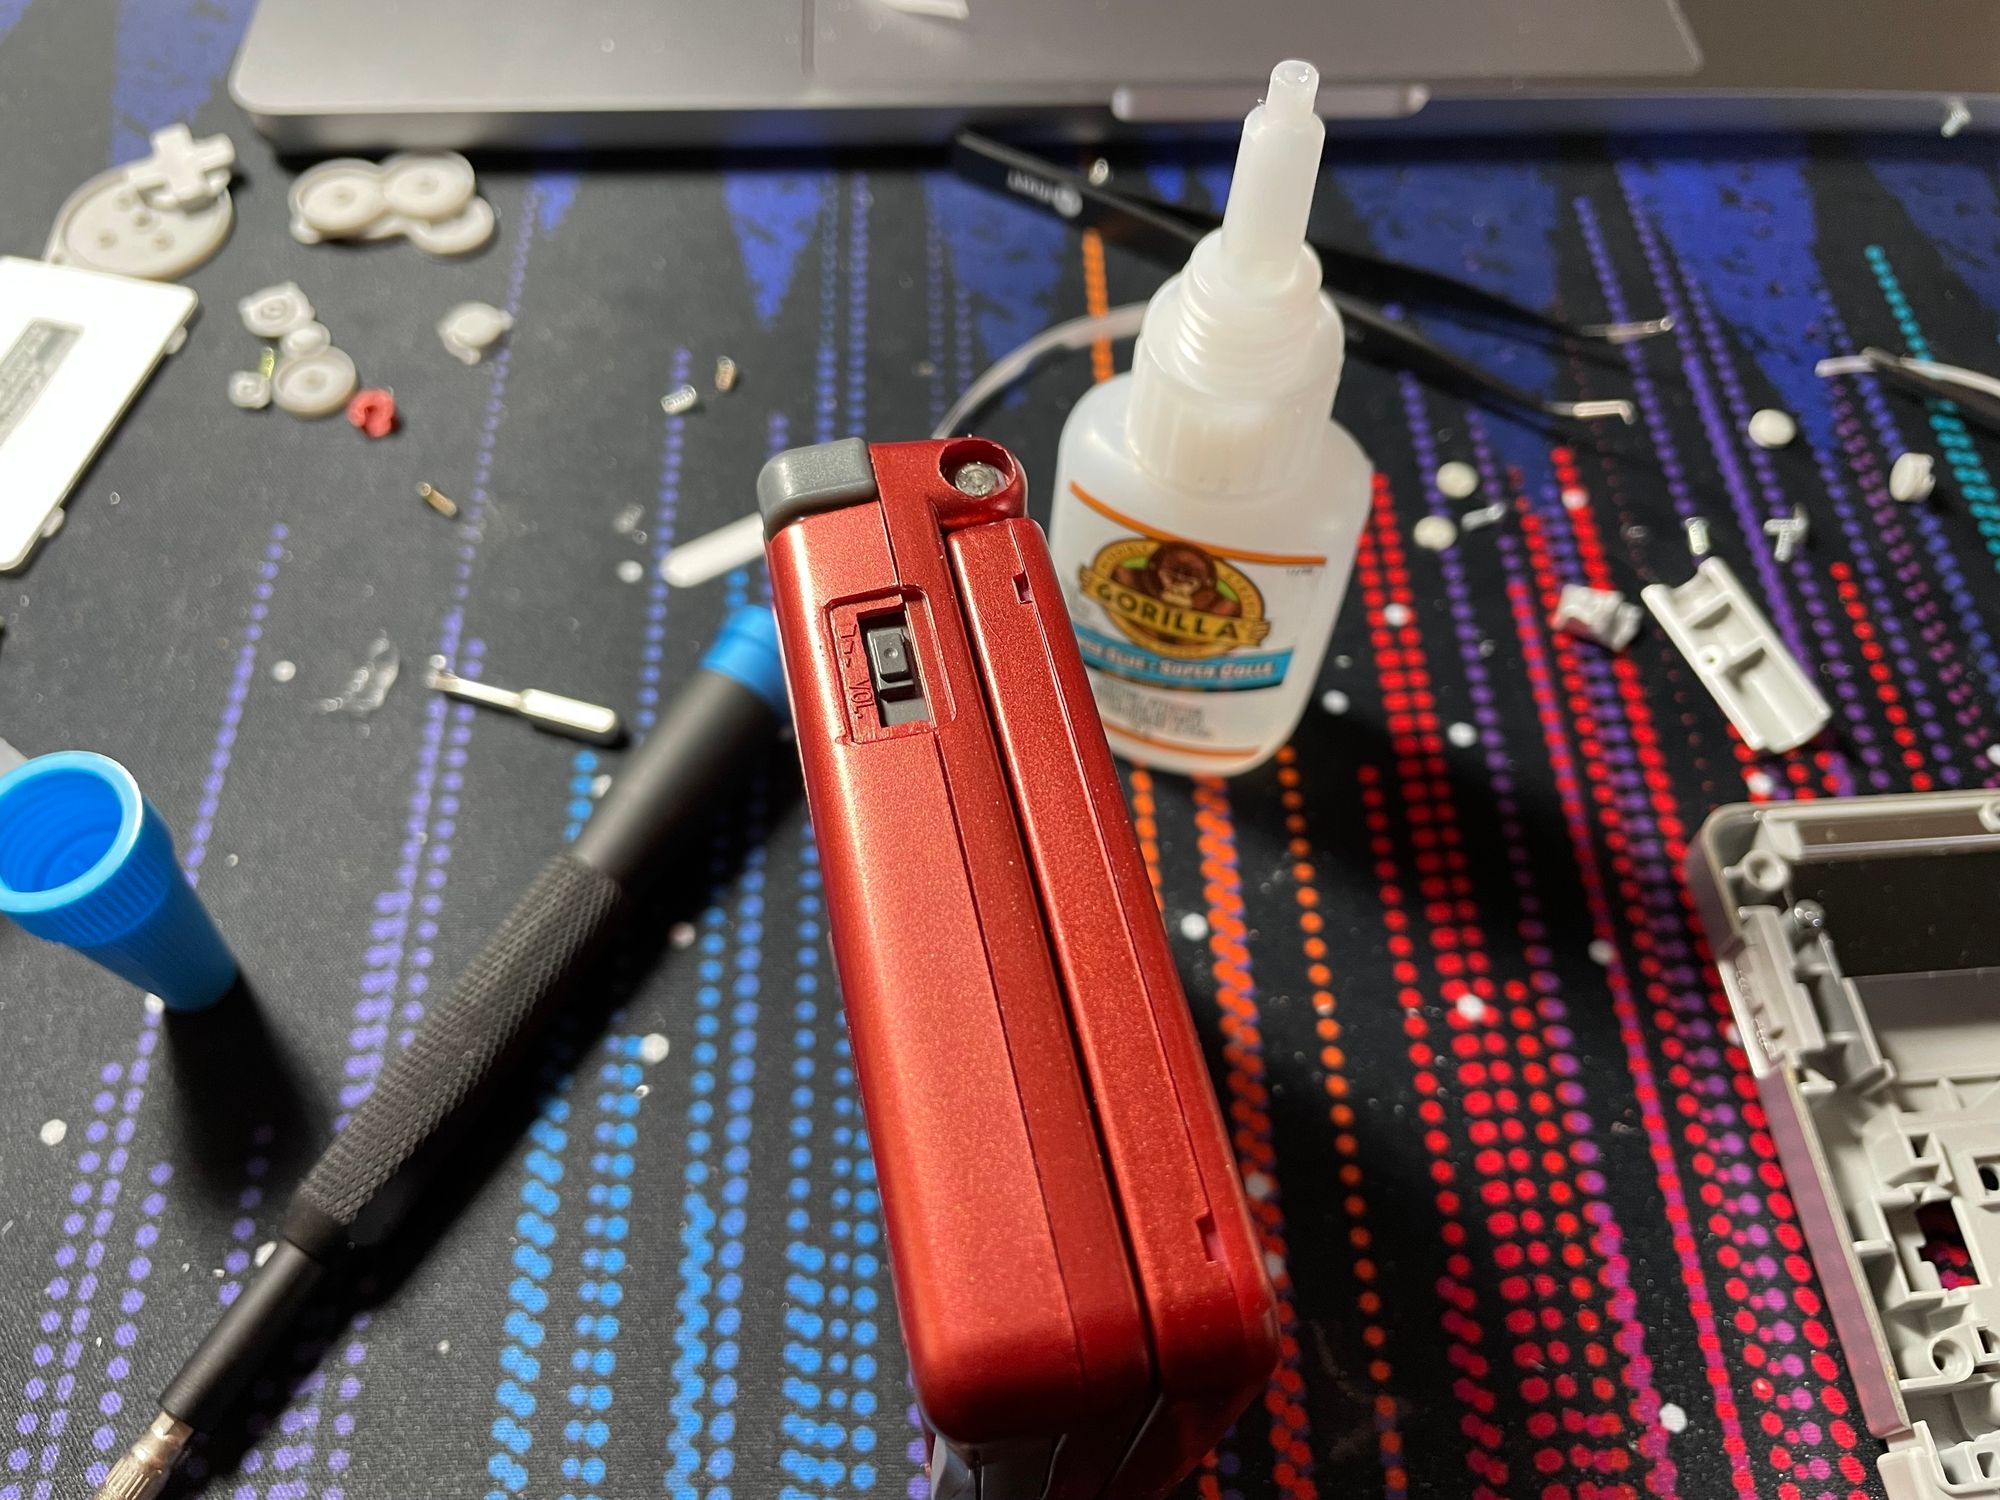
If the console turns on, its time to finish of the project. Add the final six screws to fix the bottom shell. Remember that one of the screw hole is under the battery. You might also want to add the covers over the screen screws and the hinges. Use a drop of super glue if to prevent the covers from falling.
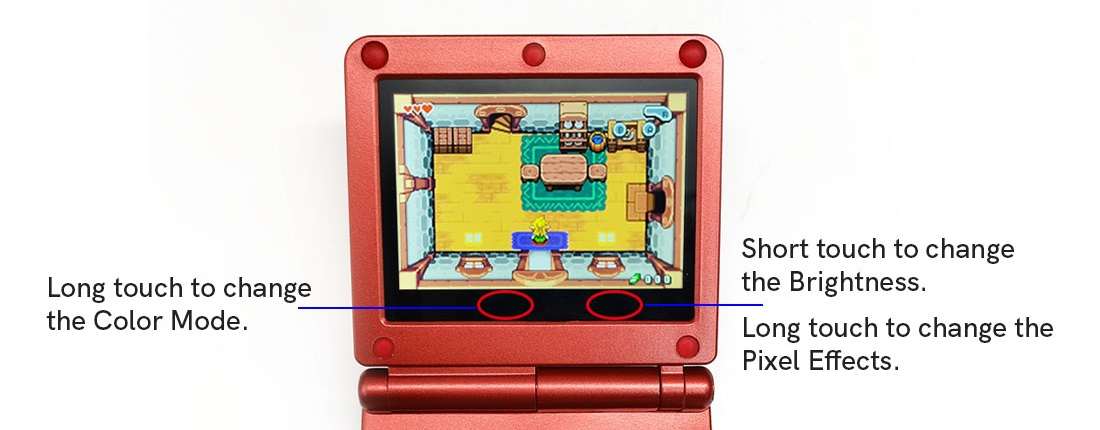
Some kits allow you to solder a wire between the ribbon cable and the display button, enabling access to the OSD of the LCD screen. However, those uncomfortable with soldering can skip this step, as these screens can also be controlled from touch controls at the bottom of the display.
Test Drive
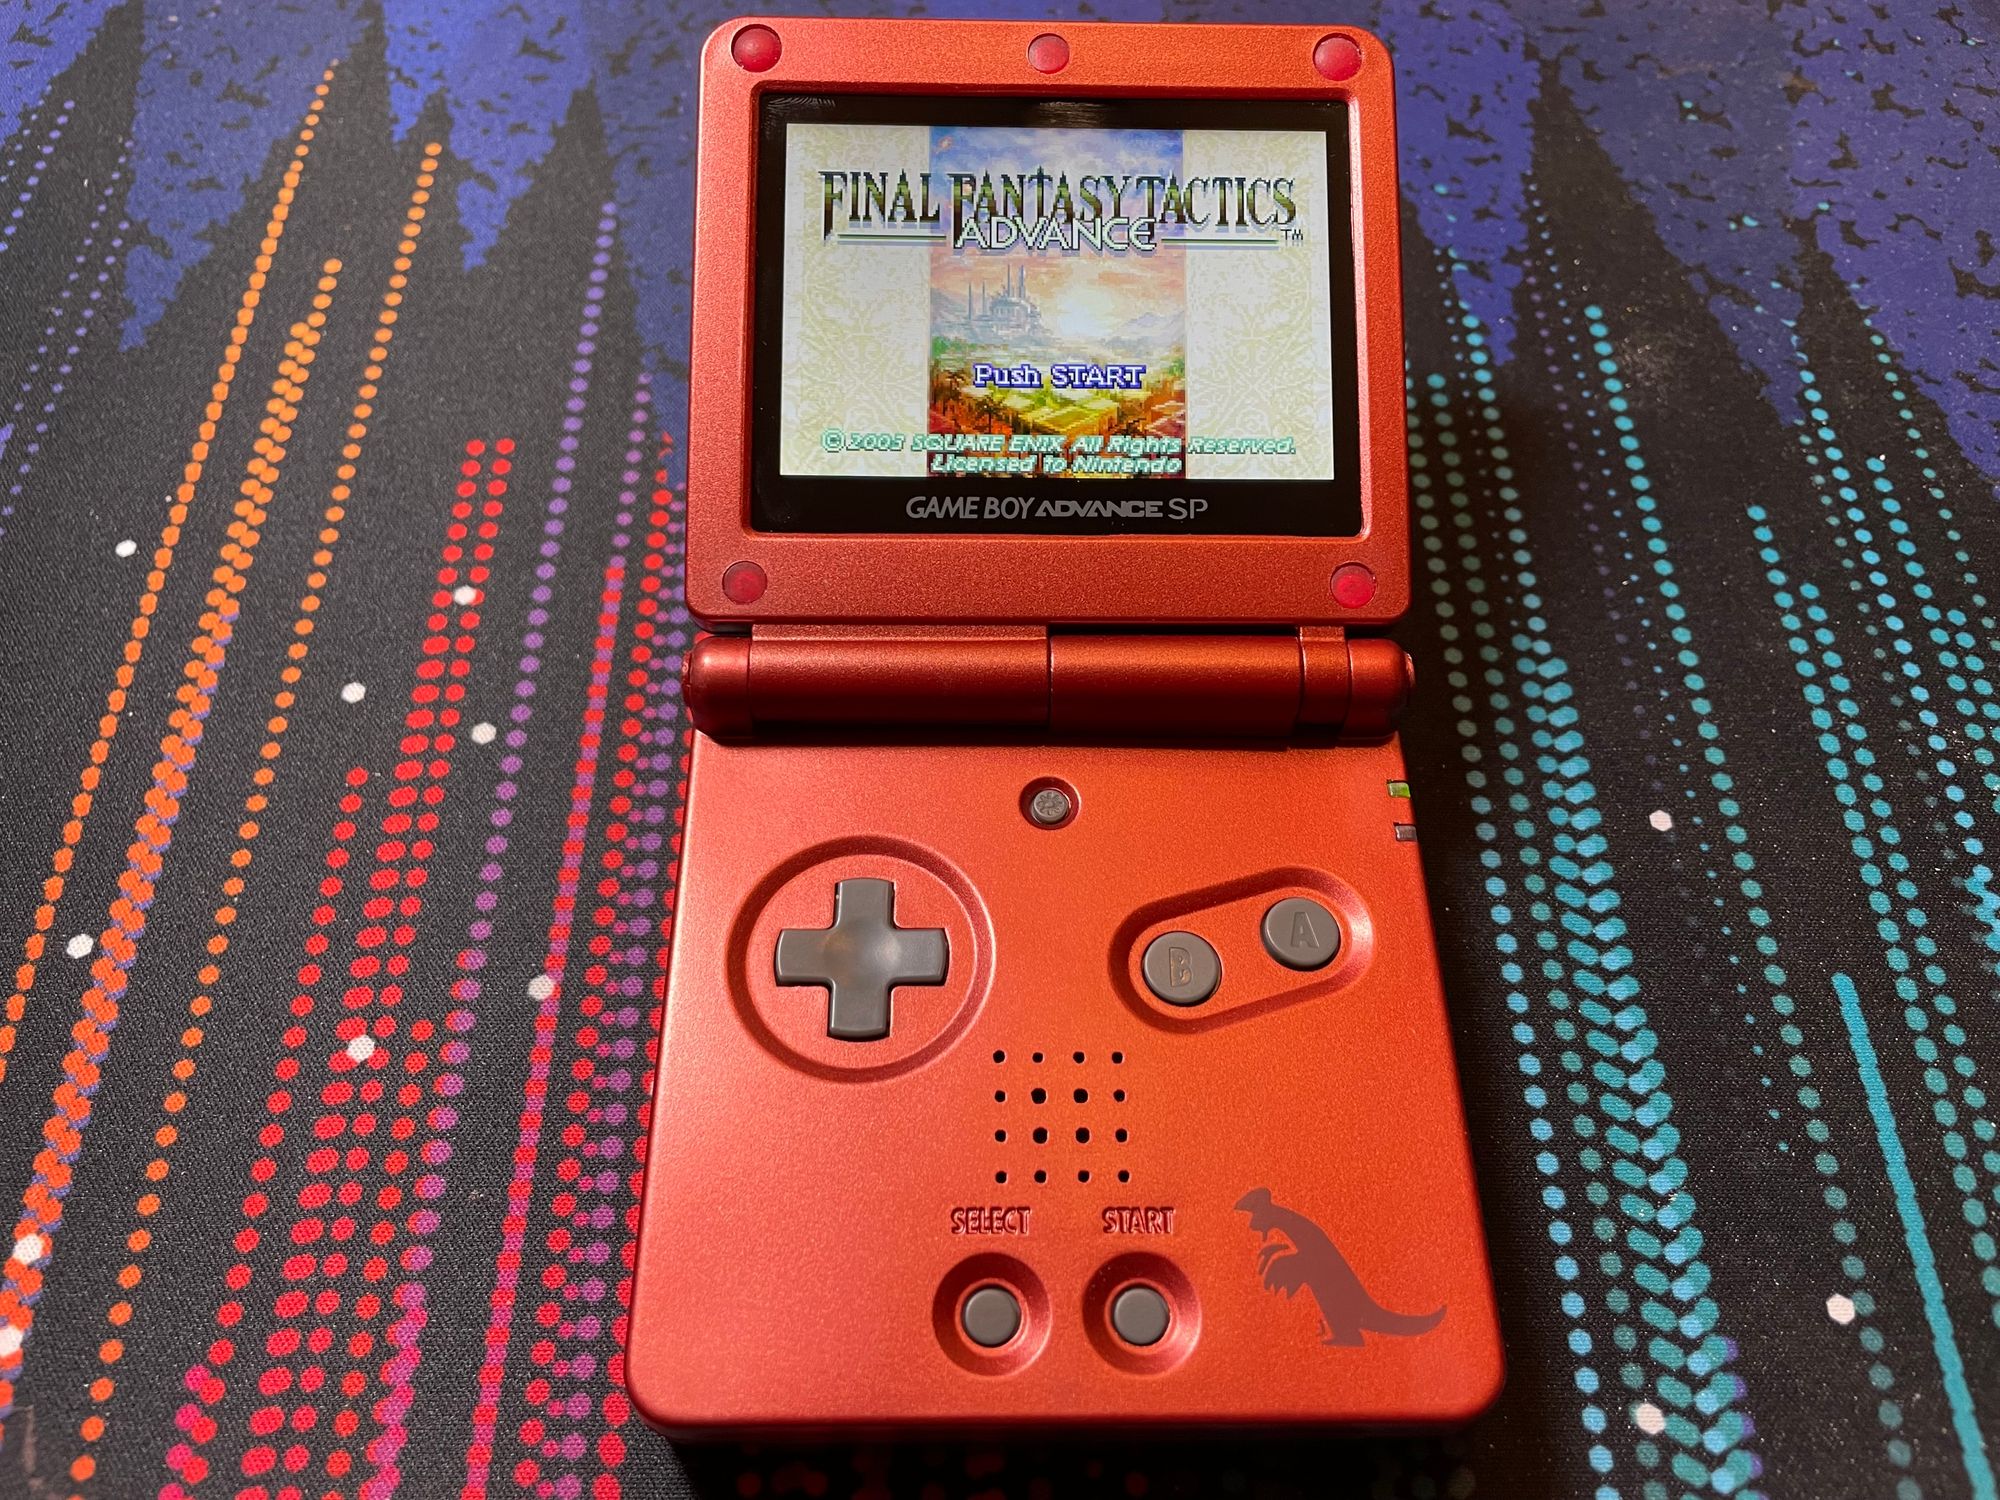
The difference between the original screen and a modern LCD screen is remarkable. The newer LCD screen is much brighter, similar to current modern console such as the Switch and the Steam Deck. When tested against some fast moving game, such as Excite Bike, there was some minor flickering. However, this did not detract from the enhanced gaming experience. Slower moving games, such as Final Fantasy Tactics Advance, had no graphical glitch.
The overall upgrade experience is very positive. Installing the new screen and changing the clam-shell does require a bit of delicate work, but is achievable by anyone, as long as you buy new hinges.