A Simple Introduction to the Infinite World of Mechanical Keyboard
The keyboard is a simple computer accessory: tap a key, and get a character on the screen. Today's mechanical keyboard is a symbol of personal expression, craftsmanship, and performance. Lets delve into the "mechanics" of mechanical keyboards, guiding you on crafting your own.

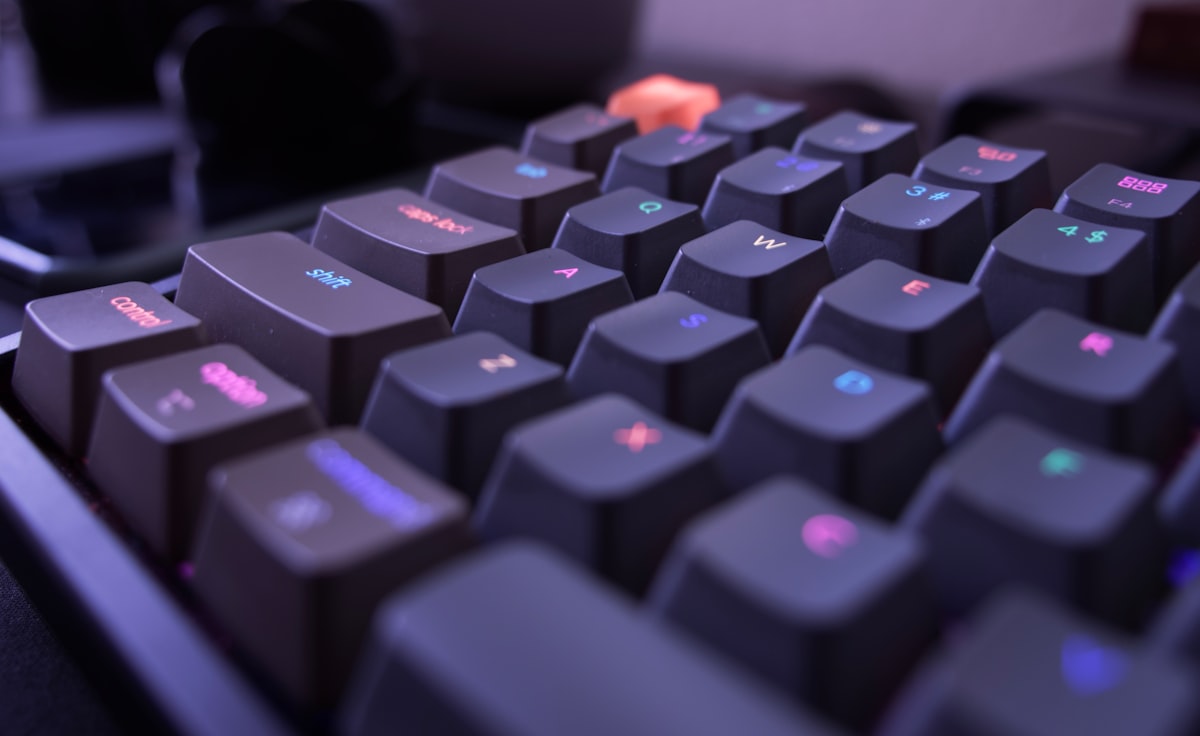
A mechanical keyboard is a keyboard with individual mechanical switches for each key. When a key is pressed, the switch completes an electrical circuit, sending the signal to the computer. This design provides both a tactile feedback and an audible click sound, offering a more responsive and satisfying typing experience compared to traditional rubber dome or membrane keyboards.
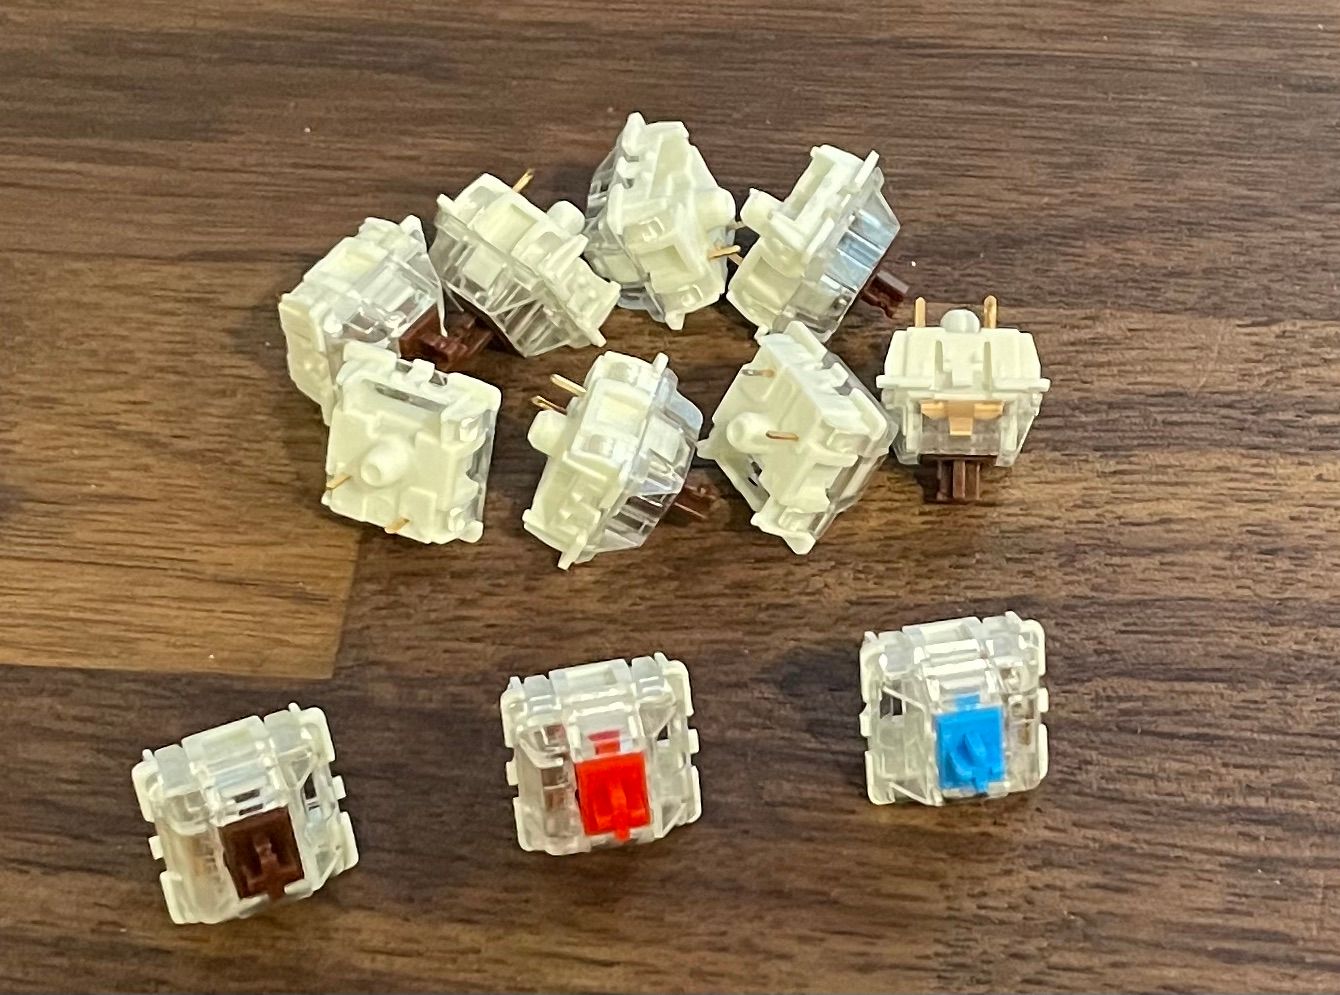
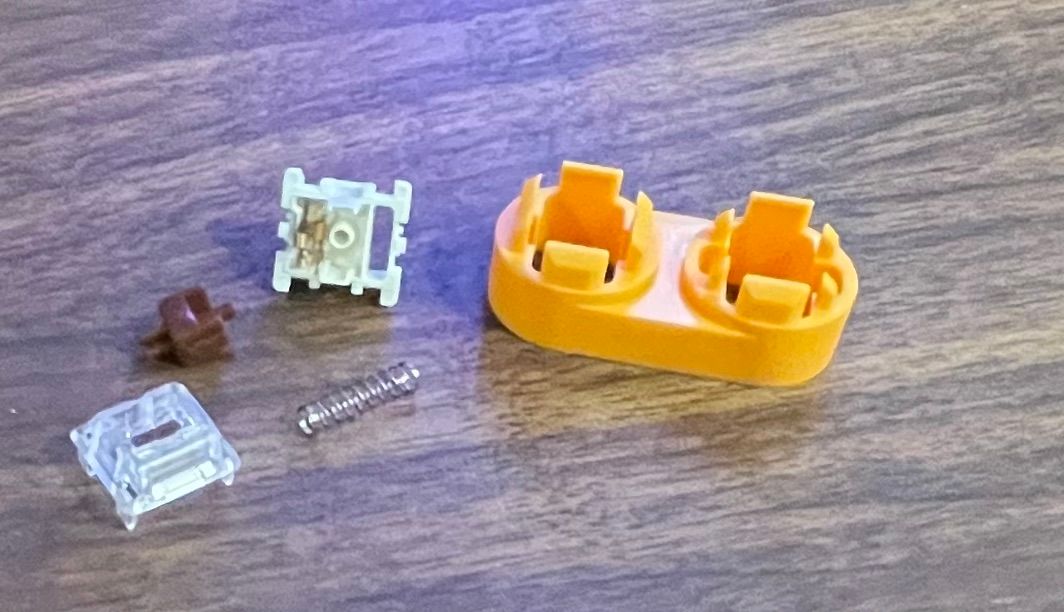
The foundation of a mechanical keyboard is a PCB (Printed Circuit Board). It is the electronic component that registers each keypress and transfers the electrical signal. Attached to the PCB are the switches: three pieces of plastic, metal pins and a spring. This is where personal preference plays a significant role. Depending on how a switch is built, it can have a tactile feel and/or clicky sound. Brands like Cherry MX, Gateron, and Panda offer a wide range of options, each of them colour coded to denote their particular characteristics. Switches can have 2, 3 or 5 pins, so its important to chose a PCB compatible with the switches. Hotswap boards are easiest to build, as they do not require switches to be soldered.
The case is the outer shell of the keyboard, and it can be made of various materials, including plastic, aluminum, or even wood. The plate, on the other hand, provides support to the switches.
The keycaps are the pieces you'll be touching every time you type. They come in various designs and materials. Some people prefer the durability of PBT keycaps, while others might opt for the shine of ABS. Larger keycaps, like the spacebar and enter key, are problematic, as they are wobbly when only supported by a single keycap. This problem is easily solved using stabilizers.
More advance builders will use additional material, such as padding, to improve the typing experience.
All Shape and Sizes
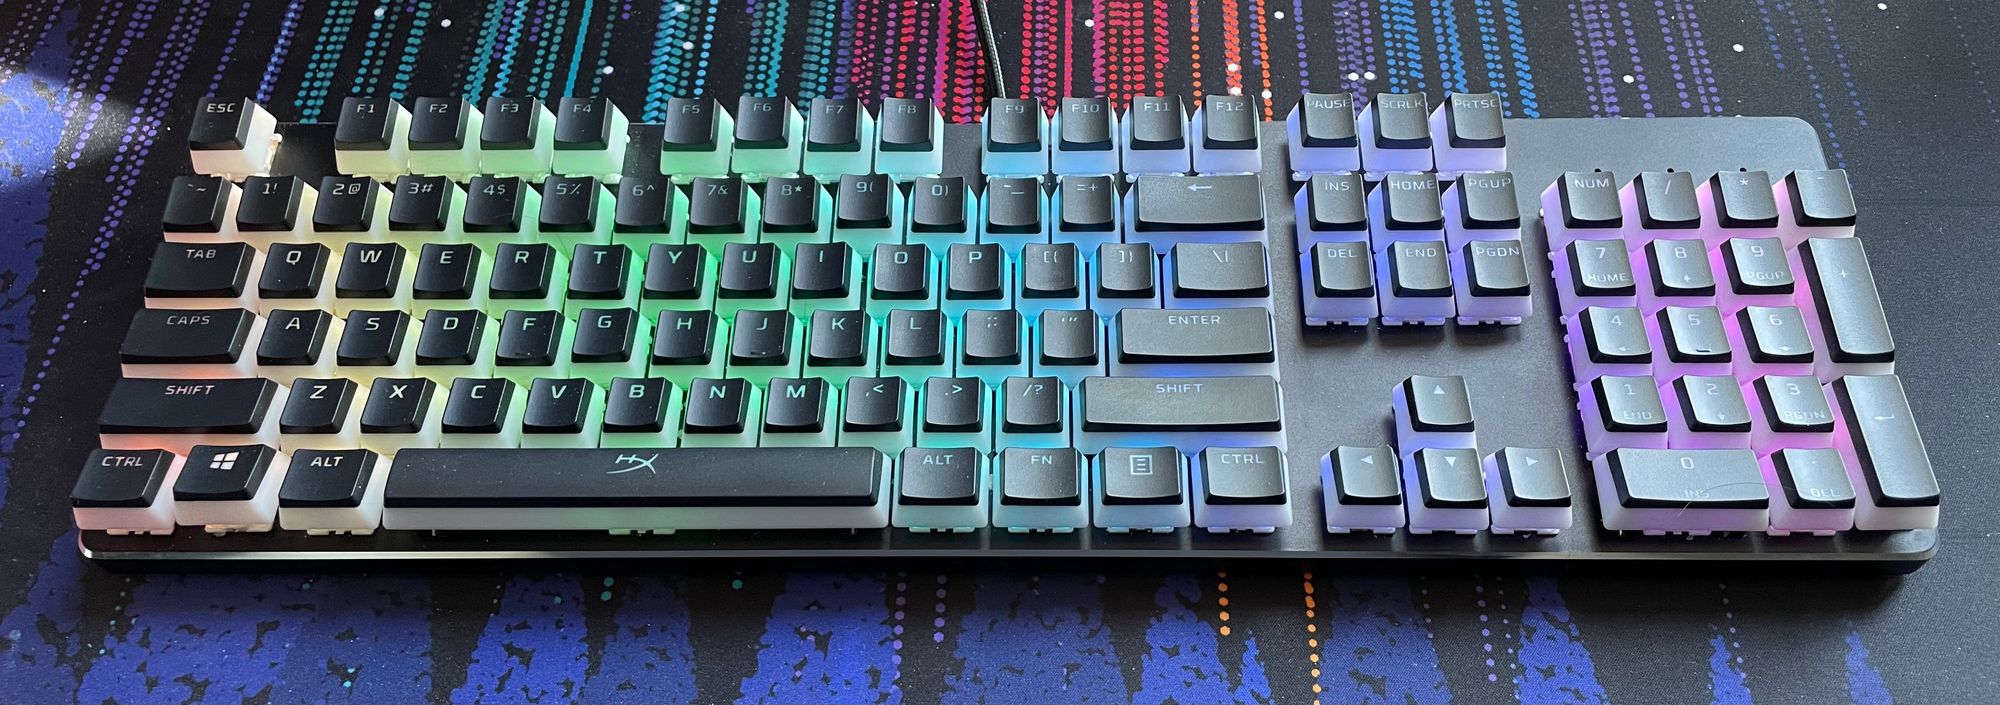
The first choice in this type of project is the size of the keyboard to build. The most common keyboard size if the full-size, or 110 keys, which includes the alphanumeric keys, the function row, navigation keys, and a dedicated number pad.
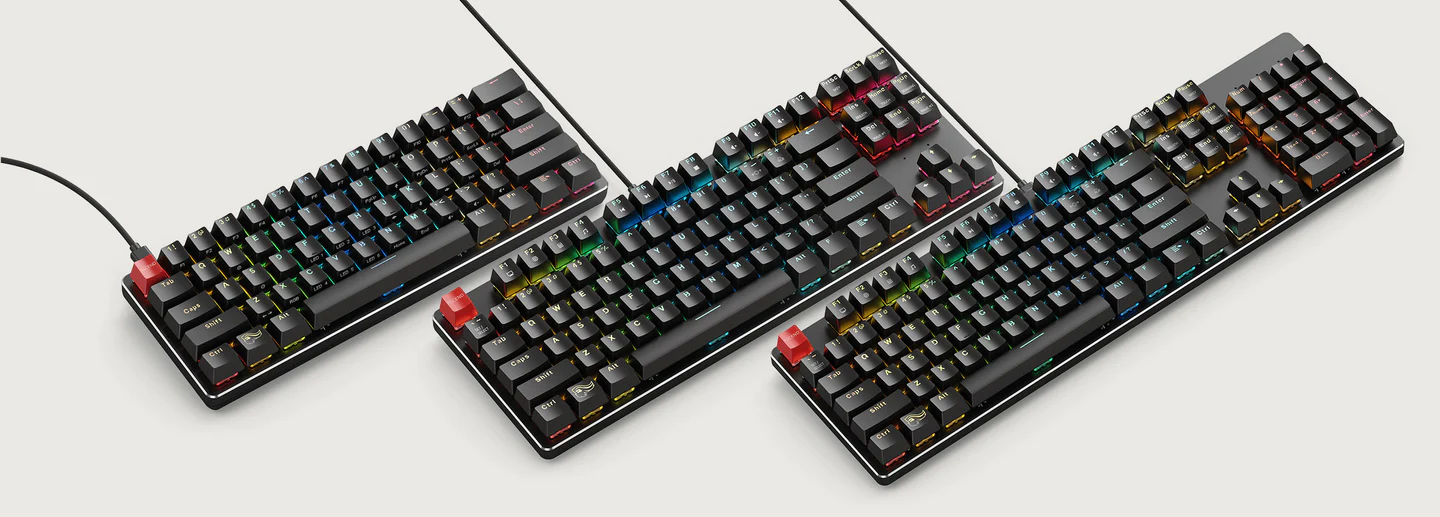
Smaller keyboards are also popular among the mechanical keyboard community. The 60% or 65% only has the alphanumeric keys, omitting the function row, navigation cluster, and number pad. Functionality of missing keys is usually accessible via secondary layers (i.e using a function key). The Tenkeyless (TKL or 80%) adds the function row and navigation cluster back, but retains a foot print much smaller than the full-size.
Choosing the size of the keyboard is a balance between the space taken on the desk and the keys frequently used.
Building a Keyboard
Shopping for a mechanical keyboard components can be very overwhelming given the large variety of choice in boards, switches and keycaps. To get confortable with the hobby, the first build should be as simple as possible. As such, new builders should opt to use a barebone keyboard, which provides the PCB, the case, the plate and the stabilizers in one easy package. Brands like Glorious, Epomaker and Keycron all offer a good variety of easy-to-assemble barebone keyboards.
Next purchase are the switches. Good starter switches are Cherry MX Red ( very clicky ) and Cherry MX Brown ( very tactile ). Inexpensive switches can be found on AliExpress, as long as they are ordered from a reputable seller. Opt for pre-lubed switches for now, as lubing switches adds a whole level of complexity.
Finally, start with a simple set of keycaps, like the HyperX, which are often on sale on Amazon and offer all they keys needed for a full-size keyboard.
Some Assembly Required
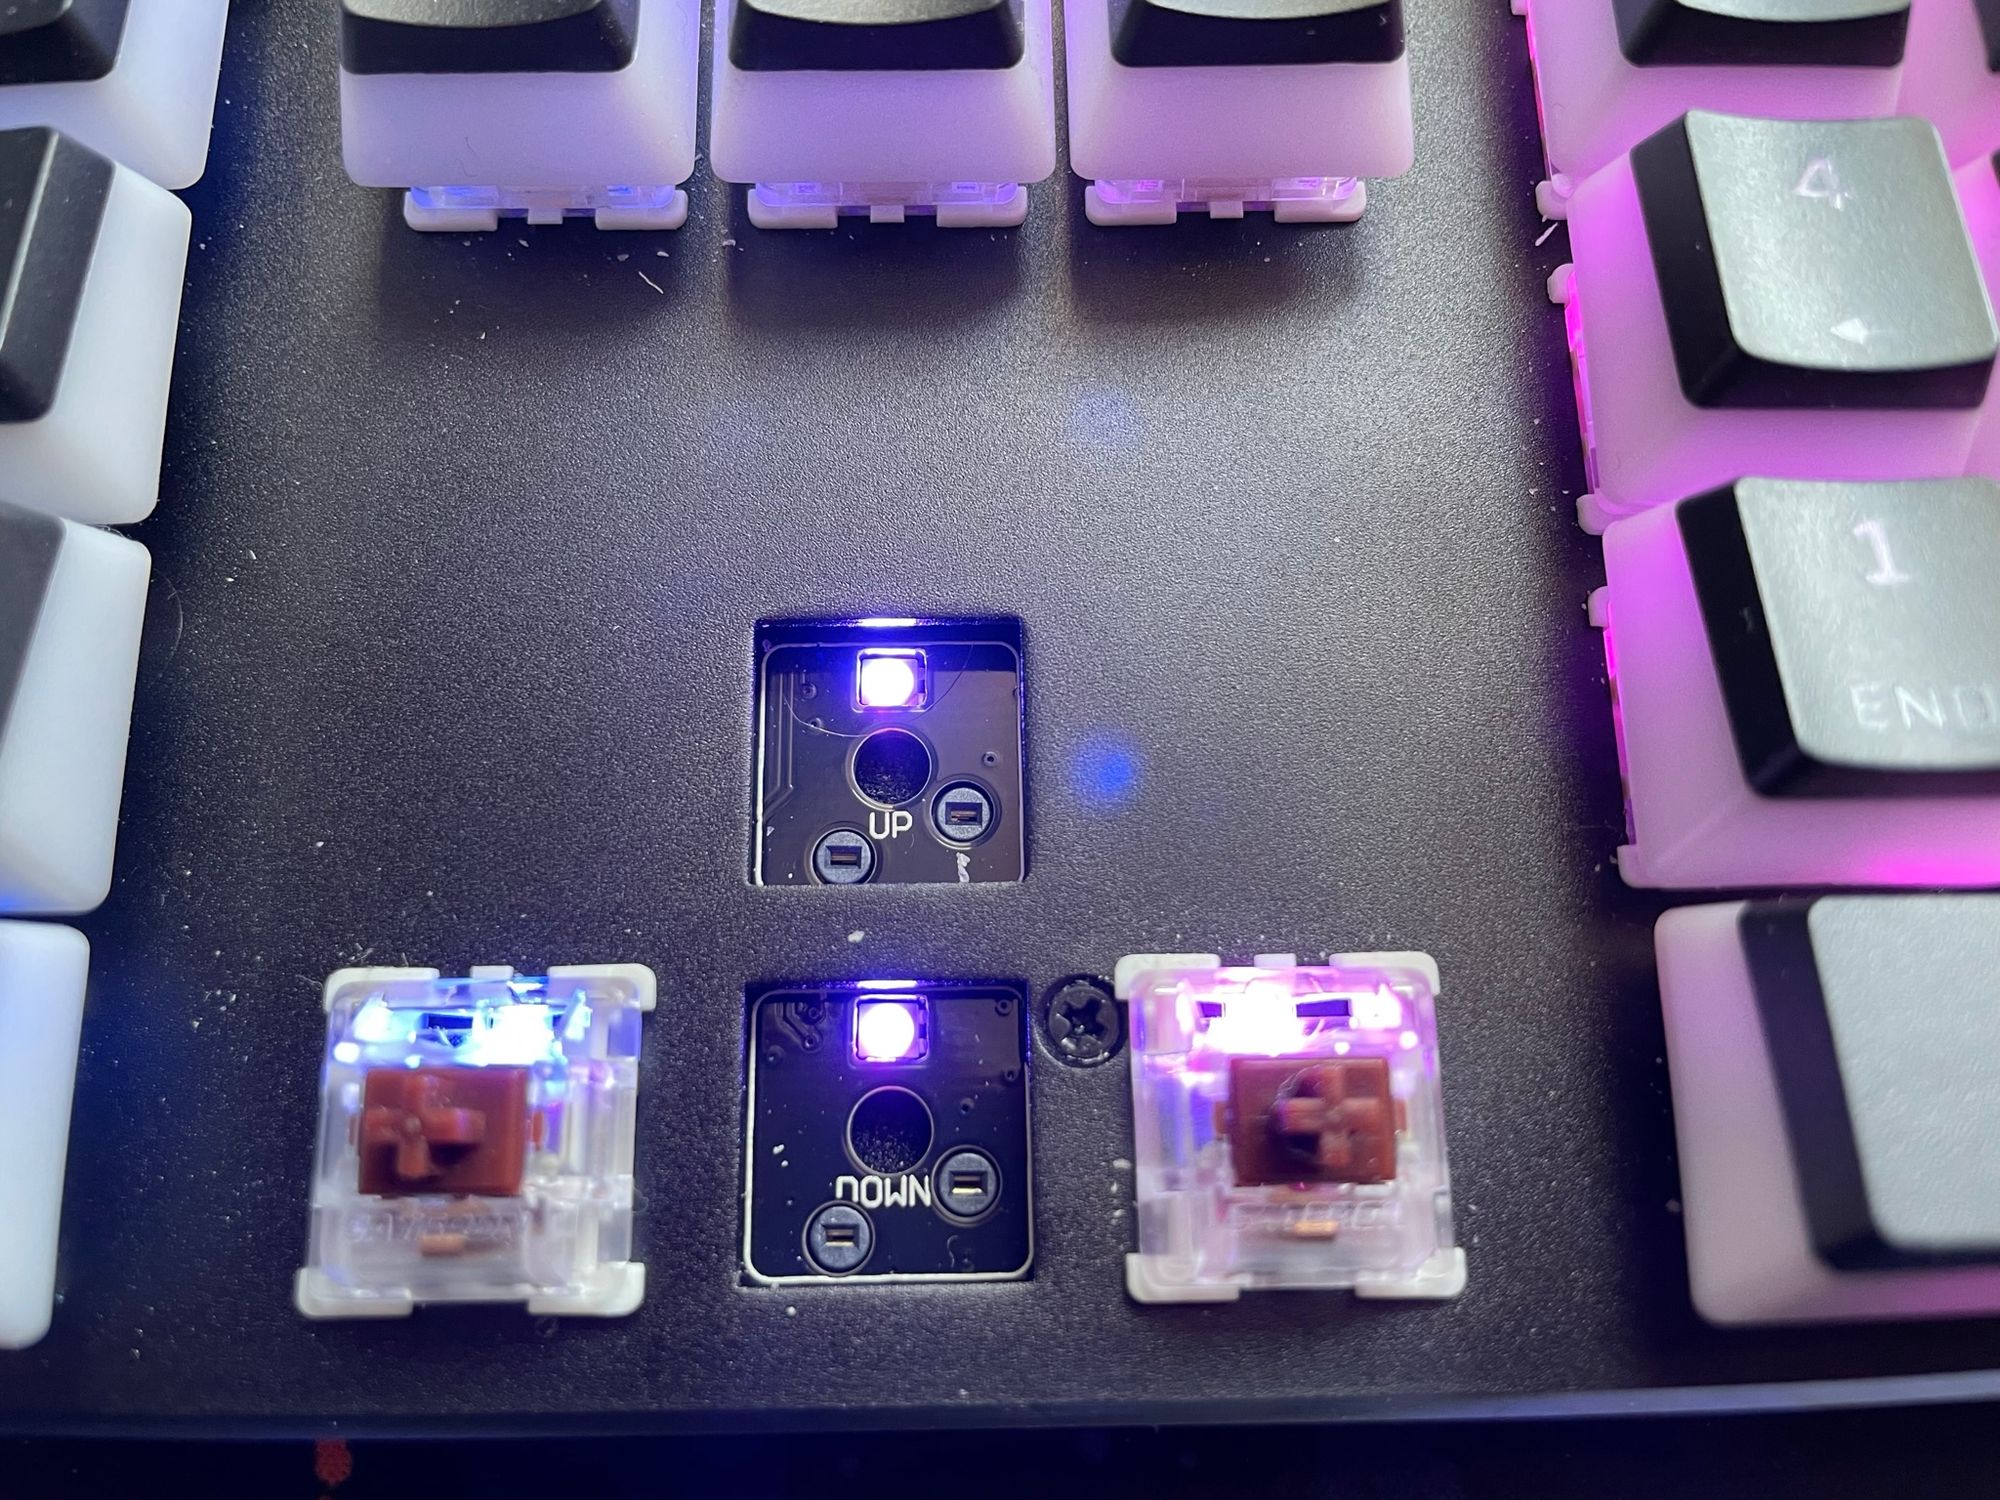
Assembly of a hotswap barebone mechanical keyboard is straight forward. First, insert switches into each port of the keyboard. Be careful, as the pins under the switches bend easily. If one the pin is bent, the key will not function and the switch will need to be replaced (or at least straighten). To remove a switch from the board, use a switch puller.
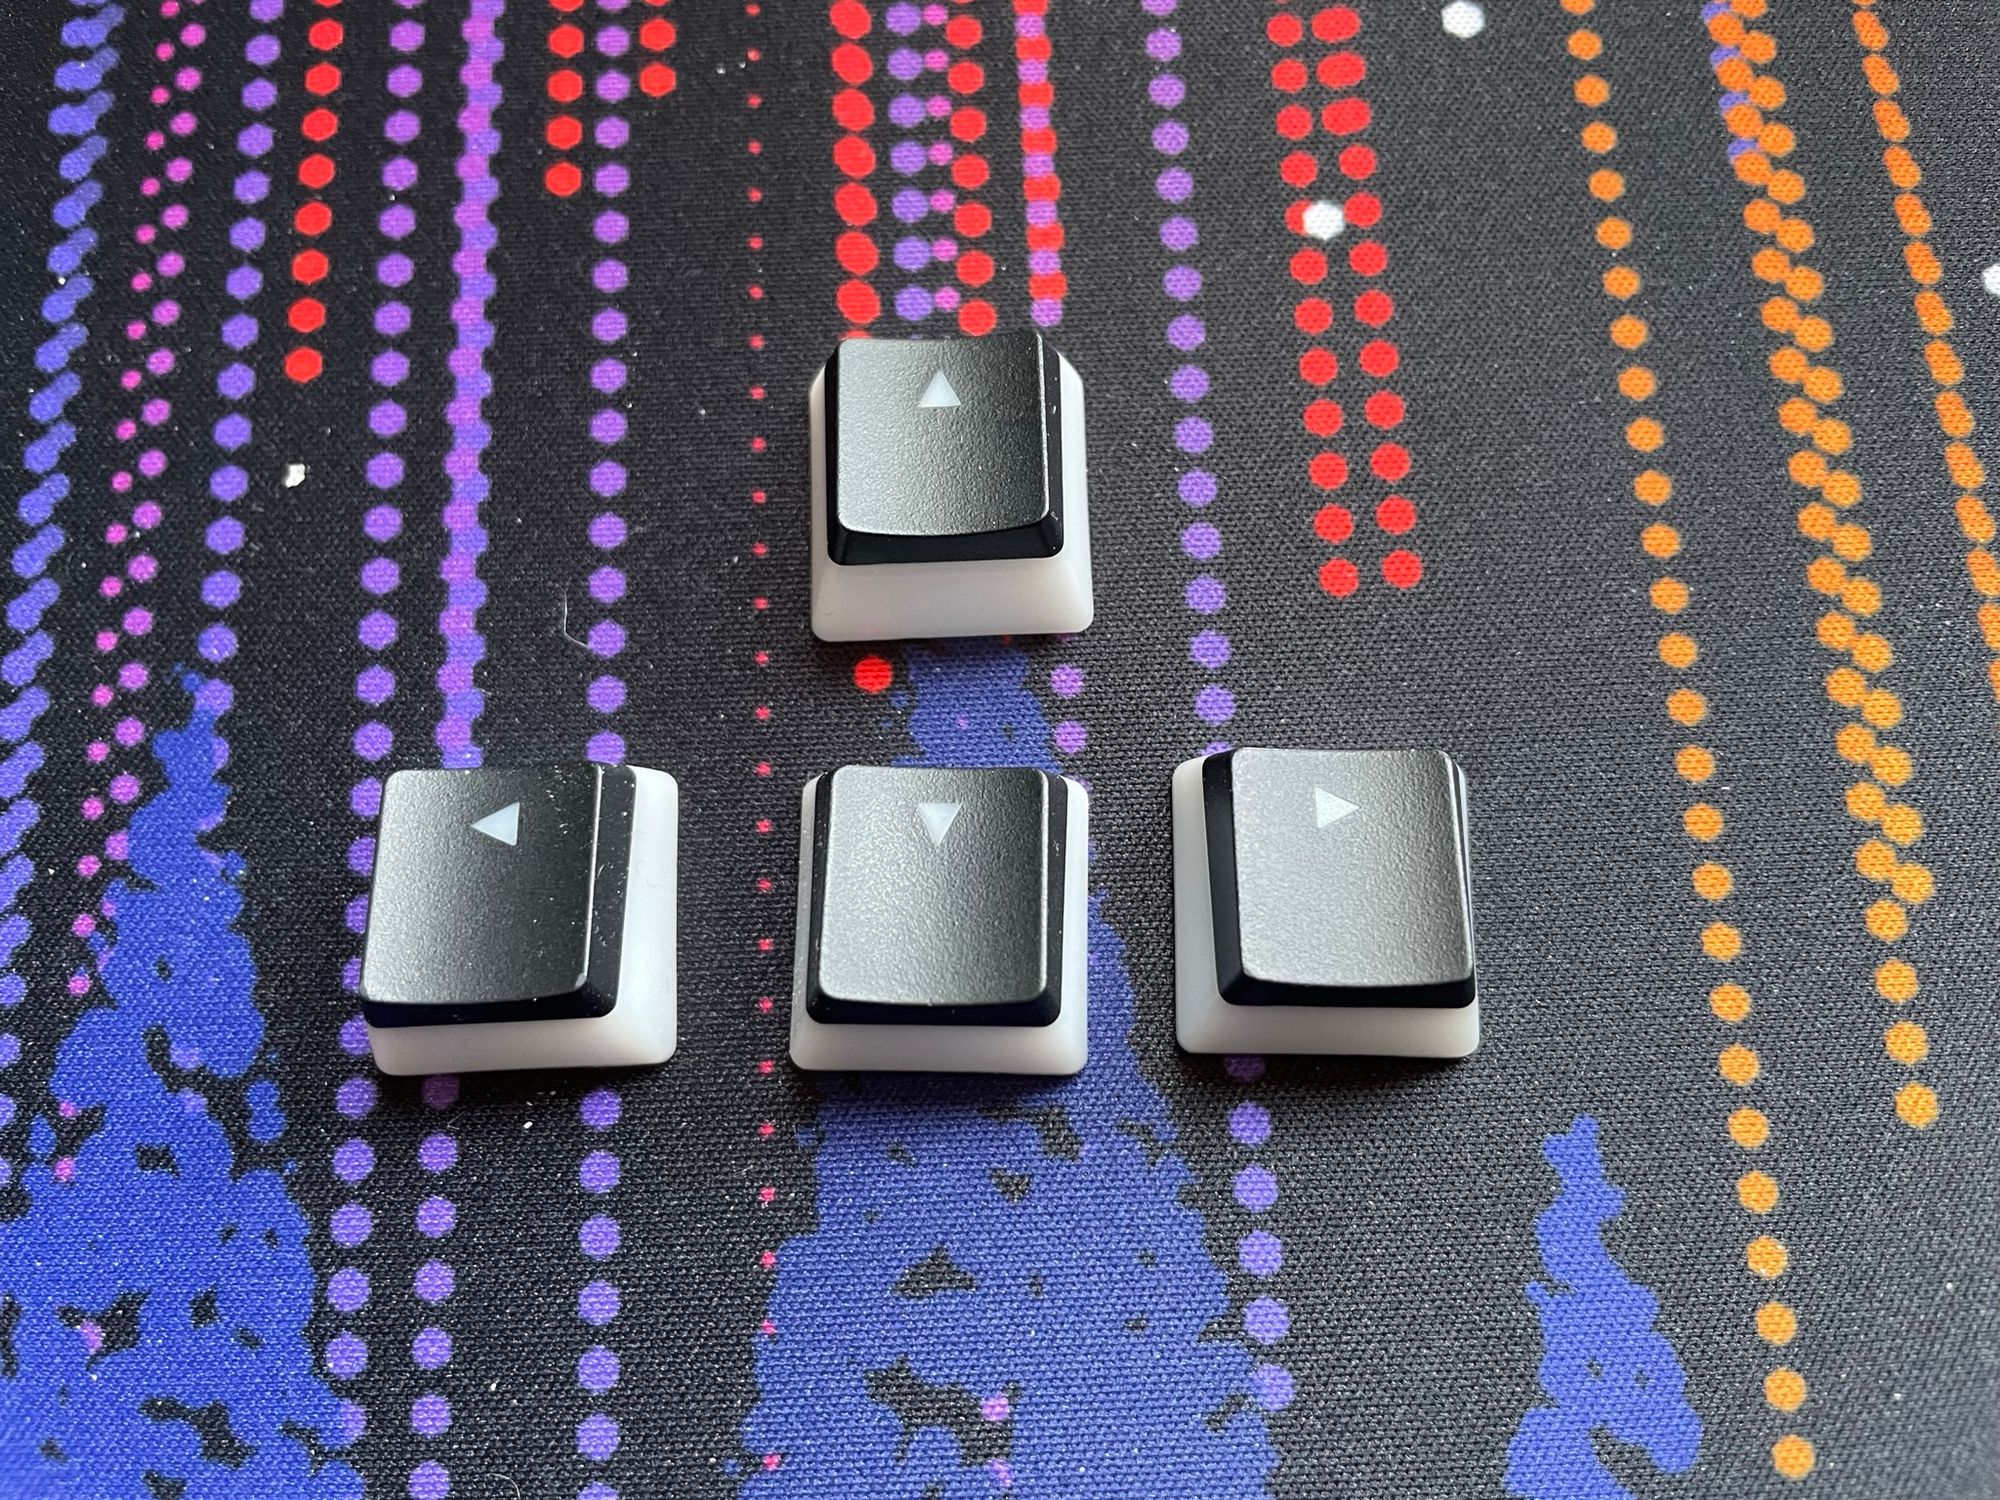
The next step is to add the keycaps. Refer to the documentation ( or a picture on the Internet) of your keyboard to determine where each keycap should go. To remove a keycap, use a keycap puller tool.
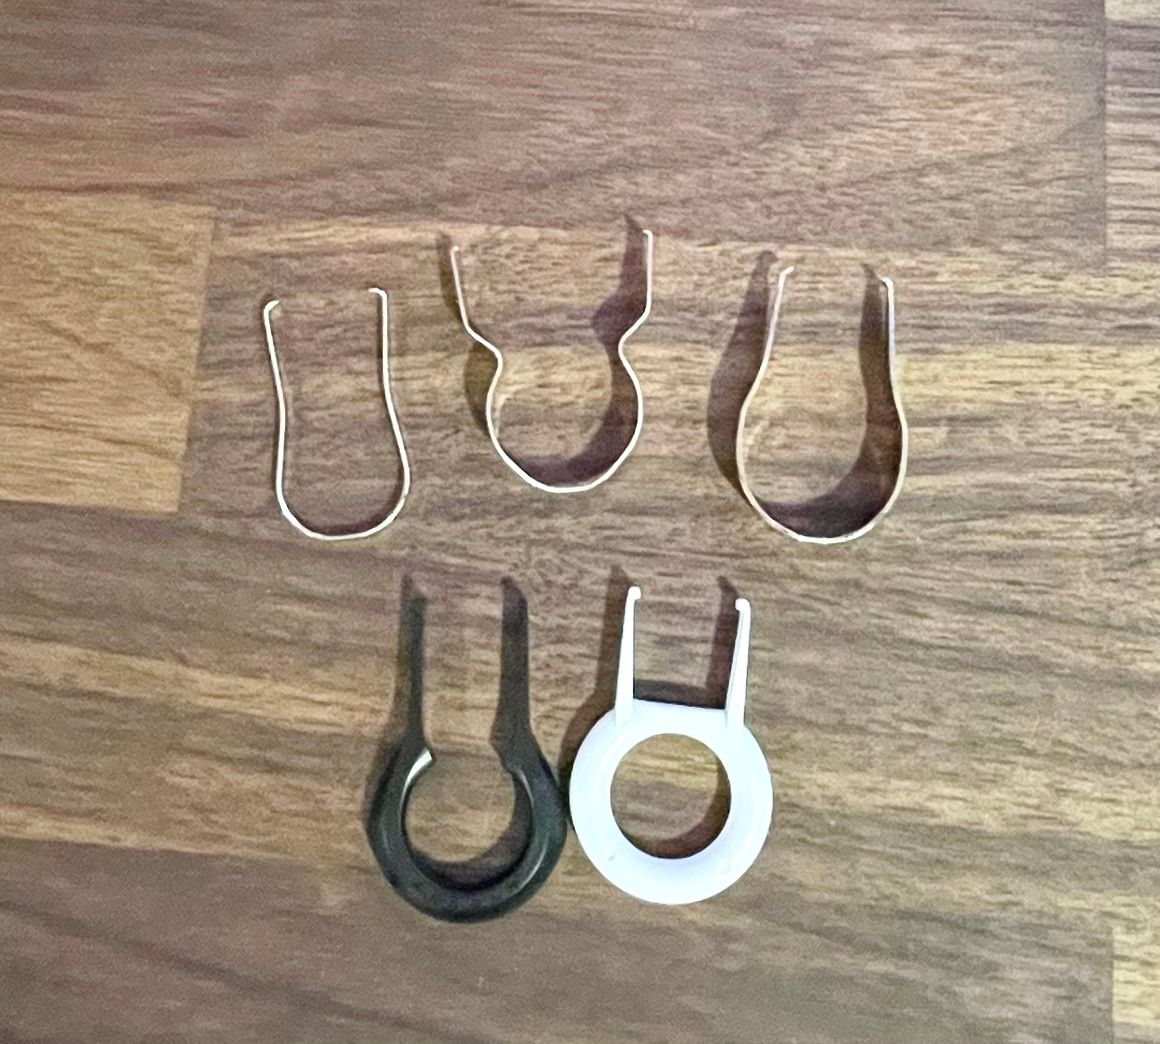
Note that switch pullers or keycap pullers are often bundle with new barebone keyboards or keycap set.
The final step is to test the keyboard. The easiest solution is to use a website, like https://keyboardchecker.com/, which allows you to test each key individually. If a key does not work, it is most likely cause by a bent pin.
Just the Beginning
With the first keyboard completed, the iterative possibilities are endless. Changing the keycaps can have dramatic effect on the look and confort of a keyboard. The switches can also replaced, giving the keyboard a radical different feel. Experts in the field will often non-lubed switch, as to lube the switches themselves and customize the "feel" of the keyboard. Finally, the board and case itself can be replaced, provided a whole new keyboard experience.