Building an Electronic Workbench

Being from a Computer Science background, I learned essential skills in problem solving using computers. However, little of my training involves how a computer works at the electronic level. I understand the role of logic gates in a microprocessor and I’ve had some experience at micro-programming. However, don’t ask me the difference between a capacitor or a transistor.
The movies make it look all so simple. Watching Jeff Goldblum build a wireless signal decoder out of spare parts in Independence Day is impressive. However, I immediatly suspect some movie trickery when I see him write a computer virus for aliens in a few hours. Regardless, not understanding the basics of circuitry has always bothered me. Luckily, in this age of information, this is easily fixed.
Learning the Basics
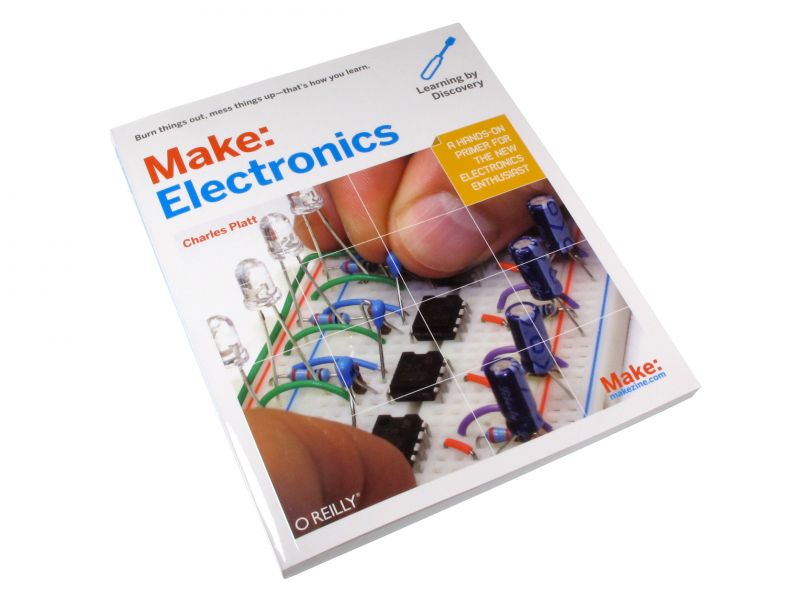
Self-teaching is good, but you will need a starting point. Google is a good friend with lots of beginner level information, but it feels disjoint. One key resource is MAKE: Electronics: Learning by Discovery. Created by Maker Shed, this book takes a learn by experiment approach for electronic. It's been an ideal starting point for my work. I own both a Kindle version and a paper version.
Shopping for the Basics
You should be immediately aware that electronics is not a cheap hobbit. The initial investment will cost one to two hundred dollars (CAD or USD). If you want to use the MAKE Electronics book, Maker Shed sells kits containing everything you need to do the experiments. The kits might seem pricey, but they are advertised as a cost effective solution.
When building a Electronic Workbench, the Internet is your best friend. If you live in the United States, you can easily order the kit from MakerShed. AdaFruit is also a good source of electronic, and provide some impressive kits for projects. If you live in Canada, Abra Electronic will allow you to order many of the kits found at AdaFruit, but without the duty fees. For bulk supplies, regardless of where you live, NewArk is your friend. If what you need is available at NewArk, it is probably the best place to order from.
Setting up your Laboratory
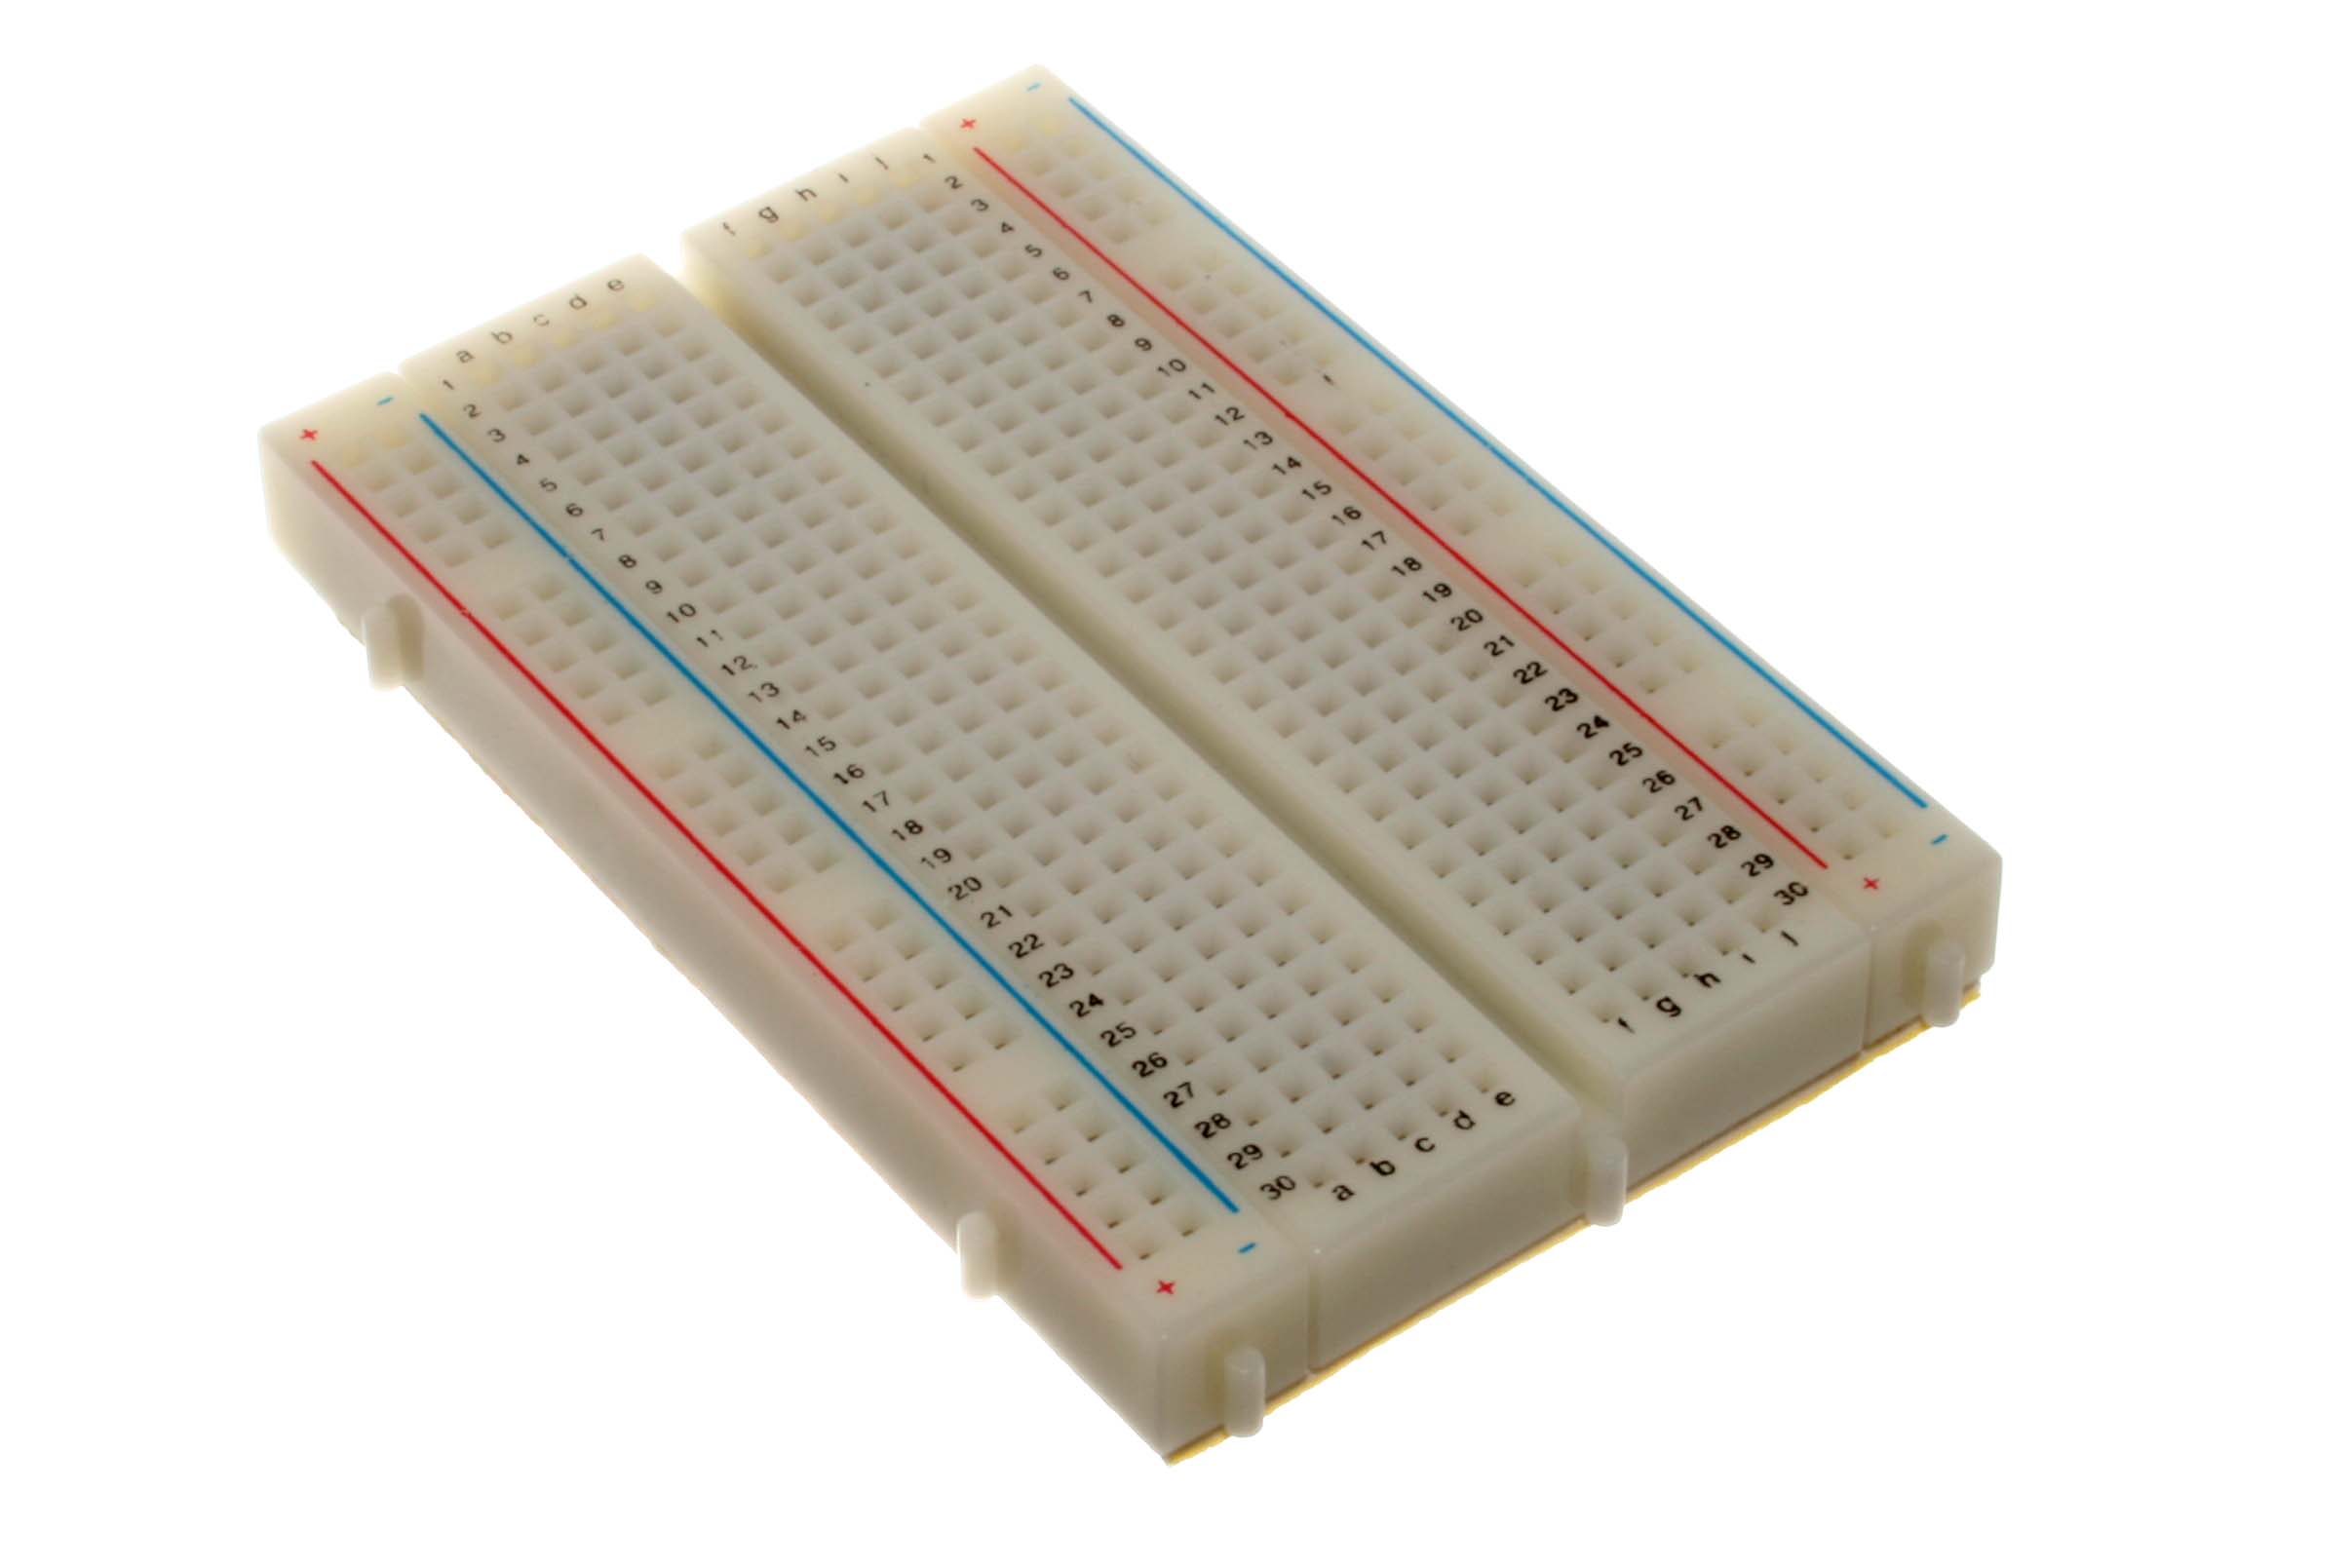
A breadboard is an essential tool when working with electronic components. Also known as a prototyping board, it consists of a plastic board with a large rectangular matrix of holes. These holes are designed to hold wiring from electronic components or junction wires. Although the MAKE book uses alligator clips for the first few experiments, I started using the bread board immediately.
Another must-have component will be a storage solution. Electronic involves lots of small components, and you will want easy access. Cost-effective storage solutions can often be found at arts and craft stores. A combination of drawers and containers will allow you to seperate components. You can also seperate smaller components using small plastic bags.
Powering your Projects
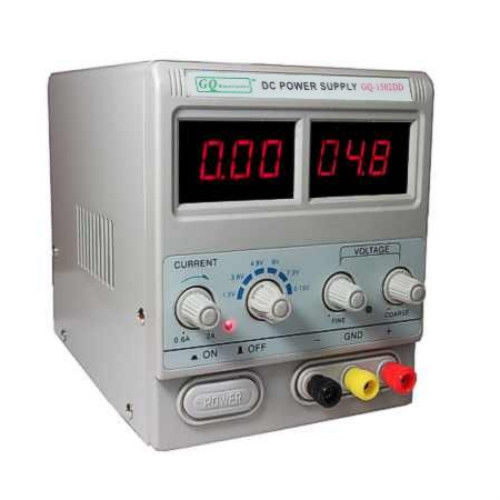
When starting out, most people will experiment using batteries. Although it works, batteries to dish out a variable amount of power, decreasing rapidly over time. If you are willing to invest a bit to solve this problem, a variable-level power supply will do wonderfully. You’ll find some great prices for variable-level power supply on Ebay. Reading some reviews, I decided to settle on GQ Electronics power supply with a maximum output of 15 V and 2 A. If I ever need something more powerful, I can always upgrade to another model. I’ve been very happy with my power-supply and never need to worry about batteries.
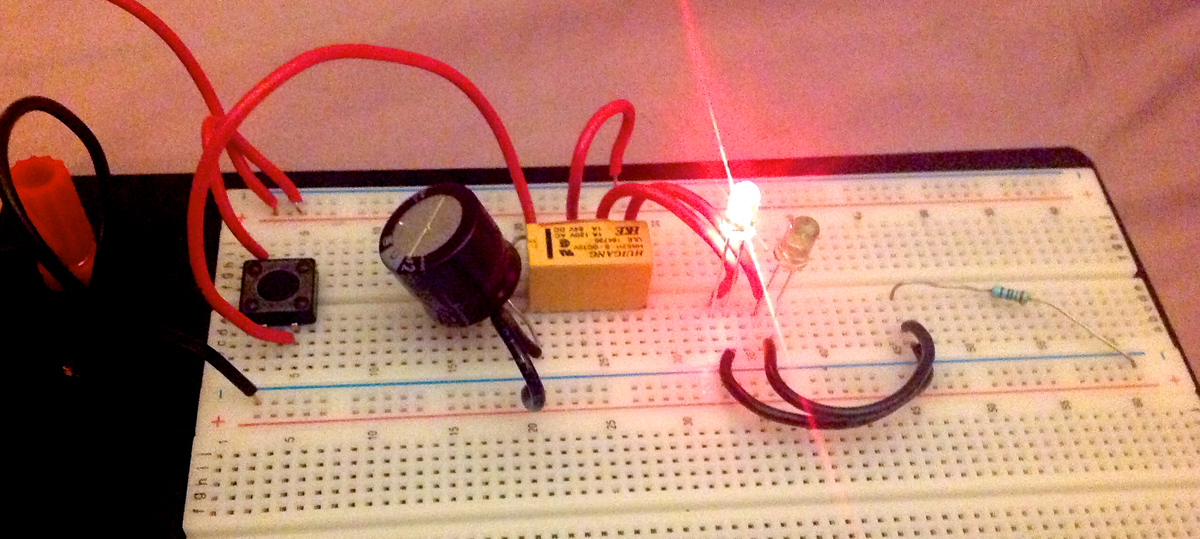
Now to Work
Once you are setup, can start experimenting will a couple of things. LED and small speakers are easy to work with. The MAKE Electronic book will have you building a simple alarm system. You can then graduate to more elaborate projects using chips.
There is still a lot of work to be done, but that is for another time.